Wiring Through Handlebars
Article by Mark Trotta
One of the first things owners change on a motorcycle are the handlebars. Why not spend a little extra time and route the wires inside the bars? Wiring through handlebars includes carefully marking and drilling the bars, then routing the wires through.
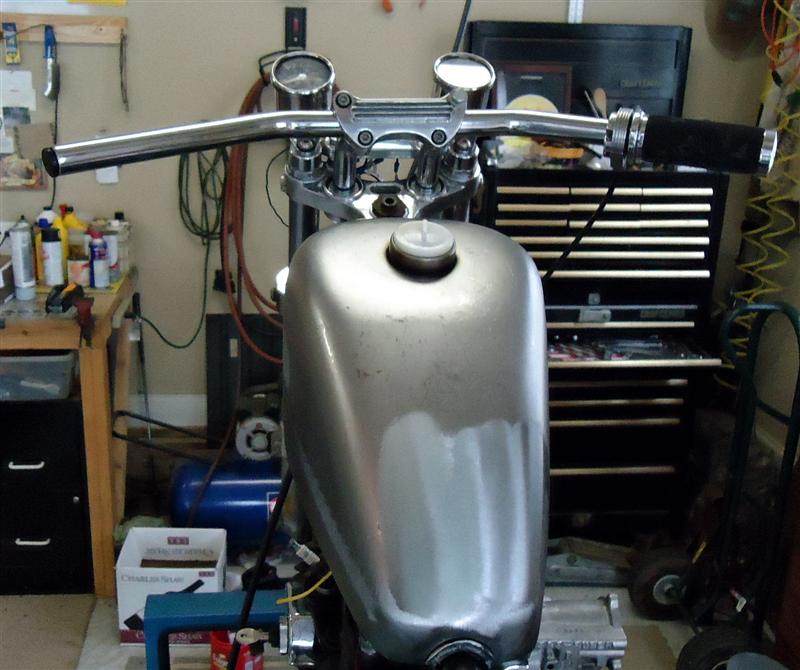
Before you take the bars off your bike, check and double-check where you want the controls to be with masking tape.
Tools and Supplies Needed
Tools needed include a drill, several drill bits, wire cutters/splicers, soldering gun and soldering wire. Each splice should be soldered and shrink-tubed. Butt-connectors are easier but not recommended, as they could pull apart when you are pulling the wiring through the bars.
Primary Wire
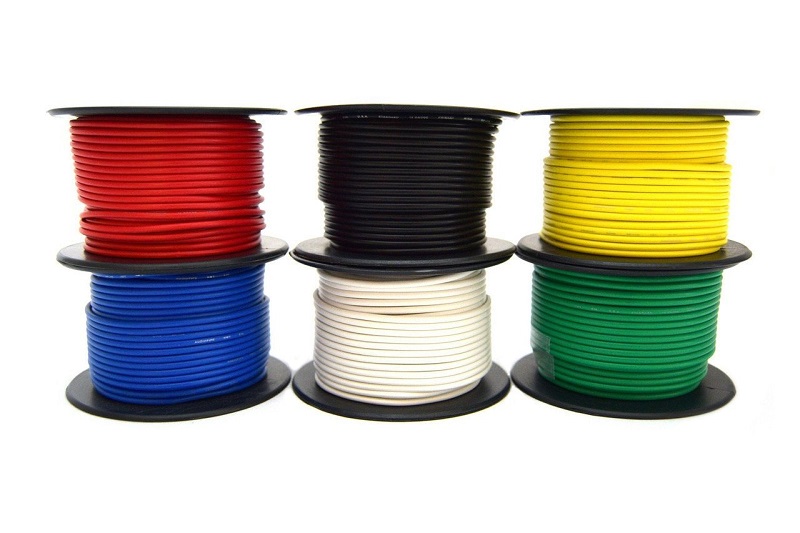
Automotive primary wire generally has a copper core, which is both durable and has low electrical resistance. Multi-strand is best, because it is flexible. Solid-strand wire is not recommended for motorcycle use. The outside of the wire is a thermoplastic PVC insulation, which is made smooth enough for pulling through wire loom and conduit.
You can use standard automotive-type wire found in parts stores, but keep in mind there is a difference between SAE-rated wire and AWG (American Wire Gauge) sizing.
Shop: AWG Primary Wire
AWG sizing always has more copper for a given gauge size than SAE-rated wire does, and more copper is better. This variation is about 10-20%.
Read: Solder or Crimp Motorcycle Wires
Primary wire is available in many colors, including red, black, blue, green, white, yellow, brown, purple, orange, and pink. 18 to 22 gauge wire works best.
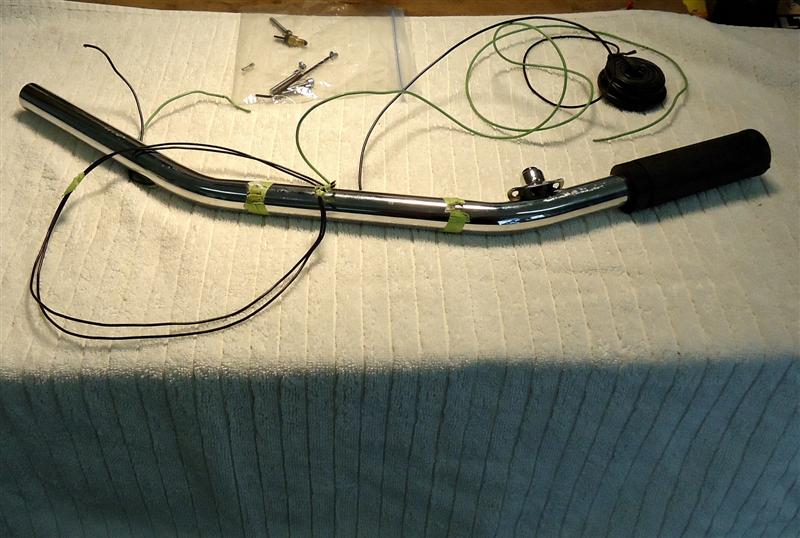
Drilling Handlebars
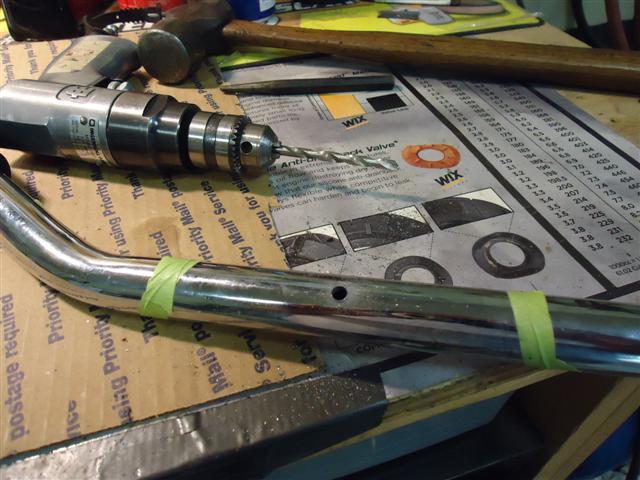
Mark where you want to drill with masking tape. You will be drilling a hole on the underside of the handlebars for your internal wiring. Leave the masking tape on while drilling. It will help prevent accidental scratches. Use a small pilot drill bit, then slightly larger, then your final drill size.
After drilling, make sure the holes in the bars have no burrs which would catch a wire. Use a small file or a piece of 320-grit sandpaper to clean around the holes.
Run the wires into the hole you just made. Leave the wire roll or extra wiring at the ends. Staggering the wires while pulling them through prevents them getting stuck in the handlebars. Once enough wire is in the bars you can "fish" them out.
Horn Button
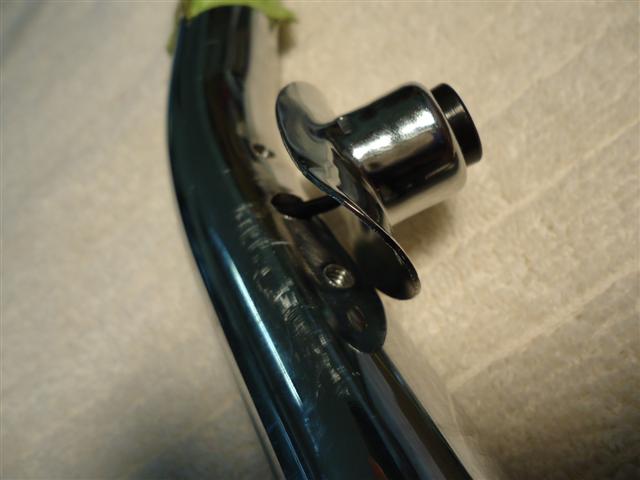
Note the simple and effective horn button. To install this switch you'll need to thread-tap two holes. I used original Harley sizing, which is machine-screw size 8-32 x 1/4".
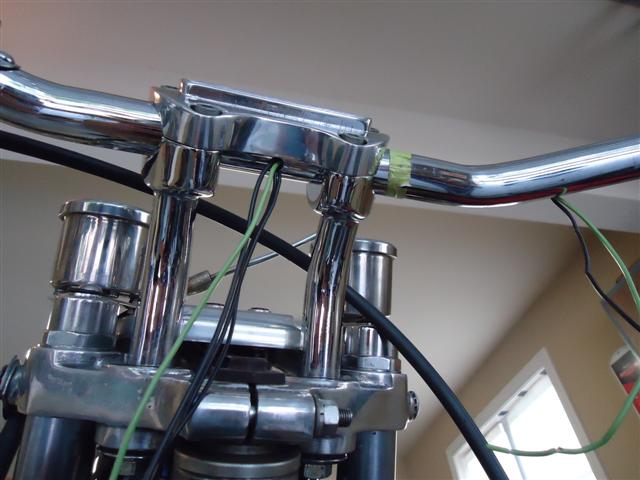
Once the handlebars are back on the bike, carefully trim the wires (measure twice, cut once). Keep in mind the bars will be turning left and right, so leave enough slack. Stagger your cuts so it does not create a huge bunch that will not fit through the bars.
Read: Solder or Crimp Motorcycle Wires
Soldering Wire Connections
- Strip both ends of wire with a pair of wire strippers
- Cut a piece of heat-shrink tubing
- Slip it over one end of the wire connection, sliding it up and away from the repair area
- Solder the wires together using resin-core solder
- After the repair has cooled to the touch, slip the shrink tubing back down over the connection
- Cover the soldered joint evenly with, tubing, heat and allow it to shrink over the soldered wire
After the wiring is done, the front brake lever and clutch cable were re-mounted.
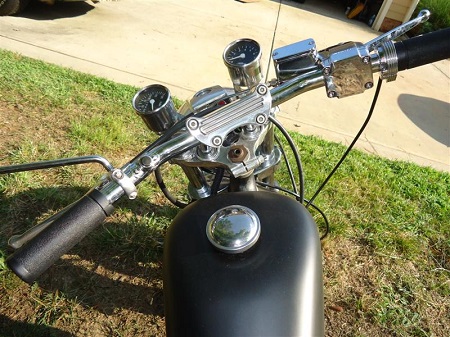
Drag bars with internal wiring on a 1976 Harley Sportster.
Re-install Brake Master
Once the brake master cylinder is back on and the line hooked up, add brake fluid and bleed the line. Protect your bike while filling and bleeding the brake line. Silicone brake fluid (DOT 5) does not harm paint, but glycol-based (DOT 3 and 4) brake fluid will remove paint.
Install the throttle side grip. Tighten in place with the switch housing and test the throttle for proper operation. Install right side grip. Re-check everything, then take a short test ride to make sure everything is working properly.
****************************
Related Articles:
Motorcycle Wiring
Wiring A Motorcycle From Scratch
Convert Harley To Points Ignition
