Wiring A Motorcycle From Scratch
Text and Pictures by Mark Trotta
Yes, it's a challenge, but you can do it once you've broken it down into smaller steps. Focus on one thing at a time, then move on to the next.
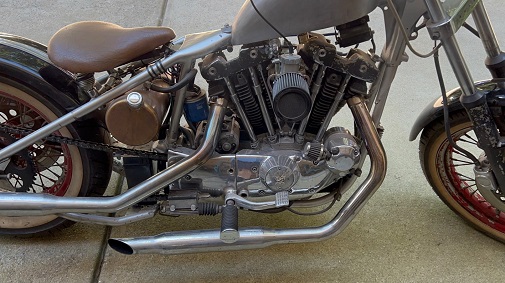
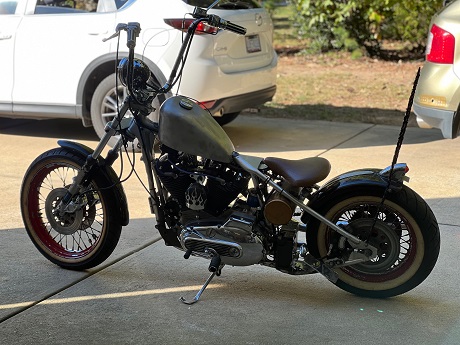
The bike in this article is a 1981 Sportster in a hardtail frame. The procedures should work for any motorcycle that has a battery (not magneto).
Before you start, it's a good idea to have all the electrical components on hand. This would include battery, generator/alternator, voltage regulator, ignition switch, headlight, taillights, and horn. Electric start components include starter motor and solenoid, switch, and relay.
Primary Wire
Most old motorcycle wiring is 16-gauge or 18-gauge. Heavier 12-gauge or 14-gauge wire is required when you need something that can handle a bit more load, like starter and generator wires.
The wire rolls you buy in auto parts stores are usually copper wire insulated with plastic. These are SAE-rated, but there is also copper wire insulated with silicone, and higher quality AWG rated wire.
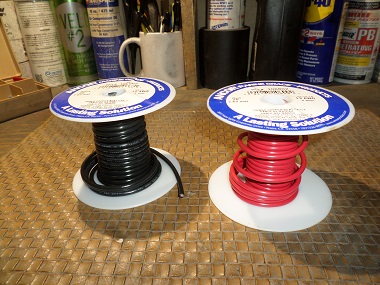
AWG sizing has more copper for a given gauge size than SAE-rated wire does, and more copper is better. This variation is about 10-20%.
Use crimp connectors or solder joints to connect wires to terminals.
Read: Solder or Crimp Motorcycle Wires
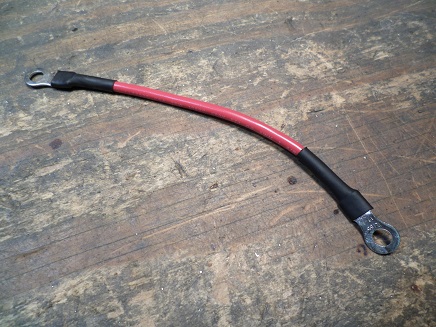
TIP: If you choose crimp connectors, take off the colored plastic caps and seal the terminal butts with shrink tubing instead. They'll function the same but look neater.
Wire Colors
Common abbreviations for wire colors are usually "BK" for black and "BL" for blue, "R" for red, etc. If the wire colors cannot be duplicated from original colors, make a note for future reference.
Draw Out A Basic Diagram
Drawing out a diagram in a notebook lets you visualize what needs to go where. Start with the ignition switch in the middle of the page. One at a time, add each electrical component to the diagram. Use as many pages as you like.
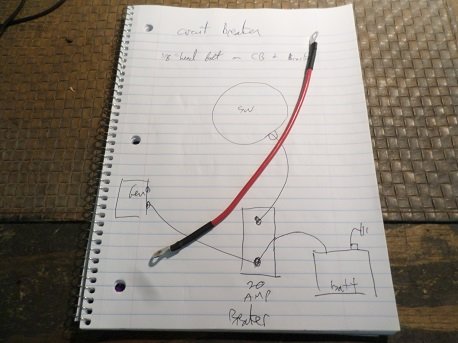
Mark down where each wire is starting, where it will end up, and what color it will be. I usually reference the factory manual for this.
******************
Best Place To Start
When you're custom wiring a complete motorcycle, you can start anywhere you like--headlight, taillight, or anywhere in between.
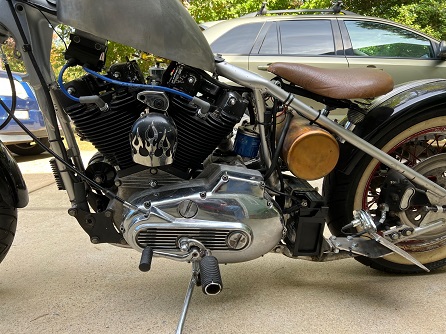
On this custom Sportster, we started with the battery, which was being relocated behind the motor.
Battery Size
The output of the generator should dictate how big a battery to use and what the amperage should be. Too high an output can cause damage. Not enough amperage will put extra work on the generator.
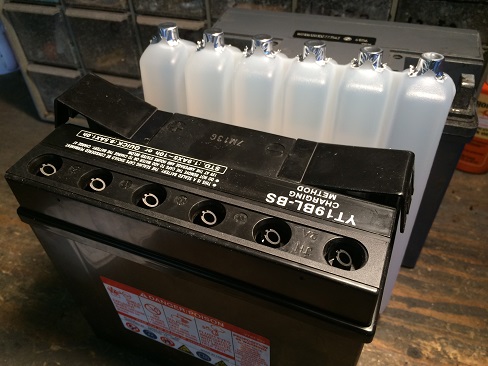
Because they're not always easy to get to, a maintenance-free AGM battery is a good choice for a custom bike. The battery in the hardtail Sportster below is a Yuasa YTX16-BS.
Dimensions of the Yuasa YTX16-BS are 6" length, 3-7/16" width, and 6-3/8" height.
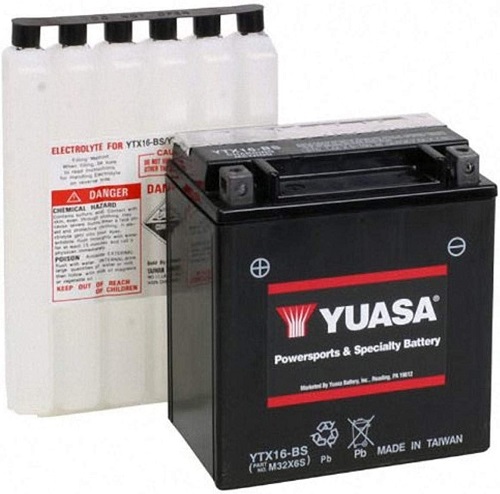
If you're installing an AGM battery on it's side, check with the manufacturer to verify that it can be positioned in that way. Some can but others can't, and it may leak around the terminals.
******************
Three Circuits
Even with basic wiring, it's a good idea to use three circuits, just like most manufacturers did. These would lights (headlight and taillight), accessory (horn, brake light, oil pressure light), and ignition.
Circuit Breaker or Inline Fuse?
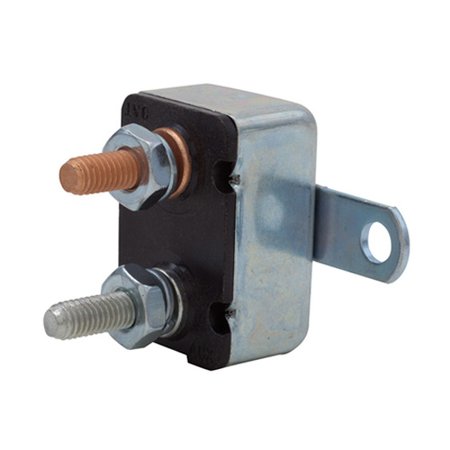
Installing a 20 amp in-line fuse or circuit breaker from the battery will protect your electrical system in event of an electrical surge. I opted for a 20-amp circuit breaker.
******************
Wiring Harness
Although wiring harnesses are available for most classic Harleys, if you're wiring a custom bike from scratch, you'll probably need to make a custom harness.
To protect the wires, there are several styles of wire loom, including black plastic, black cloth, and vintage-style cloth with patterns. They're usually available in 1/8", 1/4", 3/8", 1/2", 3/4", 1", and 1-1/2" rolls.
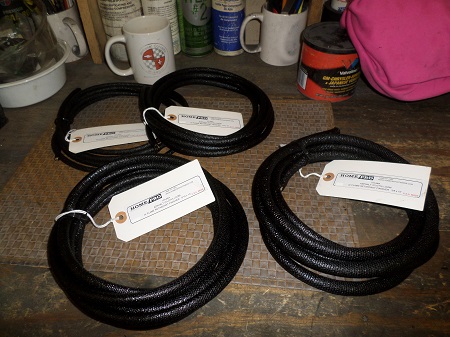
Cloth Wire Loom
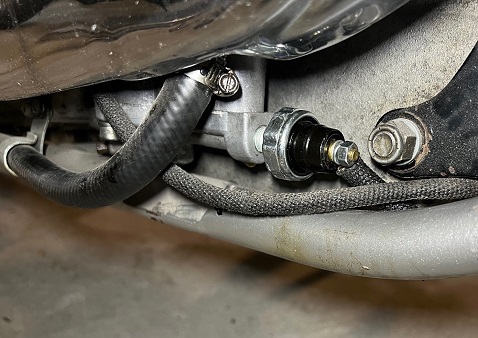
Cloth wire loom has an old school look to it.
******************
Ignition Switch
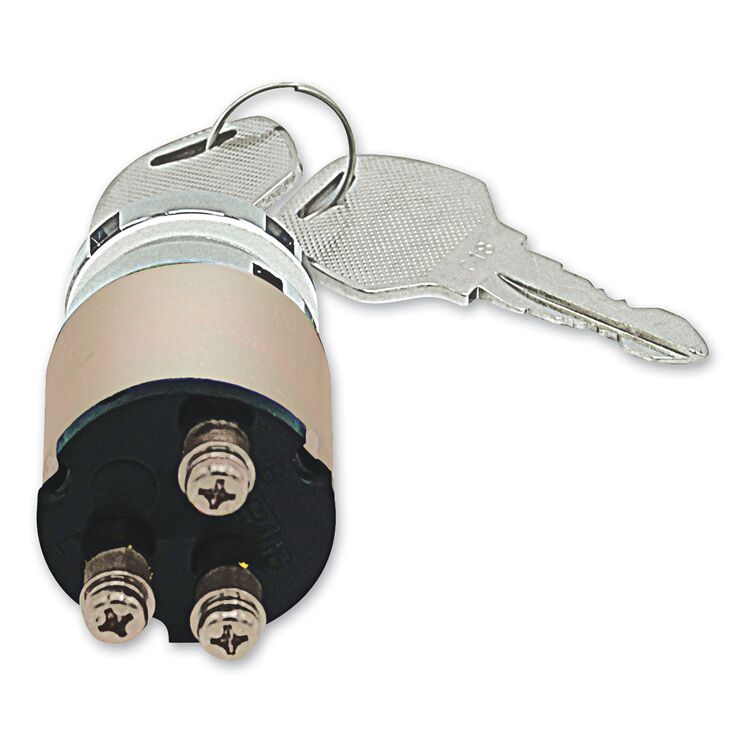
This ignition switch is actually a direct replacement for 1970 through 1995 Harleys (OEM 71425-77T) as well as many custom chopper brands.
******************
Headlamp Connector
Connecting a headlight requires a headlamp wiring connector block that has three wire leads, which are usually color-coded green, white, and blue.
Horn and Switch
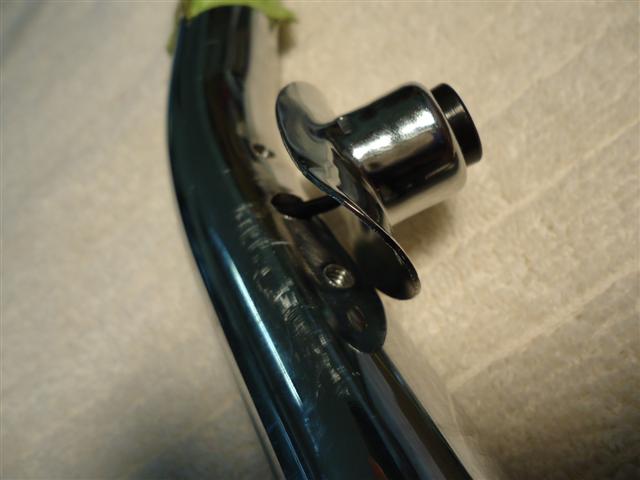
Chrome mini horn from Milwaukee Twins is just 2-1/2" in diameter. Includes a universal mount bracket.
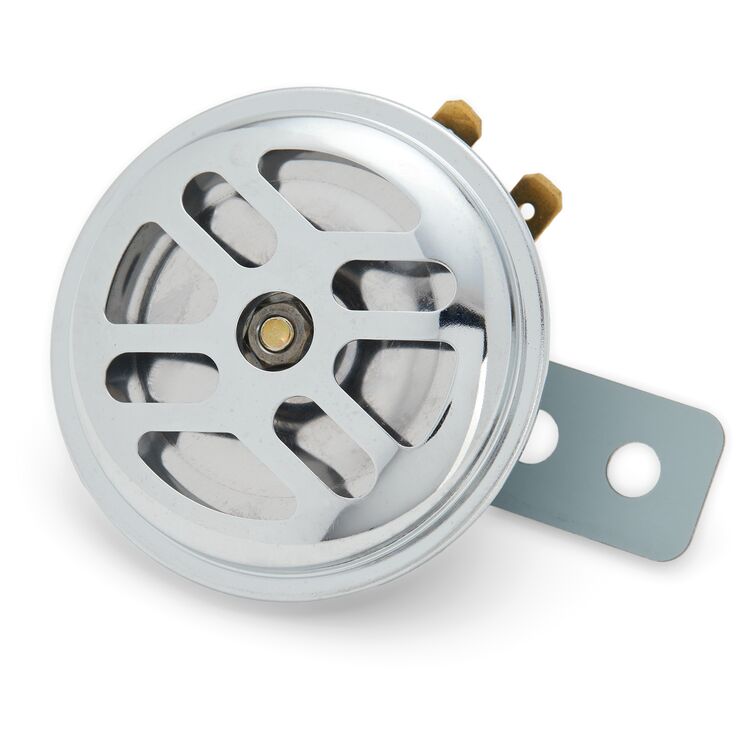
To install a horn button on handlebars, you will need to thread-tap two holes. Here we're using machine screw size 8-32 x 1/4" length.
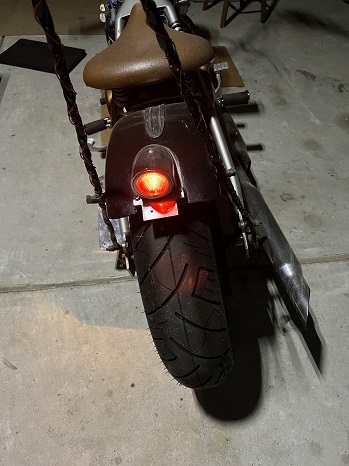
Taillight Wiring
Taillights draw three amps or less, so 16-gauge wire is fine.
******************
Distributor and Ignition
Seems like a lot of modern mechanics don't like points because they don't understand them, and incorrectly assume they are unreliable. Once properly set, a points ignition will run fine for 5,000 miles or more, without needing to be "fiddled" with. So unless your classic bike is a daily rider, points ignition is fine.
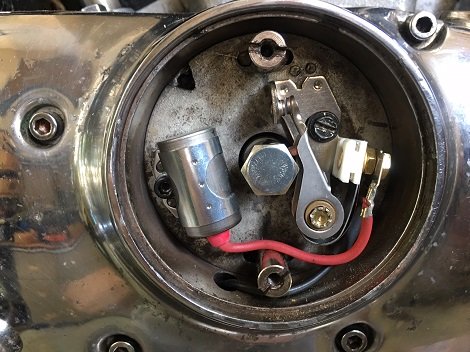
Read: Convert Harley To Points Ignition
******************
6-Volt to 12-Volt Conversion
Harley-Davidson used 6-volt electrical systems on trikes until 1963 and motorcycles until 1964. If you're converting from 6v to 12v, make sure the new battery will fit. You may also need to replace the battery cables.
Ignition points will work with either 6-volts or 12-volts, but the condensers are different. If converting, buy a 12-volt ignition coil. They have more windings and will work much longer.
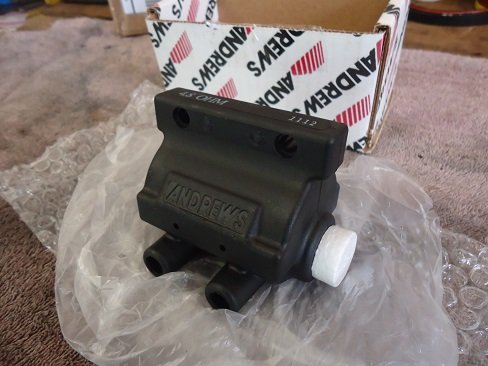
Read: Harley Points and Condenser
******************
Final Thoughts
Once everything is correct and working as it should, use plastic wire ties to secure wiring and harnesses.
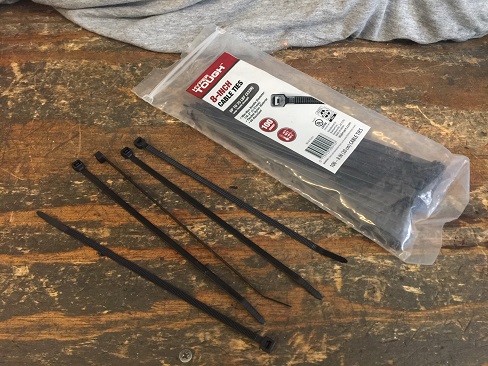
Make sure that both the battery and the motor are grounded to the frame.
Ride Safe.
*******************
Related Articles
Basic Motorcycle Wiring
Electric Start Ironheads
How To Wire Handlebars Internally
