Sportster Primary Chain Remove and Install
Article and Pictures by Mark Trotta
Repairs and services that require primary chain removal include clutch drum replacement, transmission removal, and bottom end overhaul.
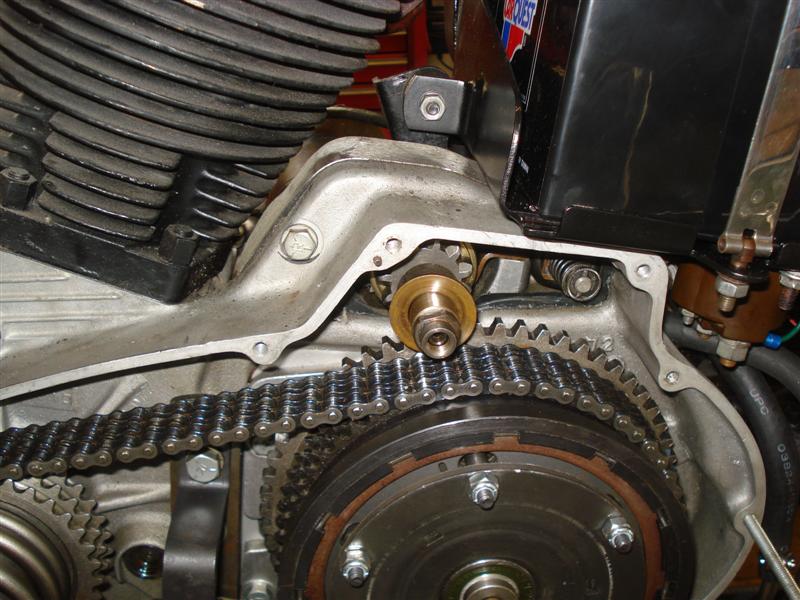
On my 1976 XLH1000, I needed to remove the clutch drum to replace the electric-start Bendix gear.
*********************
This article explains how to remove and reinstall the primary chain, and what tools and equipment are needed.
Getting Started
For safety's sake, if you have an electric-start bike, disconnect the battery.
Remove the hand clutch lever.
Remove left foot peg.
Remove rear brake lever on 1974 or earlier bikes, or shifter lever on 1975 and later bikes.
Place a drain pan under motorcycle. Remove the bottom oil plug from the primary cover and drain oil.
Primary Cover Removal
NOTE: There are different length bolts holding the cover.
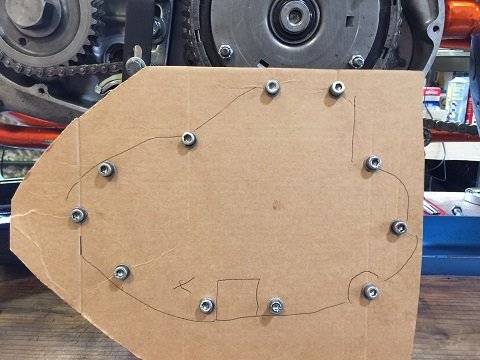
A piece of cardboard with holes punched in it will keep the bolts in order.
NOTE: On some models, you may have to remove the battery and tray to remove the cover.
Early vs Late Chain Tensioner
On pre-1977 models, loosen the bolts from the primary chain adjuster. It can stay in place while removing the chain.
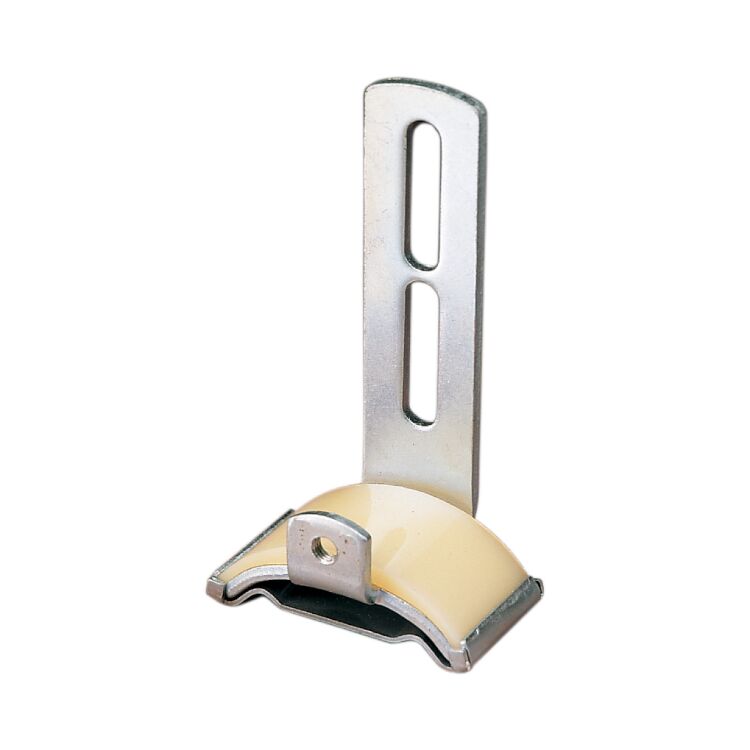
NOTE: On 1977-up models, loosen the tensioner from underneath cover before trying to remove.
*********************
The clutch assembly comes out next.
To remove the 6 pressure plate nuts, a clutch spring compressing tool is needed to take pressure off the clutch assembly. You can either buy one, borrow one, or make one.
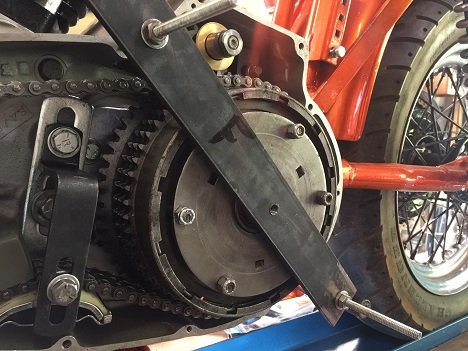
Read: DIY Sportster Clutch Removal Tool
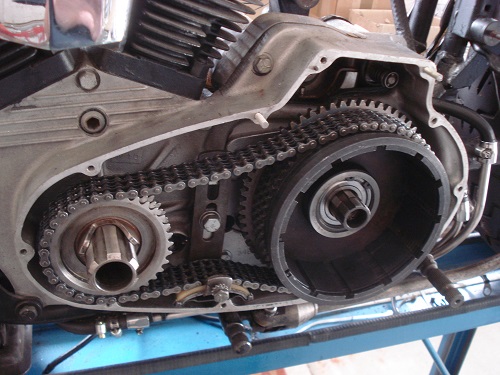
Read: Remove and Install Ironhead Clutch
*********************
Compensator
Some Ironhead models have a compensator on the front sprocket.
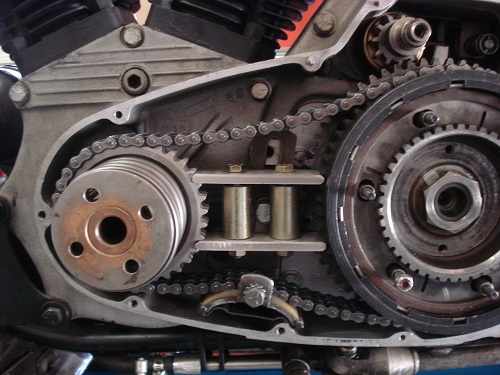
To remove the compensating sprocket shaft nut (front pulley) a specialty tool is needed. One can be made, but they're pretty cheap to buy.
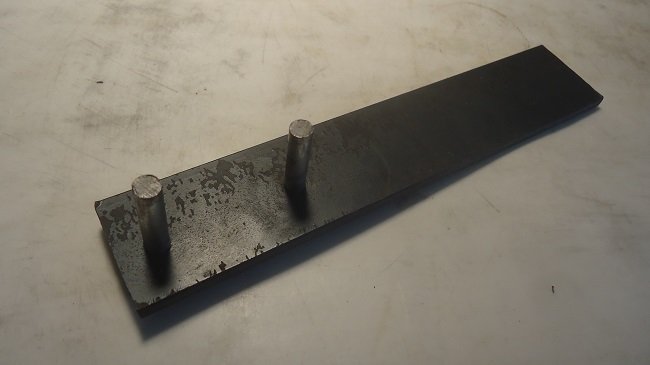
Compensating sprocket shaft assembly includes sprocket shaft nut, sprocket spring, sliding cam sleeve, sliding cam, and sprocket shaft extension.
*********************
Sprocket Locking Link Tool
You need to keep the two sprockets from turning to remove the large hub nut.
One way is to use a special tool, as shown below.
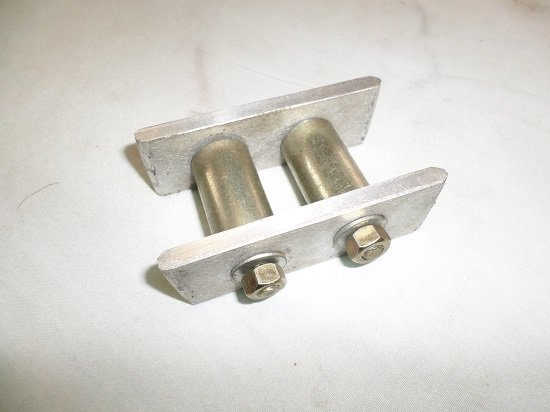
The tool fits in between the clutch hub and the large nut.
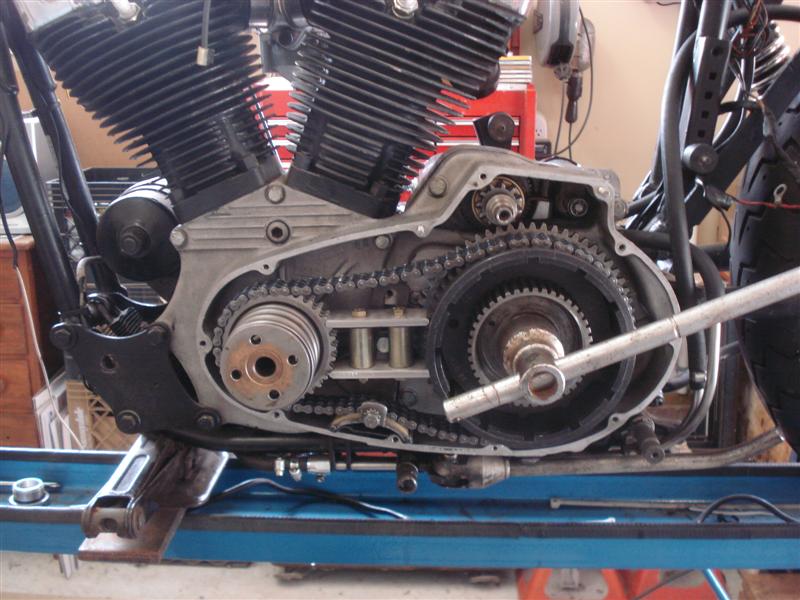
A 1-1/2" socket is needed to remove the large nut.
Another way is to use a stepped plastic locking tool, which can also be used on other motors.
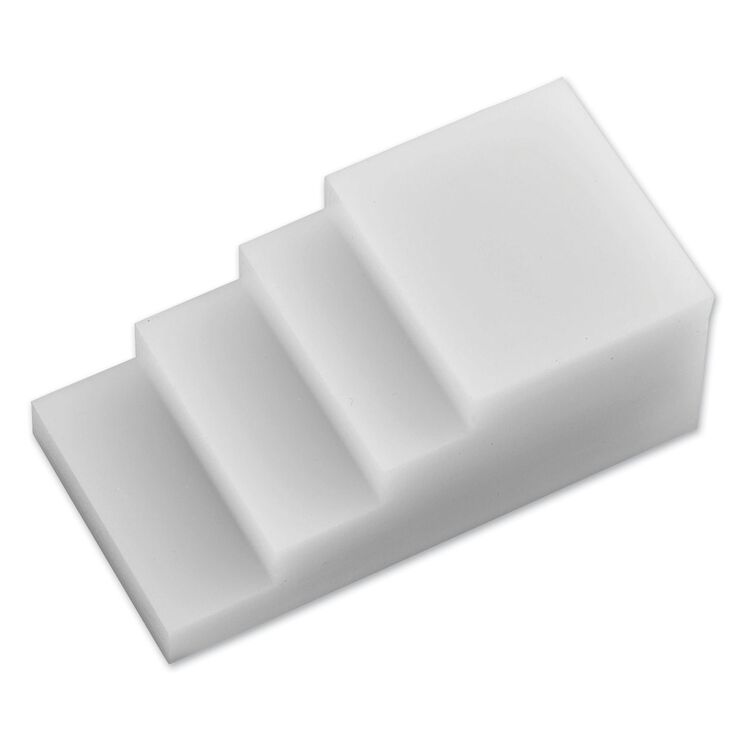
Another method is to use an impact gun, instead of the locking tool.
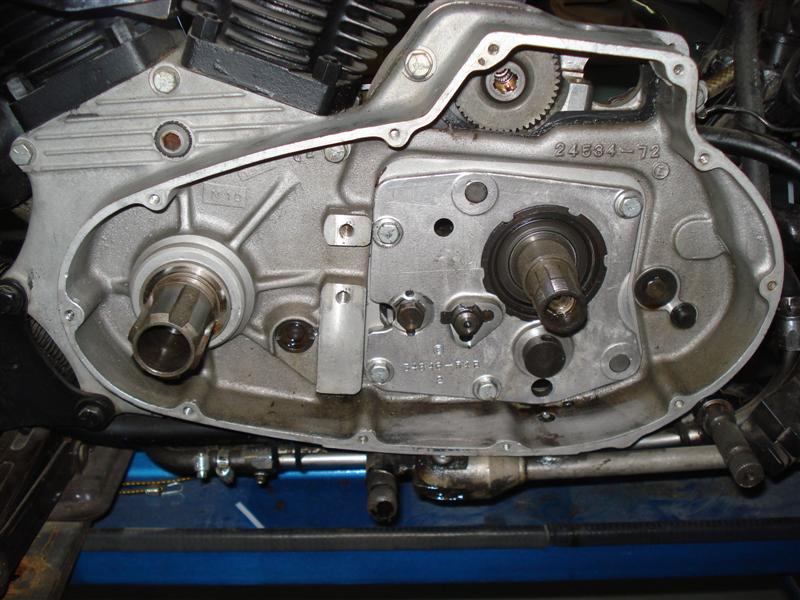
Once removed, bend back the tabs of the lock washer so you can get to the hub nut. The shaft nut, clutch shell, and primary chain come off together.
*********************
Inspect Parts
The primary chain is 94-link triple-row. OEM part number is 40005-57.
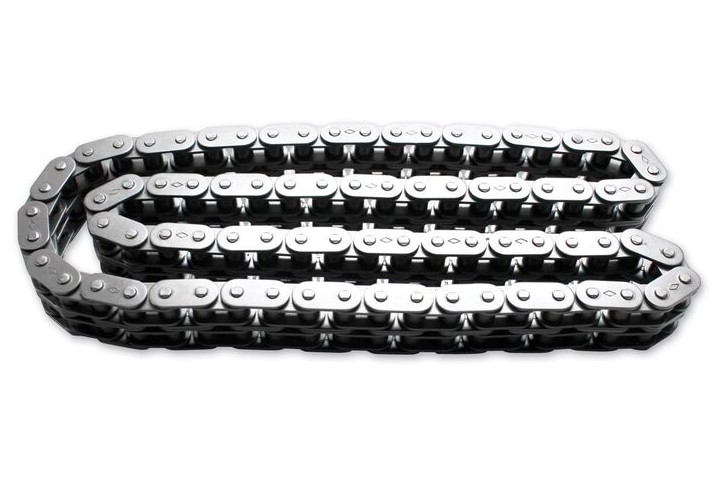
The same primary chain fits all Ironhead Sportsters, and continued into Evo models.
Since it runs in an oil bath all it's life, chains generally do not wear out. Unless your bike was abused or raced or sat dry for many years, it may not need replacing.
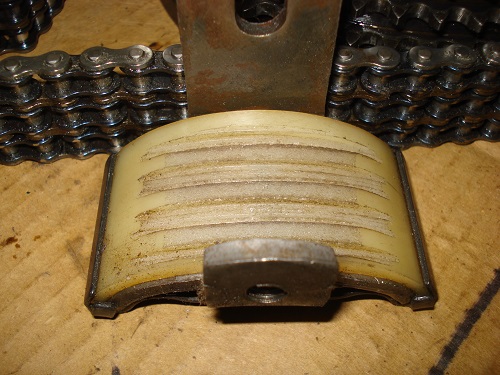
Inspect the chain adjuster plastic shoe. If it has deep grooves (like the one in the picture below) or it's worn (less than 1/4" of original thickness) replace it.
Check the clutch shell for any wear or damage. Look for worn sprocket teeth or damaged ring gear teeth.
Install Primary Chain
The hub nut and lock washer go back over the clutch gear splines.
Replace lock washer with new one. You can buy one here.
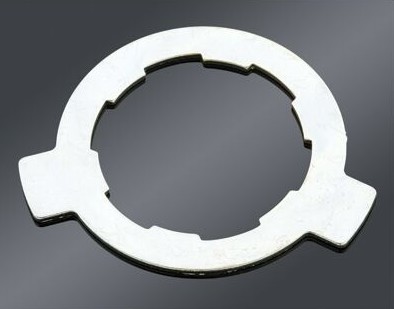
Install the lock plate tool to tighten the sprocket shaft nut.
The clutch hub gets tightened with a socket, and has a torque spec of 150 foot/pounds. It may be necessary to strike the socket handle with a soft mallet.
After tightening, bend the ears up on the new lock washer. This prevents the nut from loosening.

Primary Chain Tensioner
There are several different primary chain tensioners for Ironheads:
- 1957 to 1976 XL and XLH: 39975-52B
- 1958 to 1969 XLCH: 39975-54A
- 1977 to 1980 ("old style") - 39975-75
- 1980 to 1985 ("new style") - 39975-80
Primary Chain Adjustment
Whichever tensioner you may have, the chain should have 3/8" to 1/2" movement at it's tightest spot. To re-install clutch assembly, refer to clutch remove and install page.
Reinstall primary cover with new gasket. Gasket sealant is not necessary.
There is an early and late primary cover gasket for electric-start motors. If you bought a James Engine Gasket kit, it comes with both.
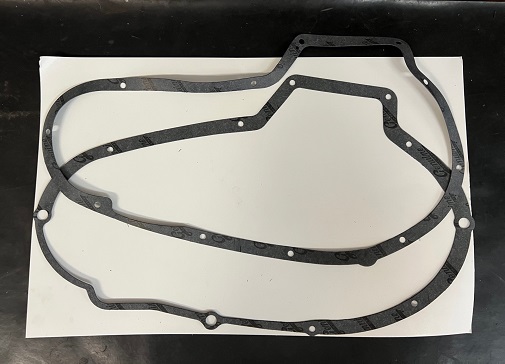
Shop: Ironhead Primary Gasket 1967-1976
Shop: Ironhead Primary Gasket 1977-1985
After the primary cover is back on, the rear foot peg and lever can be re-installed.
For procedure on clutch adjustment click here
Primary Oil
On all Ironheads, primary oil and engine oil are the same.
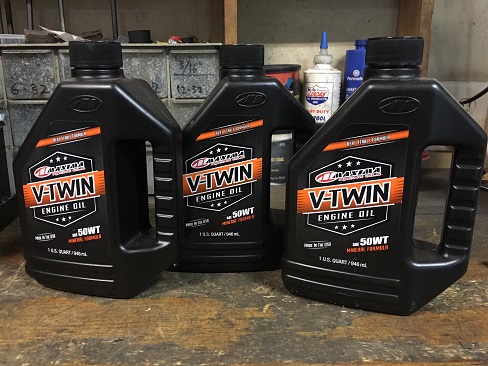
For vintage and classic Harleys, I like mineral-based oil.
*********************
Dress-Up Kit (Both Sides)
Drag Specialties offers a nice side cover hardware kit for 1977 through 1985 Sportsters. Includes Allen-head bolts for cam cover, primary cover, and sprocket cover.
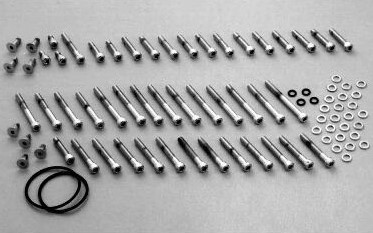
Shop: Side Cover Hardware Kit For Sportster 1977-1985
*********************
Related Articles: