Servi-Car Brakes
Text and Pictures by Mark Trotta
This article covers rear drum brakes on 1951 through 1973 Harley-Davidson trikes.
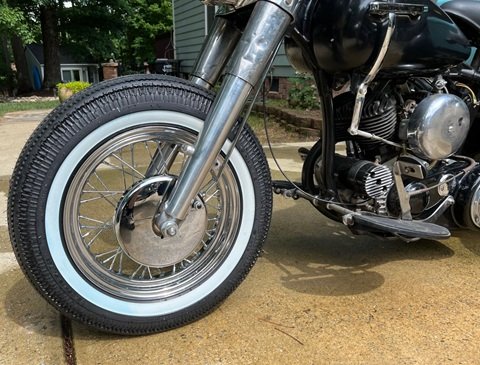
Front drum brake overhaul is covered here.
********************
Removing Rear Drums
Before the rear drum comes off, there is a castellated axle nut and cotter pin that need to be removed. Do not try to bang off the drum with a hammer if it doesn't come off easily - it's a tapered fit on the rear axle.
You'll need to use an appropriate puller to remove the drum. A slide hammer with puller attachment works well.
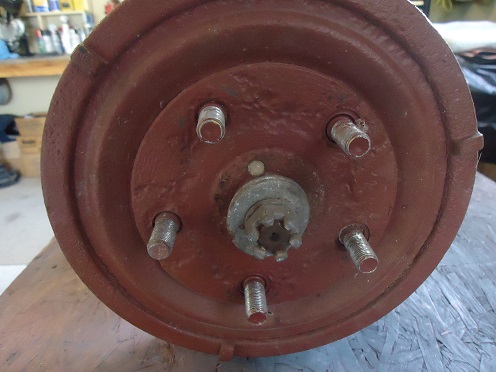
Once the drum is removed, you'll find an axle shaft spacer behind it. There is a square keyway that fits into a slot on the axle shaft. If yours is lost or damaged, keyway size is 1/4" x 1/4" x 1-3/4".
TIP: Apply a thin coating of anti-seize on the end tapers when re-assembling.
Rear Drum Specs
Rear brake drums from 1951 through 1972 measure 9" inside diameter and are 2-1/4" deep. They carry H-D part #83800-51.
**********************
Replacement Parts
Many Servi-car brake parts are the same as select 1948 through 1963 Willys Jeeps. This is because Harley-Davidson did not produce these parts, they bought them from an outside source. These include the master cylinder, wheel cylinders, and brake shoes.
Servi-Car Master Cylinder
Although no longer available from Harley-Davidson, the master cylinder is actually the same one used on many fifties vehicles.
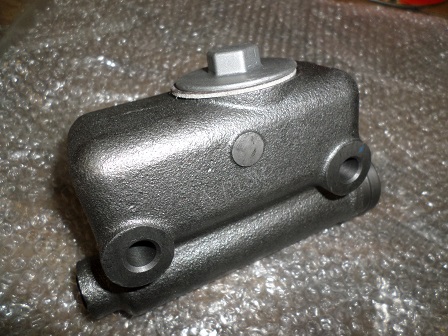
Originally, 1951 through 1955 models had a removable top--later master cylinders were one piece with a threaded cap. These two styles will interchange.
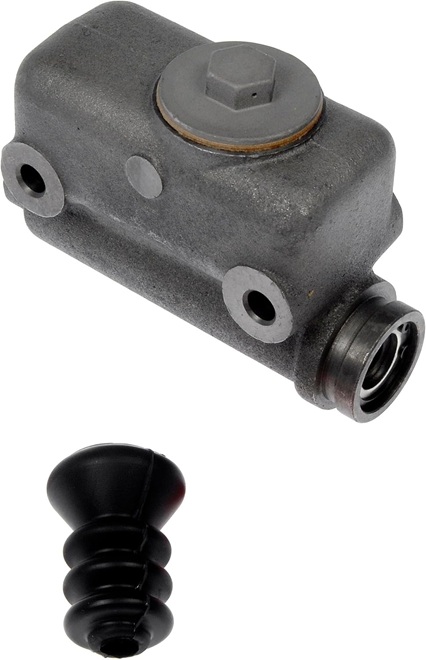
Dorman M2796 Brake Master Cylinder fits 1951-1972 Servi-Cars, select 1948-1963 Jeeps, and several 1950's American cars, such as Studebaker, Packard, Hudson, Nash, and others.
NOTE: Center-to-center bolt hole length for the Servi master-cylinder is 3-7/16". Earlier 1941-1947 Jeep master cylinders are nearly identical, but have a bolt center length of 3-1/8" and the front mounting hole is threaded. Although it would work on a Servi-car, it would not fit the frame bracket correctly.
Wheel Cylinders
Servi-Car rear wheel cylinders have a 7/8" bore and are the same from 1951 to 1972.
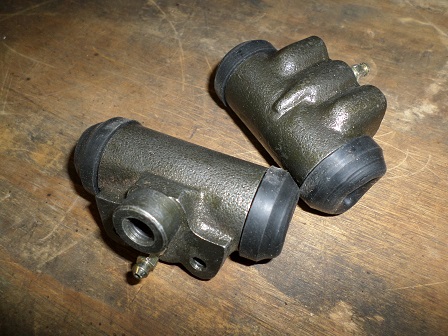
Very often, old wheel cylinders are rebuildable. You may still be able to buy rebuild kits from a good auto parts store (try a NAPA store).
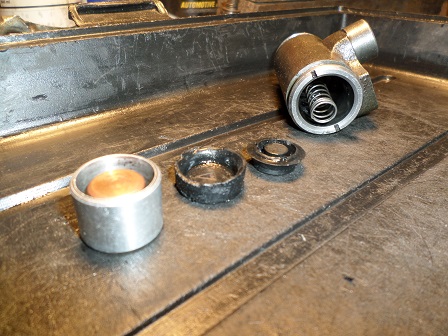
Read: Rebuild Wheel Cylinders
**********************
Rear Brake Hardware
Brake shoe hardware for 1951 through 1972 Servi-Cars includes one (long) return spring on the top and one (short) retainer spring on the bottom for each side. There are also four brake shoe hold-down clips, two for each side (one for each shoe).
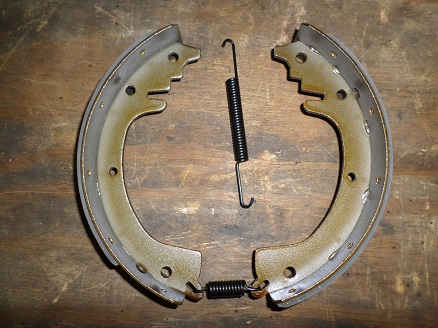
If needed, shims are installed behind the rear backing plates. These are a "use as required" part to correctly space the backing plates from the flange mounts on the axle tubes.
**********************
Rear Brake Shoes
Rear Servi brake shoes are 9" x 1-3/4" and appear to be the same as Willys model M38A1 (part #807376). To install the rear shoes, first attach a front and rear shoe at the bottom with the shorter spring. Then install the hold-down clips.
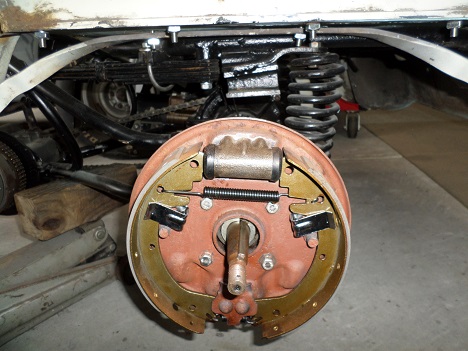
Next, line up the brake shoe "ears" into the sides of the wheel cylinder. You will need a pair of brake spring pliers to install the top (longer) spring.
********************
Steel Brake Lines
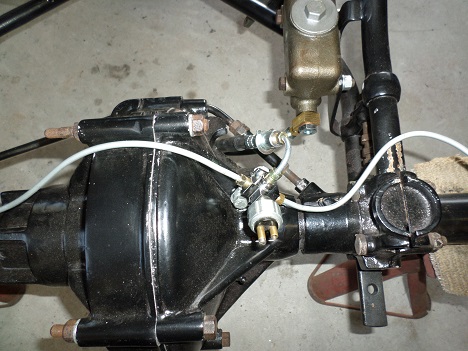
You can buy or fabricate steel brake lines. Three are needed, left-side, right-side, and master cylinder to junction block.
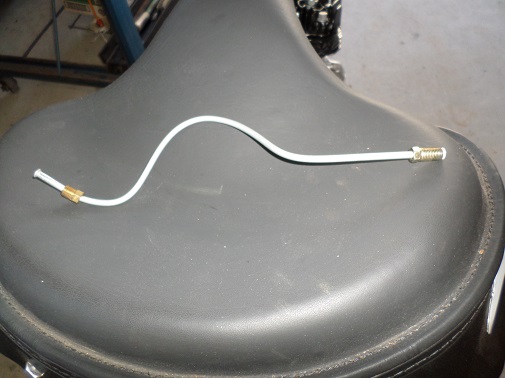
Read: How To Make Brake Lines
Stop-Light Switch
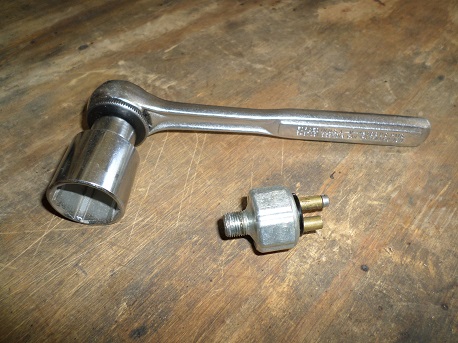
There is a rubber brake hose runs from the back of the master to a four-way junction block mounted to the rear axle. Also on this junction block is a hydraulic stop-light switch, which lights up the brake lights when pressure is applied.
The right-side foot-brake linkage connects the front foot lever to the rear pivot bracket. It is comprised of pivot lever OEM# 83525-51, pivot bolt #83528-51 (with grease fitting), and clevis pin kit #42269-30.
********************
Bleeding Servi-Car Brakes
Because the master cylinder sits lower than the wheel cylinders do, bleeding Servi-car brakes by gravity is not possible. Here's an optional way:
Attach a length of 3/16" clear tubing (from an aquarium pump or something similar) to the bleeder screw, and submerge the other end into a clear container filled with a couple inches of brake fluid.
Doing one side at a time, open the bleeder, and depress the pedal. Close the bleeder before you release the pedal. Repeat this procedure until you get fluid with no air bubbles, then go to the other side. Go back to the first side and check that no air from the other side entered that line. If your master cylinder is in good condition, bleeding the brakes should only take 10-15 minutes.
Brake Pedal Adjustment
With the back of the trike up on jack stands, rotate the rear wheels and check for excessive drag. The brake rod should be adjusted so the brakes don't take effect until the foot pedal is about an inch down.
When properly adjusted, the rear brakes should be fully applied before the foot pedal goes all the way down.
*********************
Related Articles:
Best Thread Sealant For Brake Fittings
1961 Servi-Car Restoration
Servi-Car Frame Identification and Inspection
Servi-Car Cargo Box and Fenders
Servi-car Axle Overhaul
