Replace Harley Fork Seals 35mm
Article by Mark Trotta
If your old Harley is showing oil on the top of the fork sliders, it's time to replace the fork seals. Don't put it off, because it'll just get worse, and if oil starts dripping onto the brake caliper and rotor, you could lose braking.
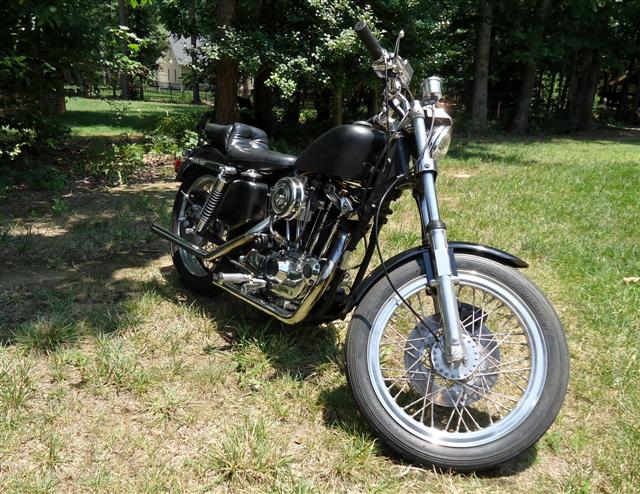
The bike in this article is a 1976 Harley Sportster XLH. Fork seal replacement is basically the same for 1973 through 1986 Harley FX and Sportster models.
Note: 1973-1974 models require different fork seals.
Motorcycle Shop vs DIY
Most dealerships charge $300 to $400 to replace fork seals, which is an hour or two of their labor plus full price of the seals and fork oil. And if you have a 40+ year-old bike, is not uncommon for a shop to decline the work.
Chances are if you're reading this article, you're thinking of replacing the fork seals yourself. It can be a time consuming task, but on the other hand, it's an opportunity to learn new skills and save a few hundred bucks.
**************************
Fork Seal Replacement
On Harley models with 35mm Showa forks, removal of the forks is required when replacing fork seals. This will involve removing the front wheel, fender, brakes, and hand controls.
You'll need to prop up the front of the bike while you have the bottom forks removed. A motorcycle lift stand makes jobs like this much easier, but you can use a scissor jack under the frame.
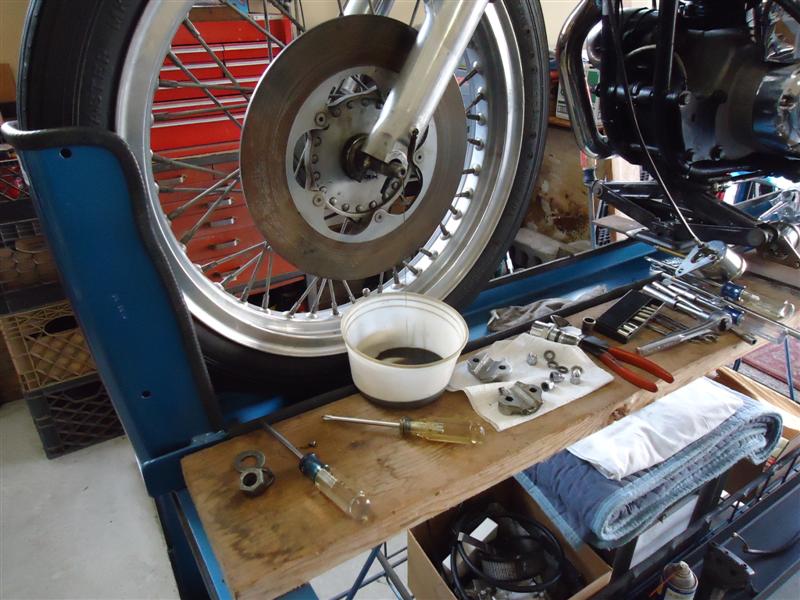
If your speedometer cable goes to your front wheel, it needs to be removed.
Drain out the old fork oil. The drain plug is a small Phillips-head screw on the bottom of the slider-tubes near the axle.
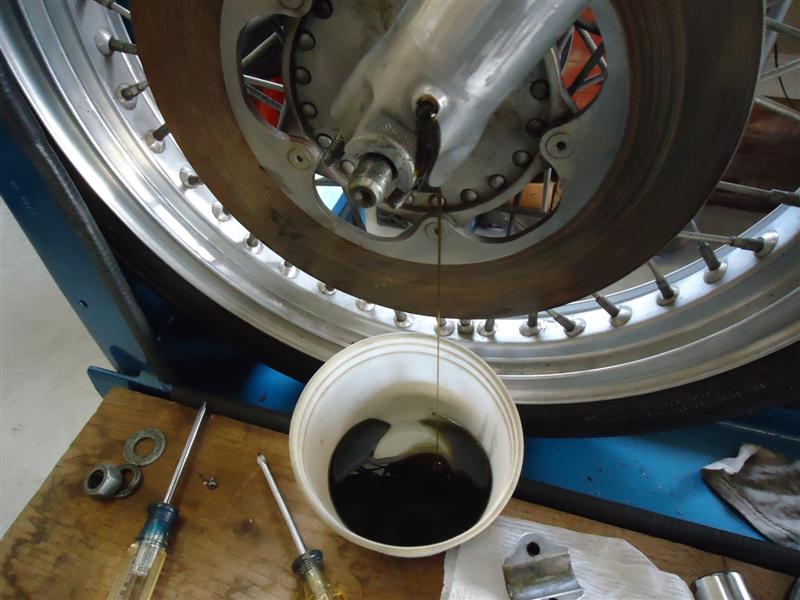
NOTE: Old fork oil can be recycled with motor oil.
With the bike secure, raise the front of the bike until the front wheel is free.
On my homemade motorcycle work stand, extra tie-downs were added to ensure the bike was secure.
Remove the axle nut and push the axle out of the wheel using a mallet or hammer and a piece of wood.
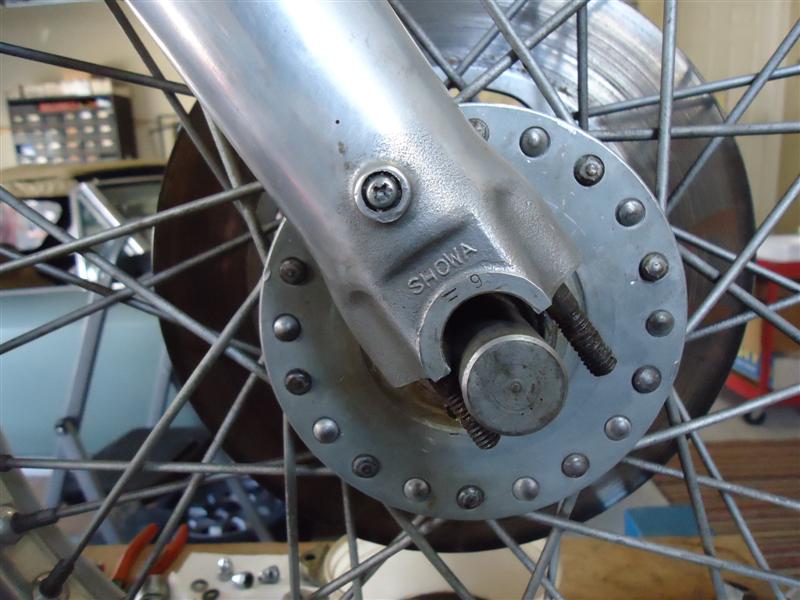
Remove the wheel from the front forks. Either write down a diagram on how the spacers came off, or arrange them neatly in the order removed.
Remove the large cap nuts on the top of the fork tubes. Use the correct size socket on the cap to prevent damage to the nut. The cap is under mild spring tension; use caution when removing the cap.
Remove Lower Fork From Upper Fork
The slider bolt, or pinch bolt, is located at the bottom of the fork tube inside the axle saddle. Removing the fork slider lower bolt on this Sportster required a 6mm Allen socket.
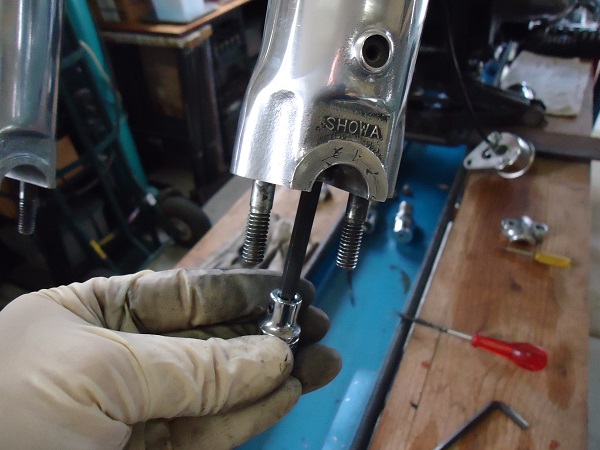
Pull the fork tube out of the slider, and drain out any residual fork oil.
Fork Seal Replacement Tools
Harley models with Showa forks have lock-rings over the fork seals, which require snap-ring pliers to remove. Other tools required are some sort of seal driver to put the new seal in. These can be bought, usually as a kit, or can be fabricated from PVC pipe.
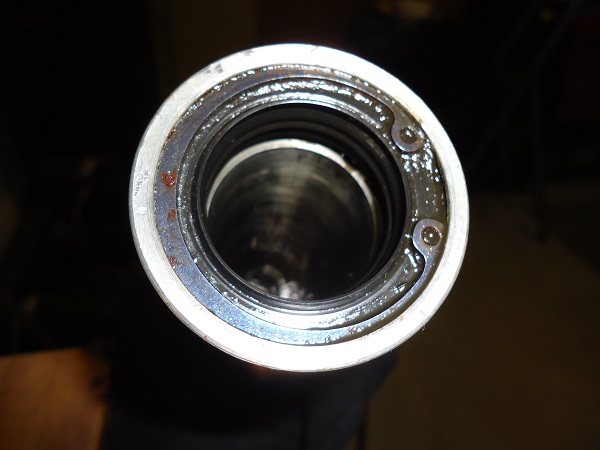
Remove Old Fork Seal From Fork
Fork seals can be pretty stubborn to remove, especially if they've been in there for who knows how many years. You may get lucky and they may come out by prying them with a dull flat-tip screwdriver. If not, there are several methods to get them out.
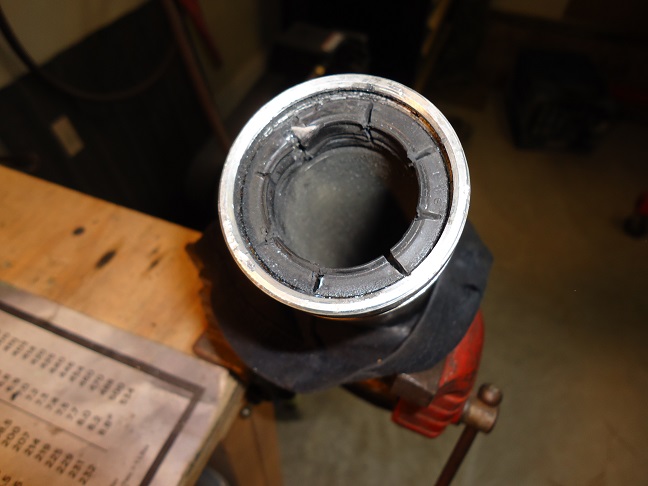
These old fork seals wouldn't budge, so I carefully cut slices in them with a cut-off wheel, and then pried them out. If you do this, be careful you don't cut into the inner or outer surface of the slider - the aluminum is fairly soft and easy to gauge.
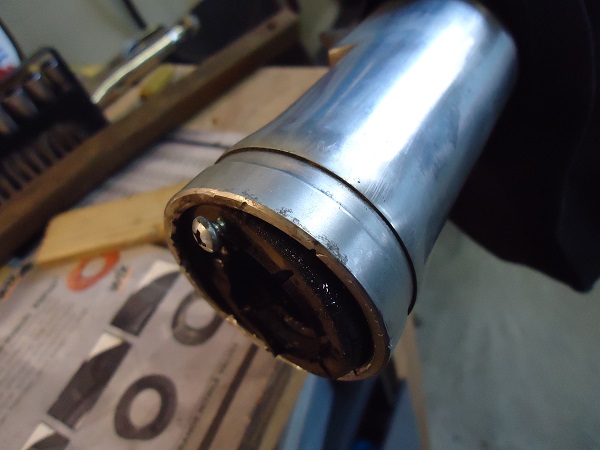
Another way to remove stuck fork seals is to thread two screws into them, on opposite sides, then pull them out using the head of the screw as the fulcrum.
Some techs will apply heat to the outside of the fork slider, which softens the seal. Either a heat gun or propane torch would work with this method.
**************************
Fork Inspection
Once the seal is out, wash the lower fork out with brake parts cleaner. Inspect the tubes for nicks, burrs, and pitting in the chrome. Any of these will cause the new seal to leak.
It's important to also check the inside of the lower forks for any nicks or dings. Minor scratches can be cleaned up with a small piece of Emory cloth.
**************************
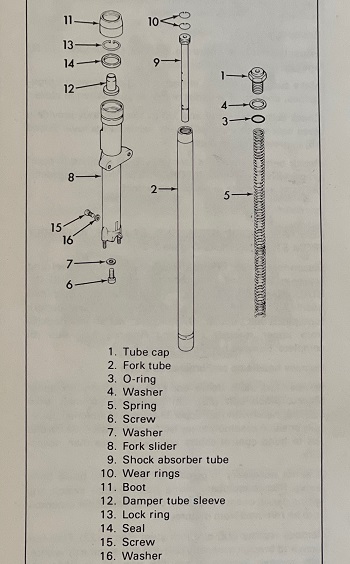
Harley 35mm Showa Fork Illustration
**************************
Fork Seal Kit
The best quality seals for classic Harley motorcycles are made by James Gasket. Part # 45849-75 fits 1975 through 1984 Sportsters and FX models.
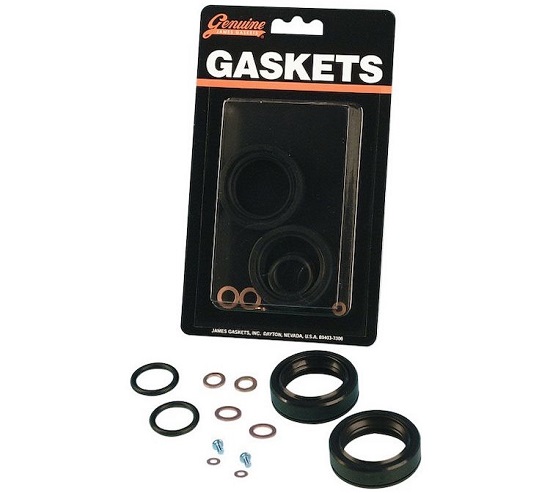
Shop: Harley Sportster Fork Seals
**************************
Install Fork Seals
The fork seal is installed with the open part facing downward. Lightly moisten the inner surface with fresh fork oil. Carefully slip it over the top of the stanchion and slide it down to the slider.
If you have a seal driver set, drive the seal into the slider. A piece of PVC pipe often works. It can also be tapped in with drift and light hammer.
Replace the oil seal lock-ring shiny side down. Double-check that it has snapped correctly into the ring groove.
Remember to re-install the fork boots before putting the lower forks back on!
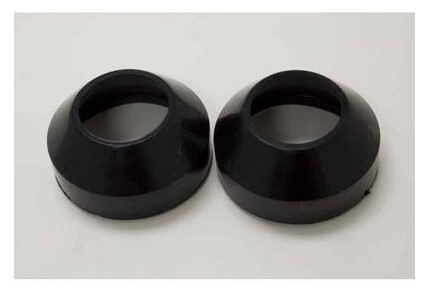
Harley 35mm fork boots are the same from 1975 through 1987. If yours are ripped or torn, you can buy them here.
Slide the fork slider onto the fork tube, and fasten the original screw and washer. The factory manual called for my fork slider screws to be at 11 ft-lbs.
**************************
Related Work
Before reinstalling the front wheel, check the bearings and races for any grinding or pitting. Old and leaking wheel seals should be replaced as well.
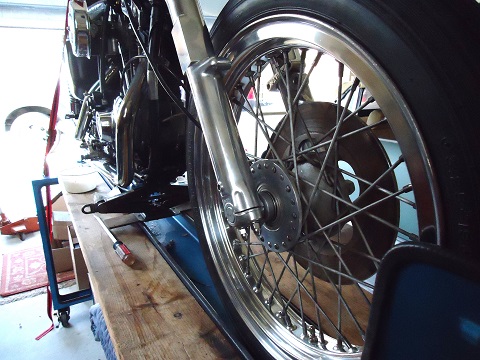
This would be a good time to clean the front rim, add gaiters or polish the lower forks.
**************************
Reinstall front wheel onto the fork sliders. Make sure that spacers are reinstalled in the correct locations. Replace the axle nut, fork slider cap nuts, being careful not to cross-thread the nuts.
Reinstall the speedometer cable and brake caliper. Average axle nut torque is 50 ft-lbs. Check your shop manual for specific year and model.
**************************
Install Fork Oil
Most bike manufacturers recommend 20 weight fork oil for average conditions. For extreme conditions, use 10 weight (cold weather) or 30 weight (warm weather).
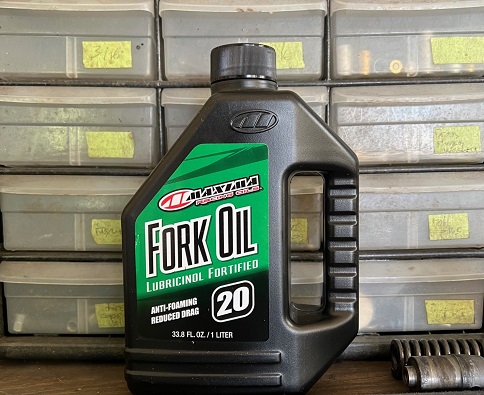
Dry fork requires .5 to 1.0 ounces more than the wet amount due to residual oil left clinging inside the fork.
WET: Means you just drained the oil out of the plug and want to refill it.
DRY: Means you disassembled the forks and cleaned them dry inside and out.
Another way to measure is to push the forks down all the way while the caps are off, and fill it to 5" below the upper edge of the fork tubes.
**************************
Fork Oil Level Tool
Porotmotor offers a tool to quickly measure fork oil level.
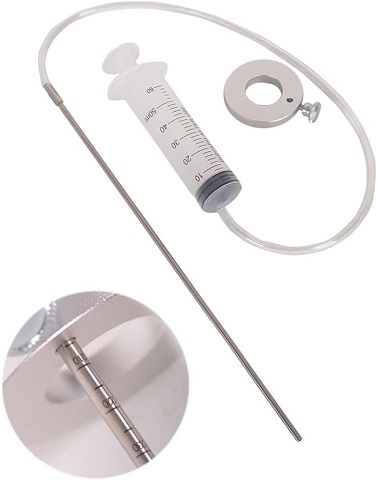
Shop: Fork Oil Level Tool
**************************
Related Articles:
1977-1983 Harley Dual Caliper Rebuild
1973-1977 Harley Caliper Rebuild
AGM Motorcycle Battery Review
Motorcycle Lift Stand Review
