Repair Stripped Threads In Aluminum
Article and Pictures by Mark Trotta
One of the chain adjuster bolt holes had stripped out on this old Sportster motor, which prompted engine disassembly and repair.
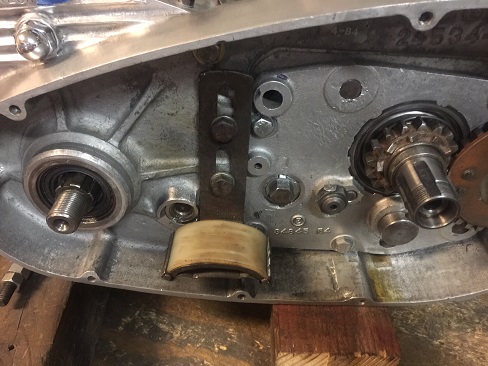
This article is a step-by-step on how to install thread inserts in aluminum. But first, a quick mention of other methods to repair stripped threads.
Option One: Weld Hole And Re-Tap
If you happen to be proficient at aluminum welding, or willing to pay someone that is, damaged threads can be repaired by filling up the hole, then drilling and re-tapping. This is the most permanent way to repair a stripped thread, but also the most difficult and time-consuming.
Option Two: Enlarge Hole And Re-Tap
Another option for stripped thread repair is to drill out the damaged hole to the next available size, then tap new threads into it. Often times, this method may not be an option because of space constraints. It also takes a bit of originality away from a vintage engine, and having one different size bolt is often awkward.
Option Three: Thread Insert Kits
Which brings us to the most common way to repair stripped threads in aluminum, and that is by installing a thread insert.
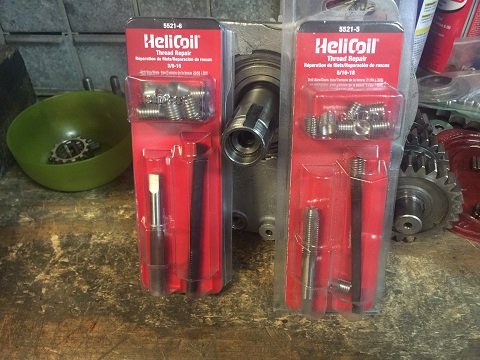
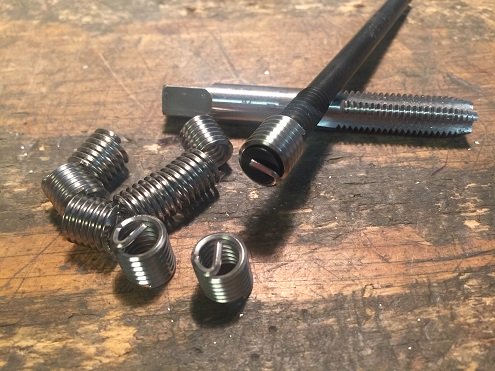
Thread repair tools are commonly sold in kits, which include the inserts, a special tap for the inserts, and an installation tool. Some kits include a required drill bit.
Brands and Styles
There are many styles and brands out there, but the oldest and most well-known is U.S. made HeliCoil, which is what I'm using for this repair. Which one you choose may depend on availability of the size needed.
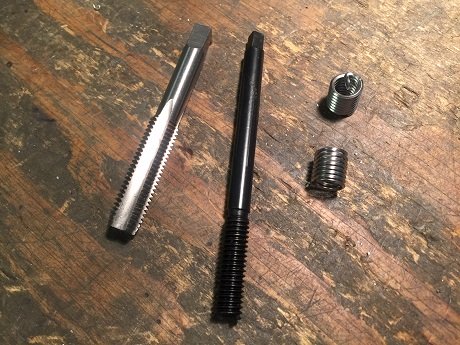
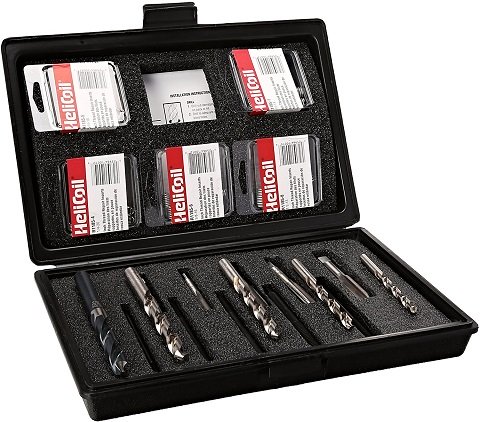
Helicoil kits can be purchased individually as needed, or you can buy a master kit which contains several sizes.
Either way, a special tool is included, which is a black plastic rod with a hook on the threaded end, and a square drive on the other.
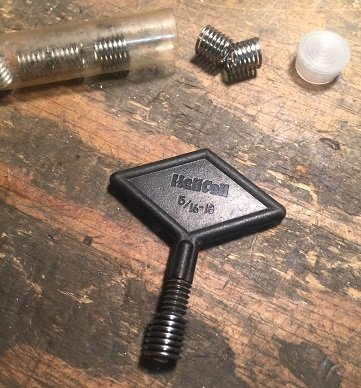
I have several older kits with a diamond-style handle. These also work well, but the newer version makes it easier to install an insert deeper into a hole.
Stainless Steel Thread Inserts
The inserts that come with the kit are made of stainless steel. When installed properly into aluminum, they give the bolt more grip than the just threads in bare aluminum. And since the insert makes a stronger grip, if there are space constraints, the insert doesn't need to be the same exact depth as the original thread.
Proper-Size Drill Bit
The first step is to drill out the stripped hole with the recommended drill bit size. Some of the thread repair kits require an odd-size drill bit.
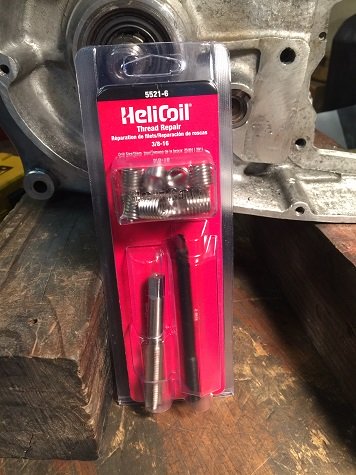
The 3/8-16 kit I'm using here requires a 25/64" drill bit.
******************
Blind Hole vs Through Hole
The majority of stripped thread repairs are for blind holes, meaning the bolt does not come out the other side. When drilling blind holes in aluminum. it's best to use a drill press, but a hand drill will also work.
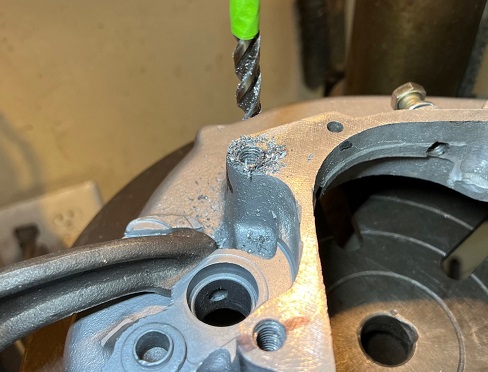
TIP: A piece of tape wrapped around the drill bit indicates the depth of the hole to be drilled.
Metal Chips Kill Motors
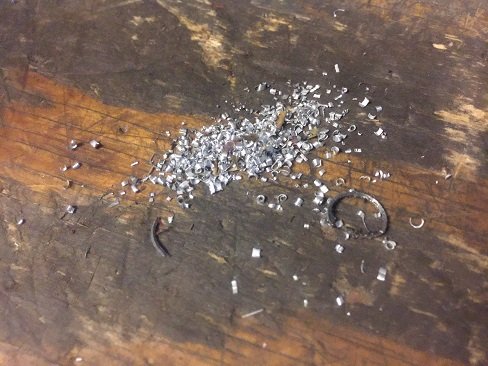
The small aluminum chips that the drilling action makes are deadly to an engine's oil circuit and bearings. Because of this concern, the motor was disassembled a little more, then inspected and cleaned. This was to make sure no metal chips were in the motor before re-assembly.
******************
After drilling the required size hole, chuck the square drive of the tap into a tap wrench. You can also use a crescent wrench or vise grip.
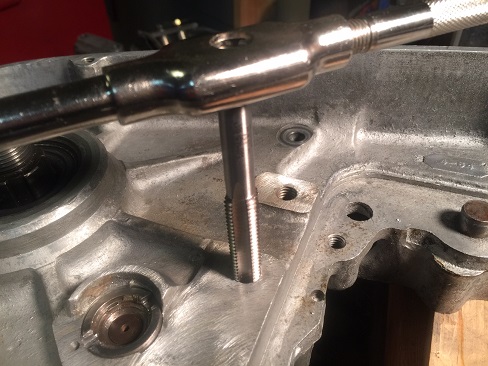
If you have a steady hand and adhered to the right drill bit size, the tapping will go smoothly. Since I was tapping the new threads slowly by hand, I saw no need for cutting fluid.
Next, install an insert on the bottom end of the installation tool and a tap wrench on the top. Slowly turn it clockwise.
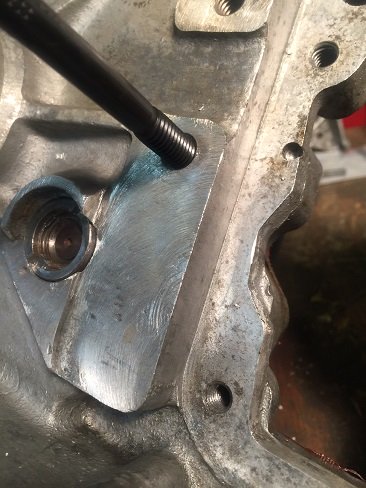
Should I Add Loctite To Inserts?
HeliCoil does not recommend adding Loctite to a thread insert, although there's probably no harm in adding a drop or two. Personally, I have never used any and have never had one come loose.
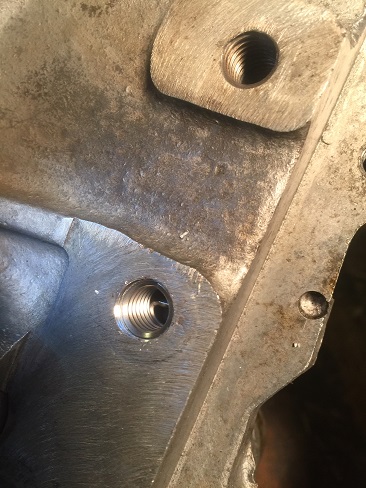
******************
When a bolt goes completely through (through hole) the insert "tang" needs to be removed. It is not necessary to remove the tang unless it's in the way.
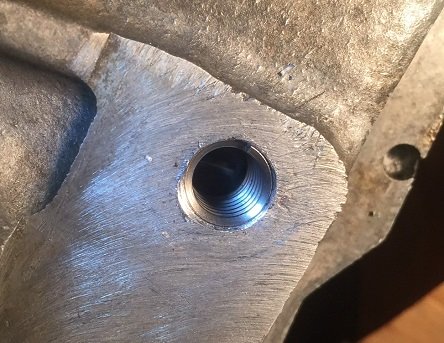
If a thread insert is too long, you can cut it or grind it down to the length you need. Conversely, if you need more thread, you can combine two or more.
When adding a 2nd or 3rd insert, it's possible to over-tighten and distort them (yes, I've done this). If a bolt doesn't go in smoothly after you're done, it's likely the 2nd or 3rd insert was over-tightened.
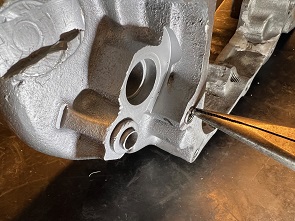
Removing a damaged insert with needle-nose pliers.
******************
Conclusion
When faced with damaged threads in aluminum, always do what's best for the bike, even if it means disassembling half the motor to do it.
Here are links to three common coarse-thread, non-metric sizes:
1/4-20 Kit
5/16-18 Kit
3/8-16 Kit
Metric Thread Repair Kit
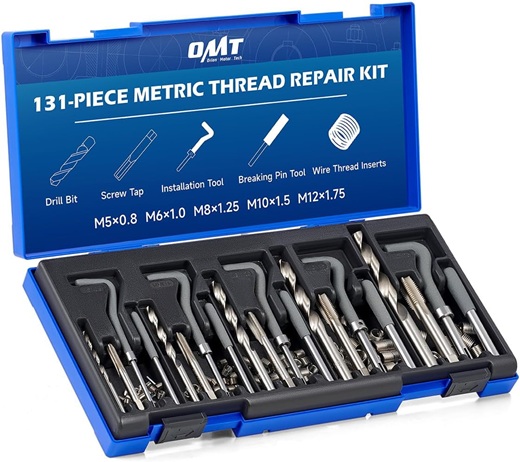
Orion Metric Thread Repair Kit includes HSS drill bits, thread inserts, taps, installation tools for M5, M6, M8, M10, and M12 sizes.
Helicoil master thread repair kit includes five installation tools, five drill bits, and 48 stainless steel inserts. Other kits are also available.
******************
Notes and Misc
Disassembling and then reassembling this old Sportster engine was a lot of extra work, but the anaerobic gasket sealer allowed for easy disassembly and clean-up.
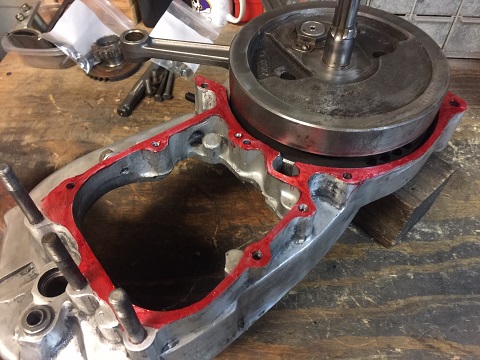
Read: Anaerobic Gasket Sealer Review
******************
Related Articles: