Remove Stuck Brake Piston
Article by Mark Trotta
Under normal circumstances, a brake caliper rebuild will involve removing, disassembling, cleaning, and reassembling the caliper with new seals. But sometimes there's the unexpected surprise of a stuck piston.
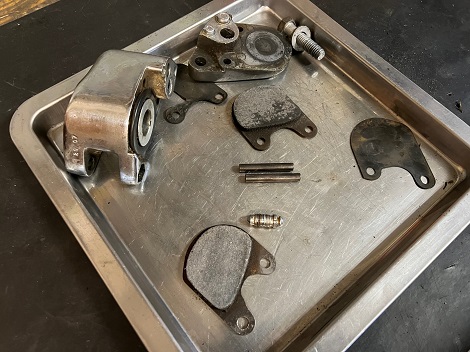
Corrosion built up between the piston and bore is usually the reason. This often happens to motorcycles that sit for a long time without use.
Here's three popular methods for removing a stuck brake piston:
Grease Gun
If you can fit a grease fitting into the caliper port, try using a grease gun to push the old piston out. This may or may work, but it's the quickest of the three ways.
Compressed Air
A garage air compressor with a blow gun attachment is a proven method to remove a stuck brake piston. A blow gun with a rubber tip will give best results. They seal better, plus it'll prevent you from accidentally scratching something.
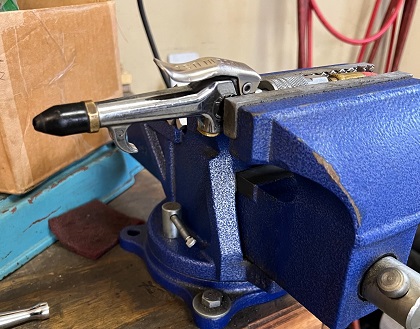
With the bleeder screw closed, shoot about 50-60 psi of compressed air into the brake hose hole. In most cases, this is sufficient enough to blow out a stuck piston.
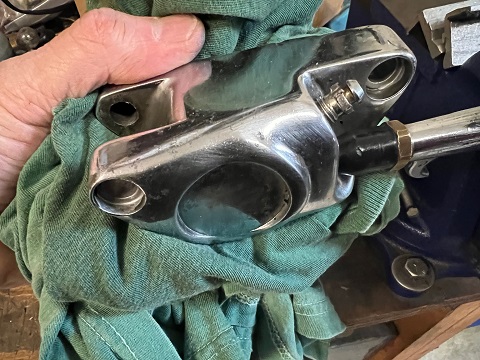
CAUTION: When using compressed air to remove a stuck caliper piston, Wrap an old towel around the caliper and hold it with your other hand, or the piston will fly across the garage (yes, I've done this).
You may get lucky and have the piston pop out on the first try. That was not the case with this 1981 Sportster front caliper.
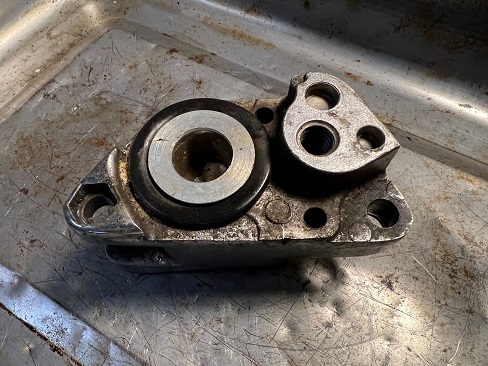
Even with 100 psi of air, this piston would not come out.
Soaking The Caliper
With the caliper propped upwards in a pan, spray brake parts cleaner into the brake hose entry. I've also used WD40 with good results.
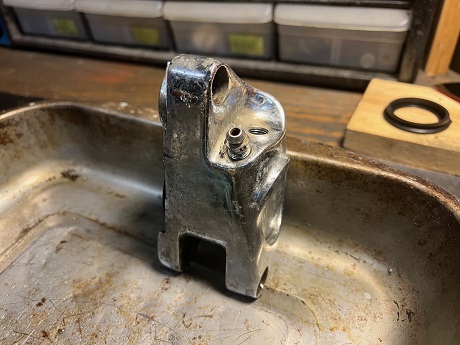
Soaking overnight is best, but sometimes time is a bigger factor. At a minimum, let it soak for 20 minutes.
After soaking overnight, this stuck piston moved a fraction of inch, but still not ready to come out.
With a fresh razor blade, I cut the old rubber boot around the piston, then sprayed brake parts cleaner inside and around it.
More soaking followed.
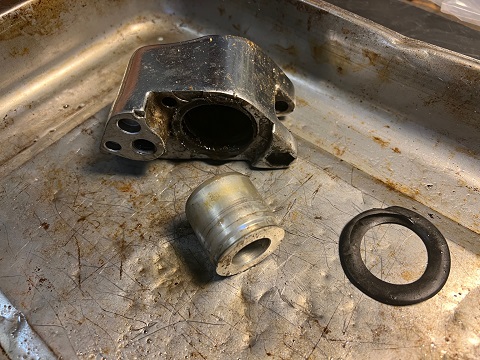
The piston finally came out, and the caliper overhaul resumed.
Cleaning and Inspection
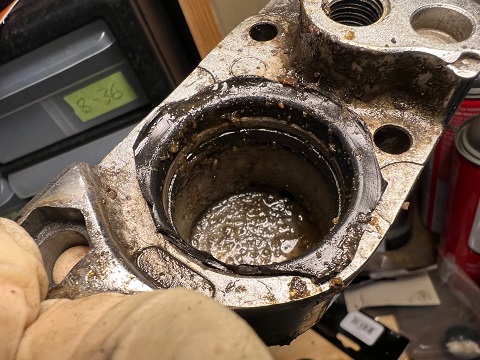
All metal brake parts can be cleaned with brake parts cleaner and shop towels. Do not use brake parts cleaner on rubber, as it will eat them.
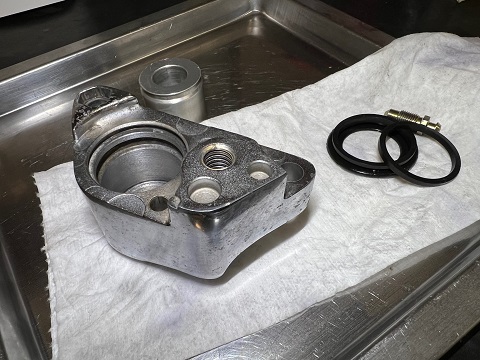
With a flat-blade screwdriver, lightly scrape any corrosion inside the grooves where the caliper O-ring will seat. Follow with fine sandpaper or a scuff pad.
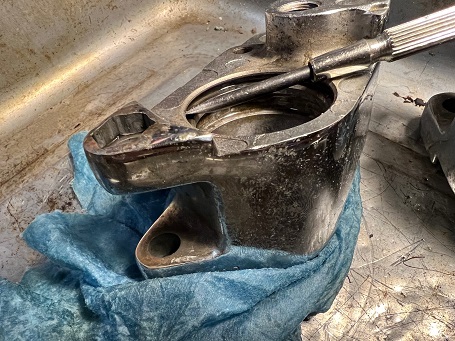
After cleaning, blow dry with compressed air.
Clean the piston and inspect it for nicks and burrs.
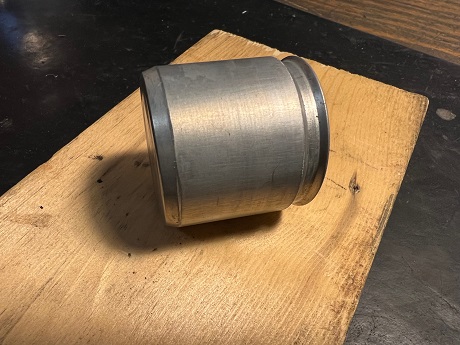
The piston can be cleaned with brake parts cleaner and a scuff pad, then wet-sanded with fine (600 or 800) sandpaper. If you have any deep vertical scratches or pitted marks that won't come out, the piston should be replaced.
Reassembly
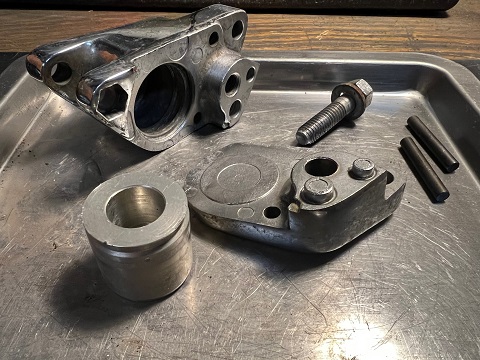
This caliper is now ready for reassembly.
*********************
Brake Fluid Types
Most disc-equipped Harley motorcycles require DOT 5 brake fluid.
An easy way to find out which type you have is, put a few drops in a styrofoam coffee cup. DOT 3 and DOT 4 brake fluids are glycol-based, and will dissolve the cup. DOT 5 (silicone) will not.
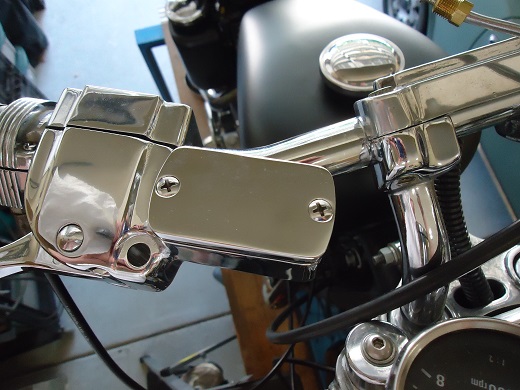
CAUTION: Do not mix brake fluid types.
********************
Related Articles:
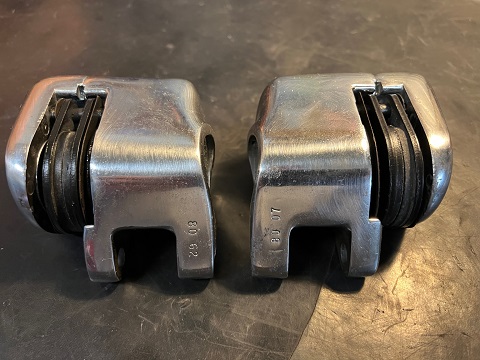
Read: Rebuild Harley Dual Disc Calipers
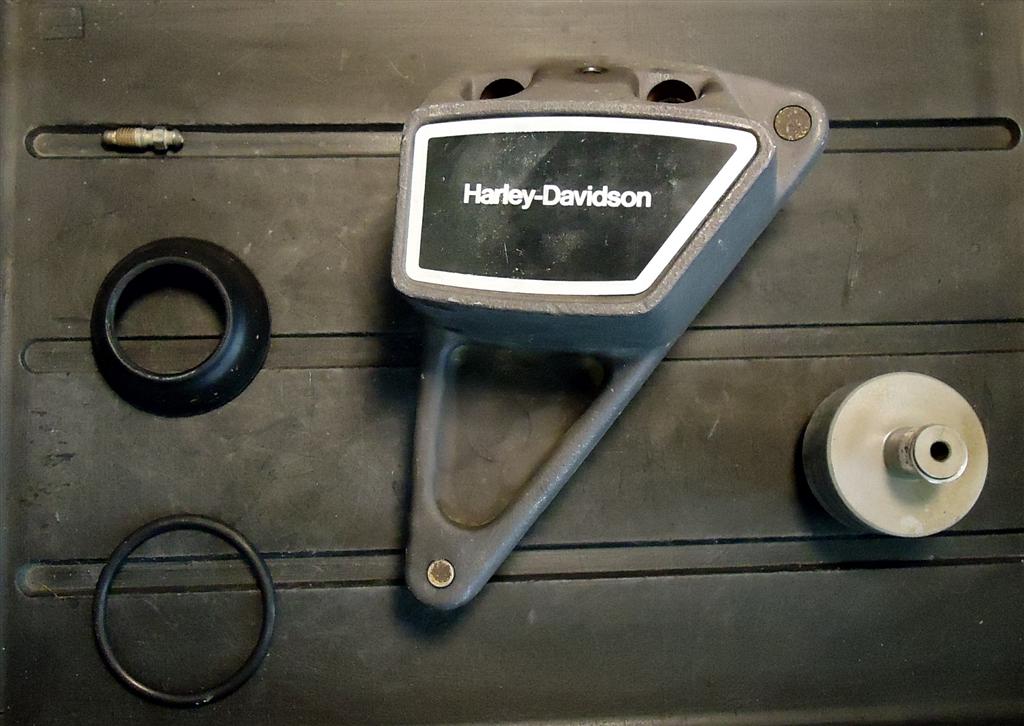
Read: Harley Pie-Slice Caliper Rebuild
