Rebuilding A Sportster Caliper (1974-1977)
Article by Mark Trotta
This article explains how to rebuild the "pie-slice" brake caliper found on 1973 through 1977 Harley Sportsters and Harley FX models. NOTE: 1973 calipers take different parts but the procedure is the same.
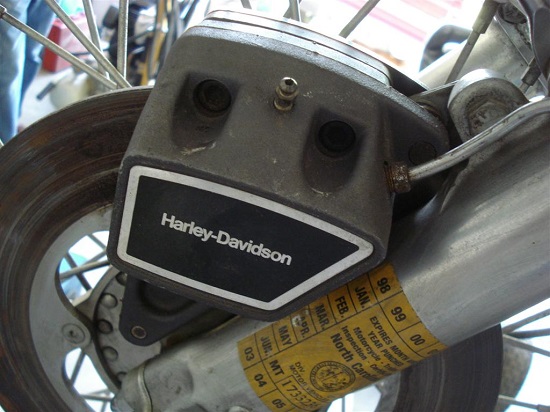
To rebuild 1977-1983 Harley FX and XL dual-disc calipers click here.
***************
Brake caliper overhaul includes removal, disassembly, cleaning, inspection, reassembly, re-install, and bleeding.
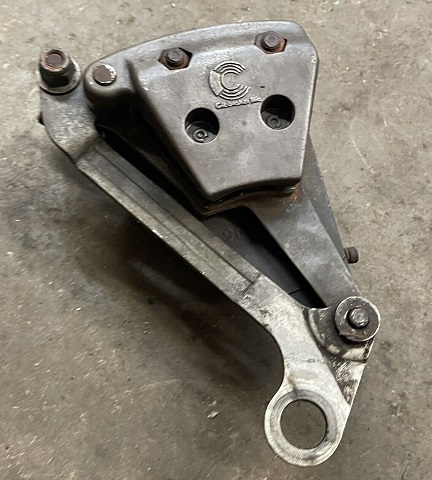
Front brake caliper from 1976 XLH1000.
Tools and Supplies Needed
Tools needed include a socket set, open and closed end wrenches, flare nut wrenches, Allen keys, and an O-ring pick. Having a garage air compressor is very helpful.
Removing the retaining ring requires external snap-ring pliers.
You'll also need a few cans of brake parts cleaner and some shop towels or rags.
***************
Remove Caliper From Bike
It's not necessary to remove the front wheel when overhauling the caliper. Start by draining the old brake fluid from the caliper.
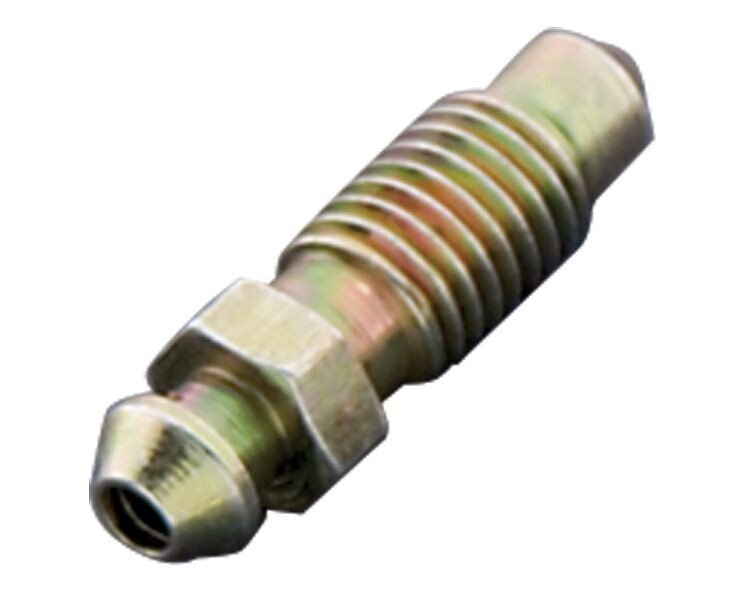
It's easier to loosen the bleeder screw while still on the bike. If the old bleeder screw is damaged or corroded you can buy one here.
It's also easier to loosen the bolts that hold the caliper together while it's still mounted to the bike. Some of these may be very tight, and trying to loosen them after the caliper is off may be difficult.
Remove the brake line with a flare-nut wrench, so as not to strip the nut.
To remove the caliper, remove the socket hex bolts, washers, and locknuts. The outer and inner caliper should then separate.
Once removed, have a plastic or metal tray waiting to catch any remaining fluid. Spray/clean all parts with brake cleaner and a stiff brush, remove all dirt, rust, abrasives and old brake fluid. Dry with compressed air.
***************
Disassembly
Pull off the rubber boot around the caliper piston, using something that won't damage the caliper bore.
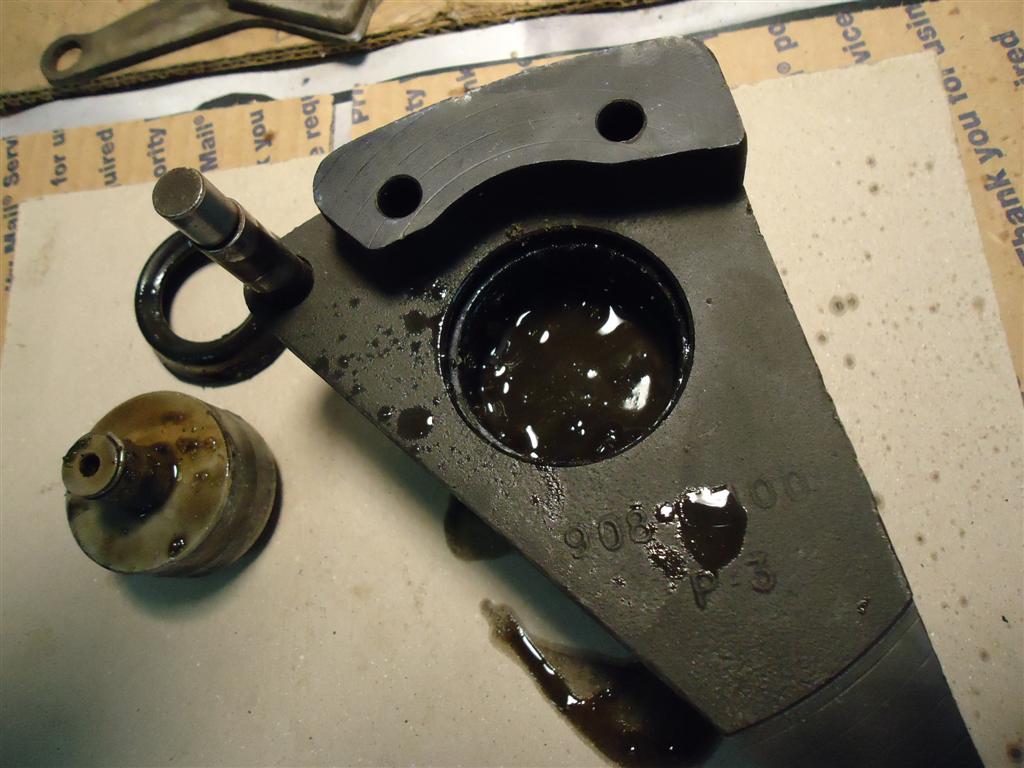
Corrosion built up between the piston and bore is usually what makes the piston stick. The caliper piston can be stubborn to remove and there are several ways to go about this. The easiest way is using compressed air from your compressor.
Hold the the caliper away from you!
Wrap a shop towel around the it or use a piece of wood to stop the free piston from coming out (don't use your fingers). If you don't do this and shoot in too much air, you may launch the piston across the garage (I did this with once with a car caliper).
Insert the rubber tip of an air nozzle into the hole where the plug goes in and press the trigger. Hopefully the piston comes out. If not, soak the piston with WD-40, let sit for a day, and try again.
To remove the piston without air, you can press in the brake lever after the caliper is off the bike but before removing the brake hose.
After you have removed the piston, remove the o-ring from inside the bore. There is also a small O-ring on the back of the piston. Both of these O-rings will be replaced.
Clean out all of the passages and the piston chamber with brake parts cleaner and compressed air. Allow to air-dry.
***************
Inspection
After spraying/cleaning the bore and other parts with brake parts cleaner, dry with compressed air.
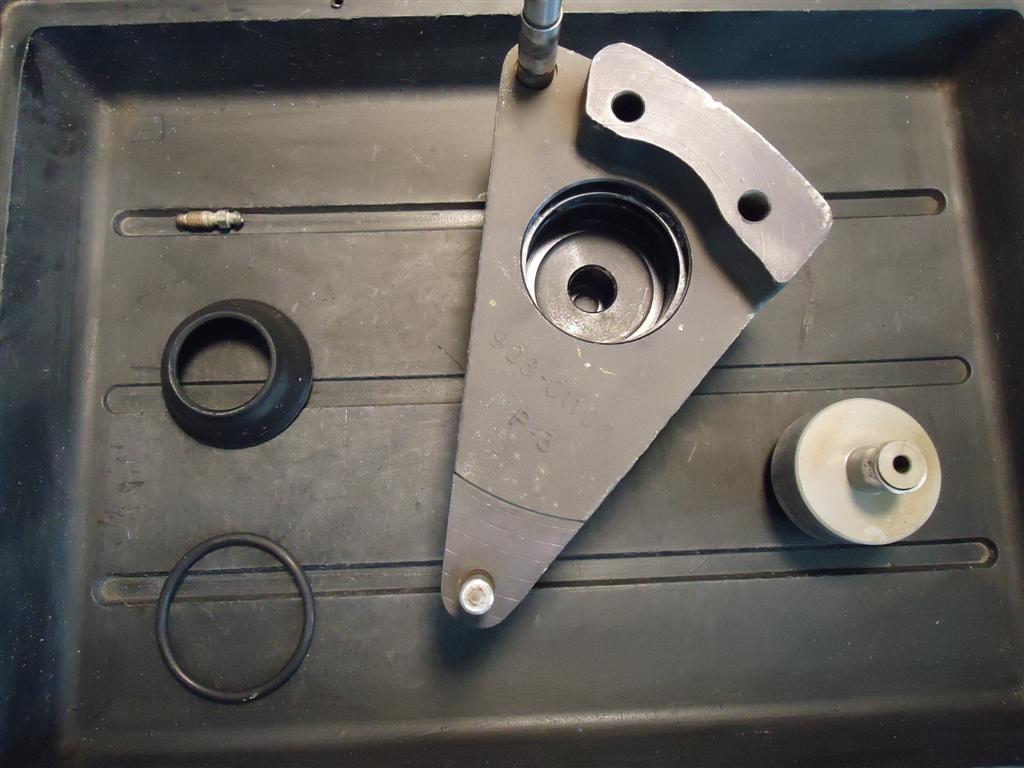
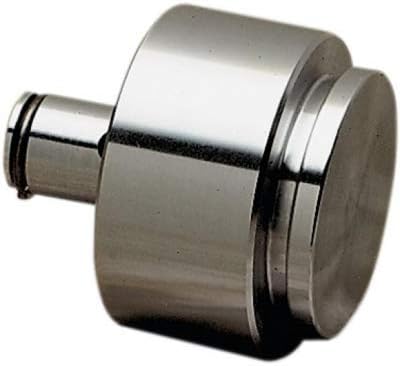
Carefully inspect the piston and piston chamber. The piston should have a smooth, polished surface. Nicks and scratches on the piston will tear the O-rings and cause failure. Replacement pistons are available (see below).
Piston Bore
Minor pitting of the piston bore can be cleaned up, and small scratches can usually be taken out. Try lightly sanding with either emery cloth or wet 600-grit wet-or-dry paper. A rule of thumb here is if a groove can catch your fingernail, its going to need to be re-sleeved.
***************
Caliper Overhaul Rebuild Kit
If you need caliper seals, you can buy them here.
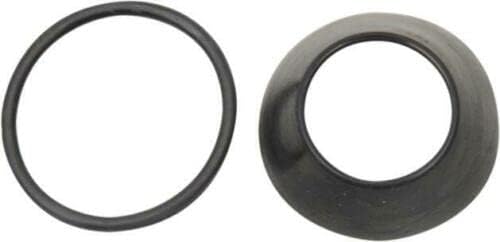
For 1974-1977 replacement caliper piston click here.
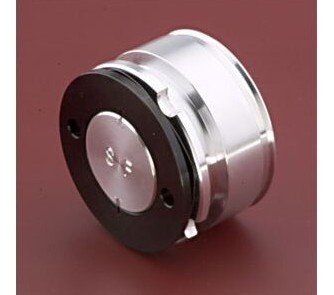
For 1973 replacement caliper piston click here.
***************
Front Brake Pads
Check the old pads for wear or damage. If they've been contaminated by leaking fork oil, or had brake fluid on them, buy a replacement set.
Factory-style pads will have an indicator groove on them. If you don't see one, they may be worn beneath minimum thickness. If the linings are less than 1/16" thick, they should be replaced.
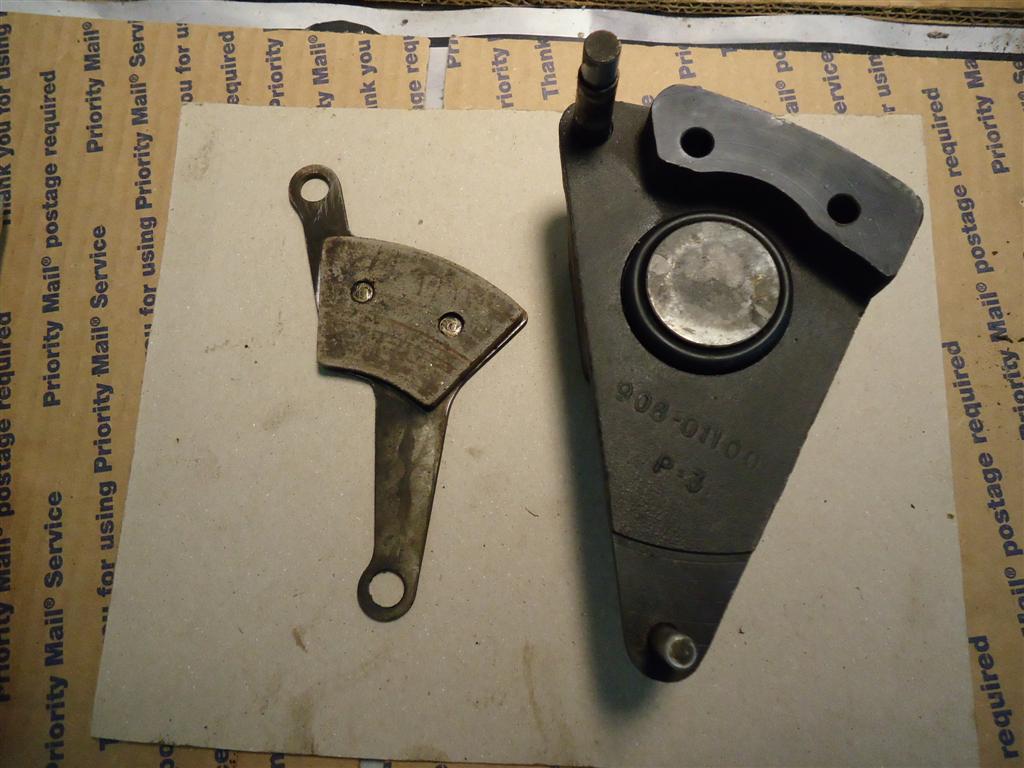
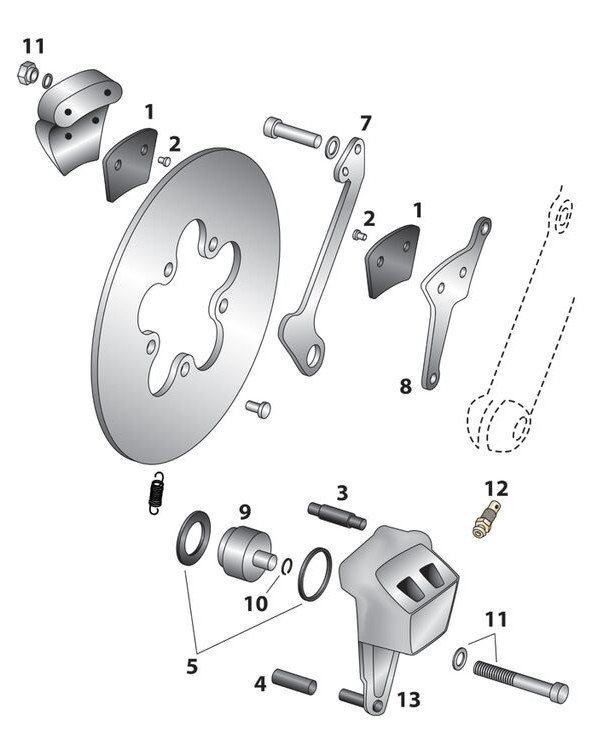
On 1974-1977 models (pictured above). replacing front brake pads requires drilling out the original rivets (with a 9/64" drill bit) and riveting in the new ones. If you don't have access to a rivet gun, the original brass rivets can sometimes be re-used and installed with a punch and a hammer.
The 1974-1977 pads are OE # 44281-74. Except for ebay, I have not found a good source for them.
Pictured below: Front pads for 1973 XL models are different than 1974-1977 XL models.
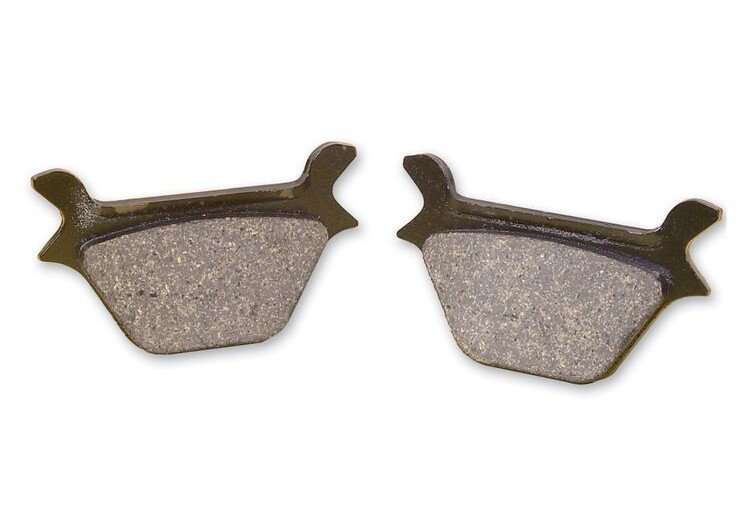
NOTE: Brake pads should be replaced in pairs.
***************
Reassemble Caliper
Double check that all components are clean and dry. Pour a little fresh brake fluid into a small container (DOT 5 - don't mix fluid types).
Piston Installation
Lubricate the small O-ring with brake fluid and install on piston. Lubricate the piston with brake fluid, and slide it into the bore. Do not force the piston in - make sure it's square with the bore!
Once the piston is in straight, it should slide all the way in with moderate finger pressure. If not, find out why. Don't force it in!
Coat the seals and O-rings before putting them in place. Add the outer dust boot.
Next, refit the pads with the piston pushed all the way in. This makes it easy to fit the caliper over the brake disc. Your Sportster caliper rebuild is now complete and ready to be installed back on bike.
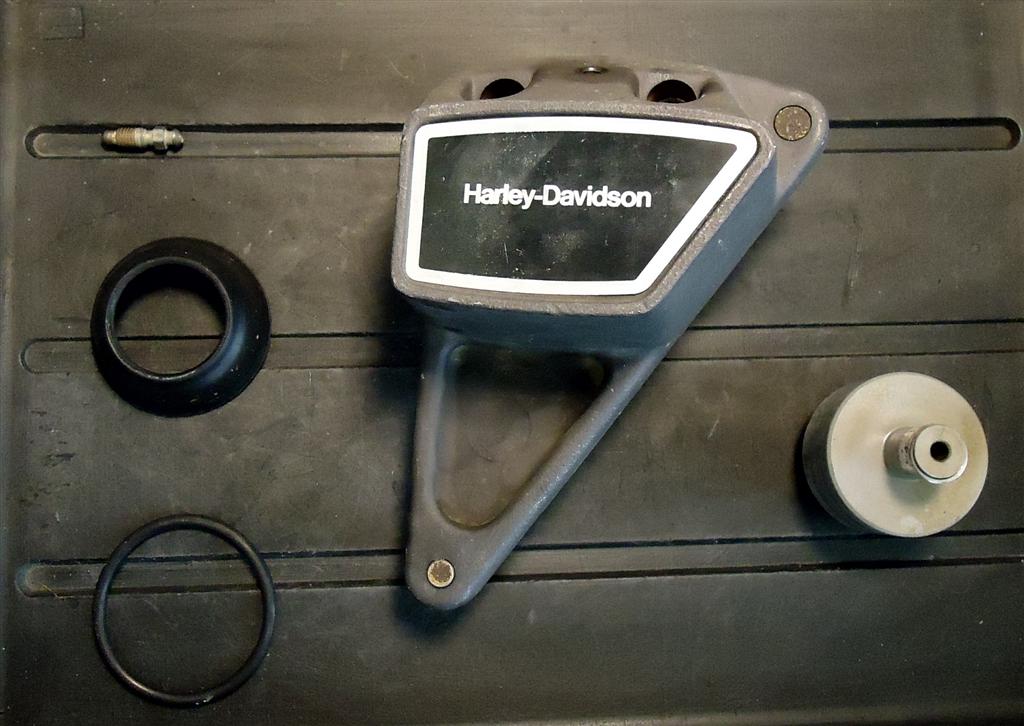
Rebuilding the caliper may take a few hours. Take your time, don't rush things.
***************
Reinstall Brake Caliper
Use new locknuts with the two mounting bolts. If new locknuts are unavailable, use thread sealant.
On my 1976 XLH, the caliper mounting bolts are torqued to 35 foot-pounds. The two torque-arm bolts are tightened to 130 inch-pounds. When done, check that the caliper floats freely back and forth.
Check brake hose for cracks and abrasions. Replace if in doubt to it's age.
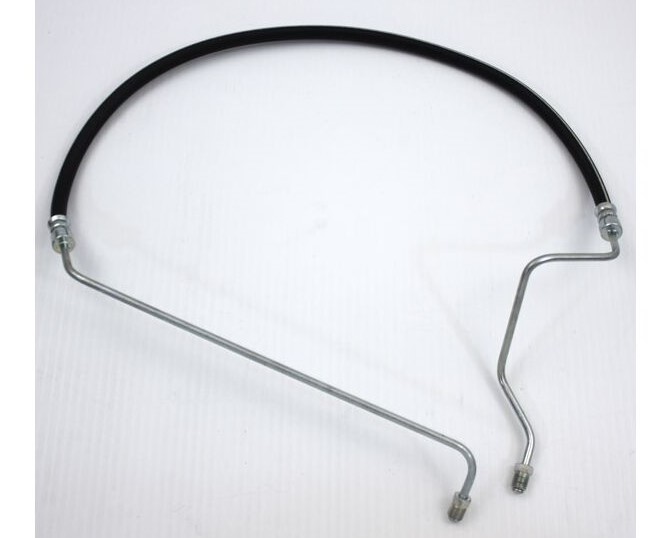
Shop: Front Brake Hose For Harley FX XL 1974-1977
After the brake hose is back on, tighten bleeder screw, but don't over-tighten. It may cause bleeder screw seat damage.
***************
Front Brake Rotor and Mounting Screws
Vented Zinc Disc Brake Rotor For Harley FX / XL 1974-1977 replaces OEM 41807-74.
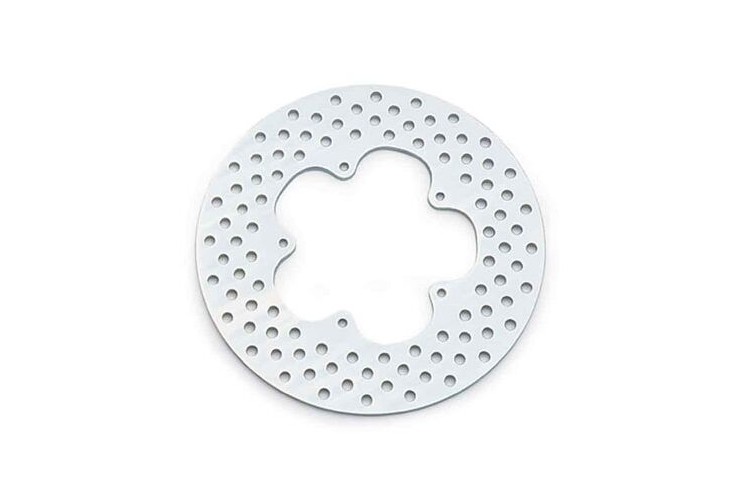
If you are removing the front brake rotor, there are 5 countersunk screws, 1/4"-20 x 5/8" long. If you need to replace them you can buy them here.
***************
Brake Fluid Types
All disc-brake Sportsters require silicone DOT 5 brake fluid. Conventional brake fluid will damage paint, silicone DOT 5 will not. Do not mix fluid types.
An easy way to find out which brake fluid type you have is to put a few drops of it in a styrofoam coffee cup. DOT 3 and DOT 4 brake fluid is glycol-based, and will dissolve the cup, silicone DOT 5 does not.
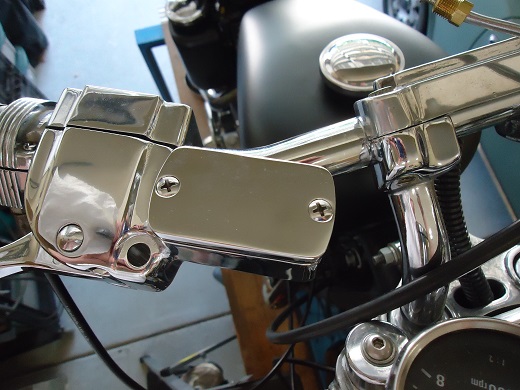
Brake Fluid Facts
- The color of brake fluid is not an accurate indicator of it's condition.
- No brake fluid reduces stopping distances.
- Old brake fluid is never re-usable.
***************
Bleeding The Brake Caliper
There's several ways to bleed brakes, but on such a small system as this, special tools are not really necessary. If you can reach the brake lever with one hand and the brake caliper with the other, brake bleeding is a one-man job.
Turn handlebars until the master cylinder is as level as you can make it. Or, loosen and move the handlebars or the master cylinder.
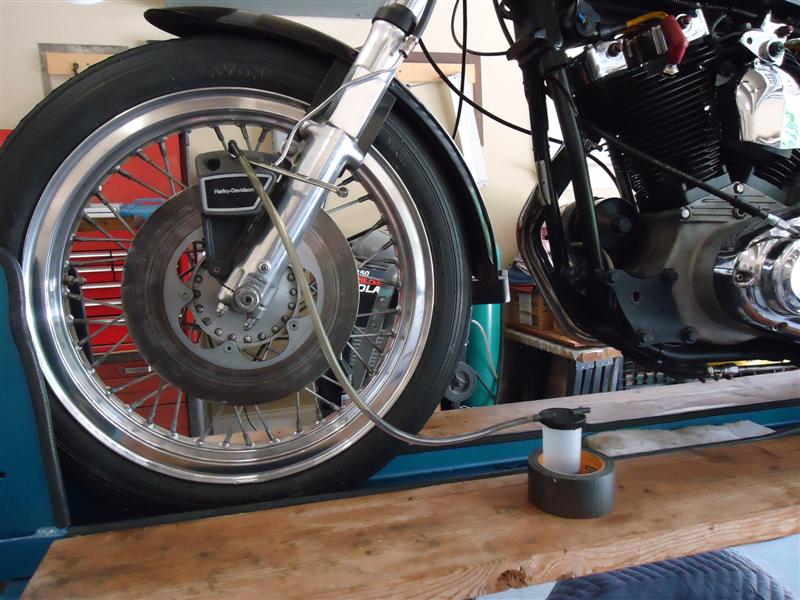
With the bleeder screw tight, fill reservoir slowly with DOT 5 brake fluid before starting.
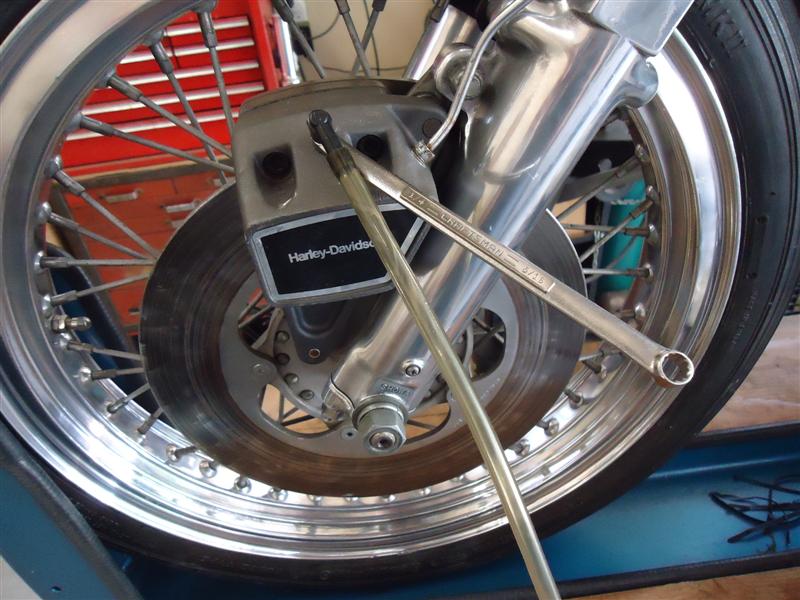
Here, I'm using the hoses and catch can from my MityVac tool, but any clear hoses and jar will work.
NOTE: Keep the lid of the master cylinder loose while you're bleeding the brakes or a vacuum might form.
Bleed until all air bubbles are gone and clear brake fluid comes out.
When done, tighten the bleeder screw. Your hand brake lever should now be firm to the grip.
Speed Bleeders
Russell Speed Bleeders For Harley allow you to bleed brakes without having to hold the brake lever.
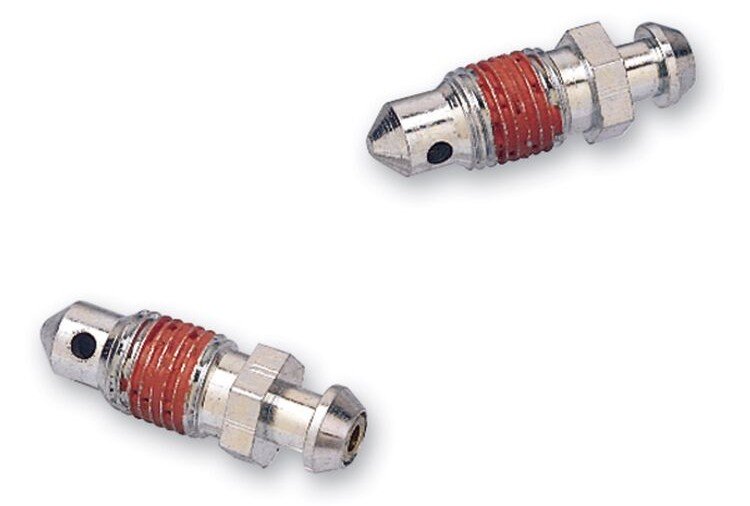
To use, replace the original bleeder with a Speed Bleeder, open it 1/4 to 1/2 turn, and pump the brake lever continuously.
Can I Leave Speed Bleeders In Place When Done?
Yes. When tightened, they function just like a regular bleeder screw.
Gravity Bleeding
You could always gravity bleed a brake system, it just takes longer.
Whatever method you choose, remember to add fresh fluid to the reservoir when it gets low.
***************
Related Articles:
Sportster Drum Brake Shoe Replacement
How To Polish Motorcycle Forks
Rebuild Harley Dual Disc Calipers (1977-1983)
Replace Harley Fork Seals 35mm
Remove Stuck Brake Piston
Norton Commando Brake Caliper Overhaul
