Norton Commando Timing Cover Removal and Installation
Text and Pictures by Mark Trotta
Continuing with the 850 Commando engine teardown, there are 12 screws holding the timing cover on, but several items need to be removed beforehand.
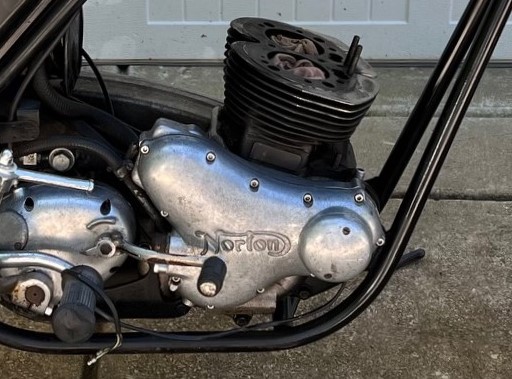
Early vs Late Timing Covers
Early Commandos (with engine prefix 20M3) have a different timing cover than all later models. These were 1968/1969 750 engines with ignition points in a distributor housing, and there was an external rev-counter drive.
The later 'camshaft points' timing cover, as pictured in this article, were fitted from the 750cc 20M3S engine (around 1969) and continued through all 850 models. There are two sets of contact breakers (points) behind the round cover.
Removal and installation of early and late covers are similar.
Getting Started
Exhaust pipes had already been taken off during cylinder head removal.
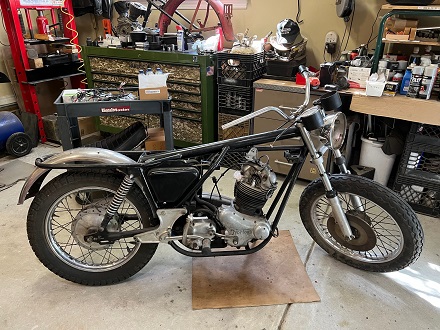
On 1974 and earlier models, the right-side shift pedal gets removed. Later models may require brake pedal removal.
******************
Breaker Plate Removal
The two bolts that hold the contact breaker cover (points cover) can be removed with a flat-blade screwdriver.
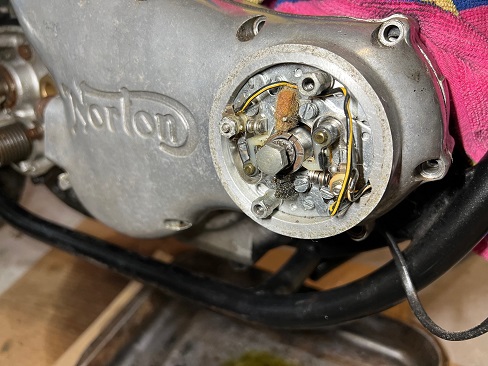
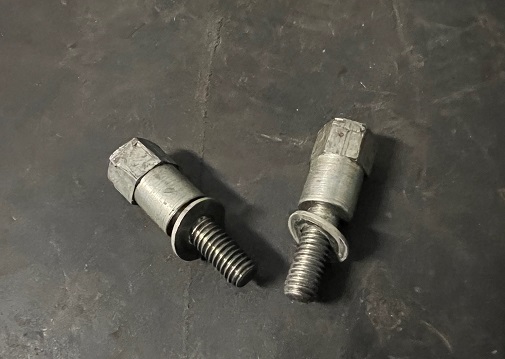
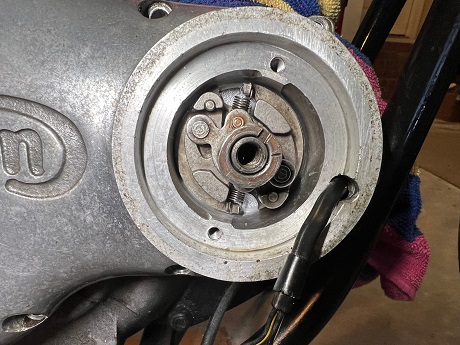
Underneath the points cover, there are two studs holding on a breaker points plate.
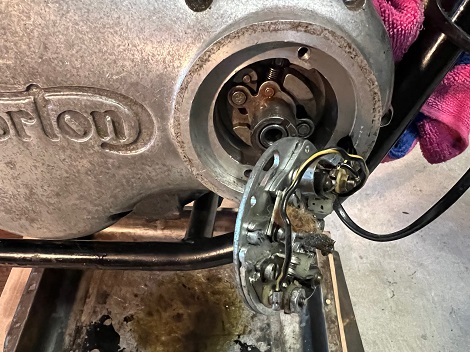
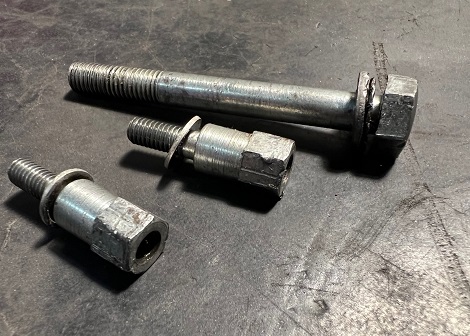
The breaker points studs have a head size of 8.23mm (.324"), so neither a metric or standard socket will fit correctly. The correct size is a 2BA Whitworth.
Related Article: What Are Whitworth Tools?
In the center of the points plate is the cam center bolt, which has a head size of 11.4mm (or .45"). The correct socket size is 3/16 Whitworth.
CAUTION: Be very careful with the cam center bolt, it threads into the camshaft!
******************
Remove Ignition Rotor
The ignition rotor (breaker cam) is a light press fit into the case. It gets removed before the cover comes off.
The factory service manual calls for a specialty tool (06-4298 slide hammer) to remove the rotor. This tool has a double function of removing rocker spindles from the cylinder head.
As an alternative to buying the special tool, I adapted my body shop slide hammer to accommodate a 5/16-24 bolt, which was then threaded into the breaker cam.
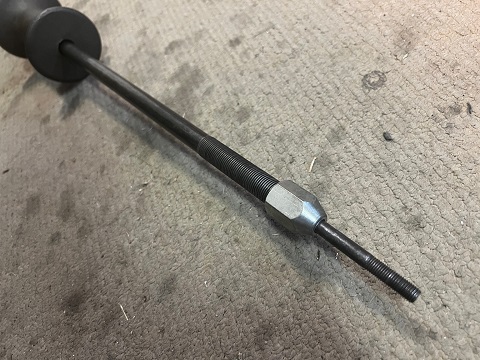
A single soft rap of the weight removed the breaker cam.
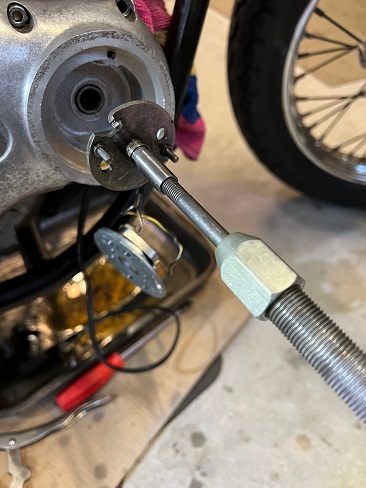
TIP: While removing old parts, use a penetrating fluid beforehand (like WD40) and allow time to soak.
******************
Oil Feed Pipe
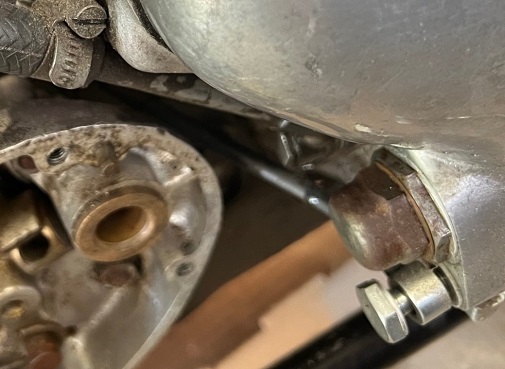
On the bottom rear of cover, there is a bolt which holds the rocker oil feed pipe. The head measures 15.2mm (or .62") so neither metric or standard sockets will fit correctly. The proper size socket is 5/16 Whitworth.
******************
Oil Pressure Release Valve
Also on the back of the cover is the oil pressure relief valve, which is easier to remove while cover is still bolted to the motor.
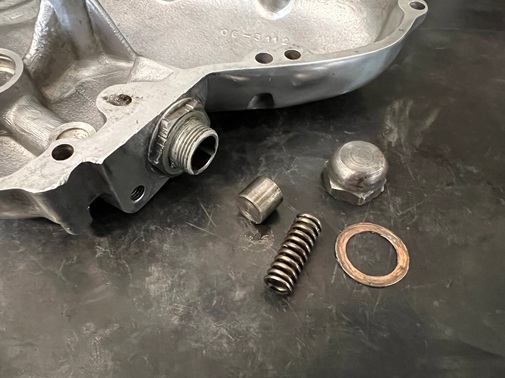
Pictured: pressure release valve cap and spring, piston, and washer. Not shown are the old shims, which are stuck inside the piston!
Timing Cover Bolts
On early 850 models, the 12 timing cover screws are comprised of (1) long, (7) medium, and (4) short. On Mk3 models, they are all the same length.
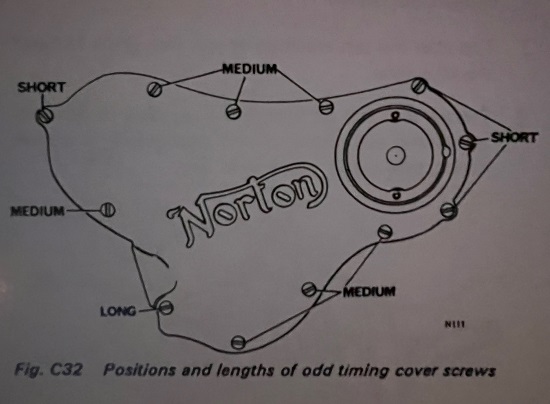
Factory bolts have a flat-blade head, but for those unconcerned with originality, hex-head bolts are a nice upgrade.
On these replacement bolts, measured lengths were 1", 1-1/8", and 1-1/4".
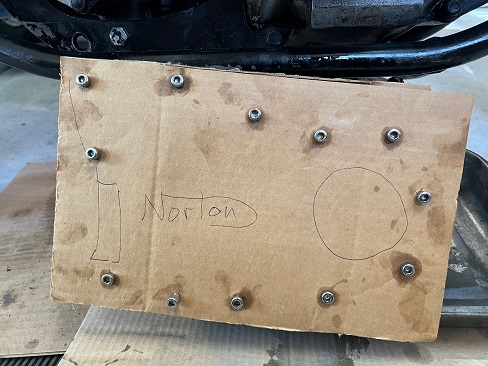
TIP: An easy way to keep track of which bolt goes where is arranging them in a piece of cardboard.
******************
Wire Harness
If you haven't done so already, disconnect the two contact breaker leads. They are male and female and pull apart from each other.
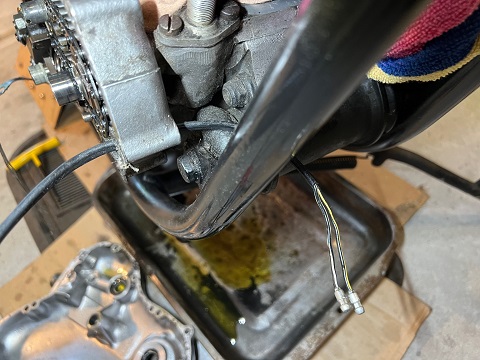
TIP: Draw the bullet snap connectors through the the cover one at a time.
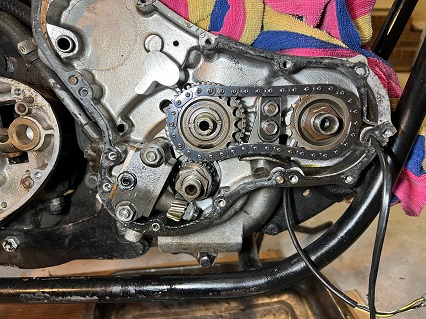
If the cover doesn't come off, make sure you removed all 12 bolts. Sometimes the gasket sticks to the crankcase, and you may need to work it free. Try a little 'gentile persuasion' with a gasket scraper and plastic mallet.
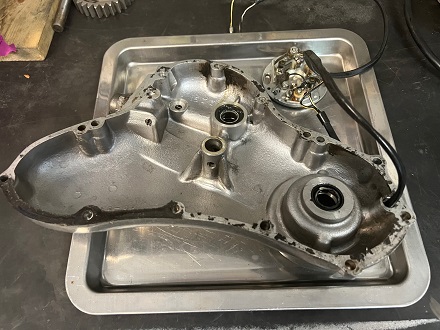
Inside this cover is casting number 06-1072. This is not a part number. The Norton part number is 06-6161.
Contact Breaker Housing Seal
There is a rubber 'garter seal' at the contact breaker housing, which is generally unusable once it's pried out.
Crankshaft Oil Seal
On the back side of the cover, there is a circlip that holds a second garter seal.
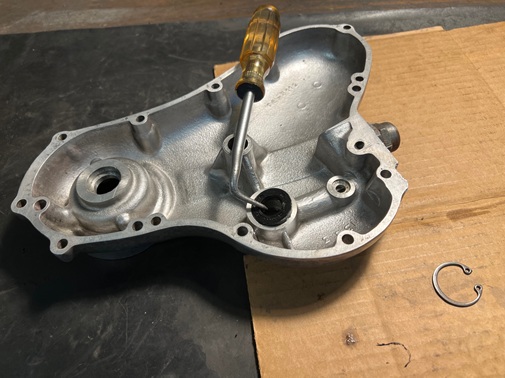
With service tool 06-4292 or equivalent, drive the new seal fully into the housing. Refit the circlip sharp-side towards crankcase.
******************
Polishing The Cover
This was the fun part!
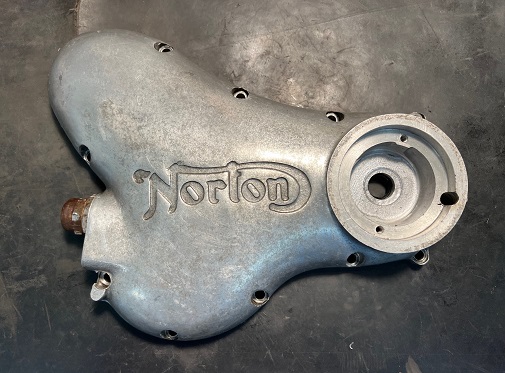
First, a few deep grooves were removed with a file, then the cover was completely sanded with 80 grit Emory cloth.
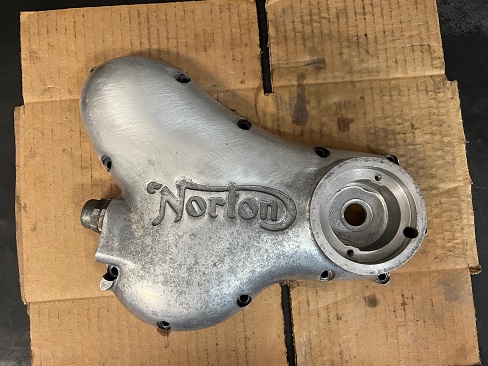
Next was 120 Grit Emory cloth.
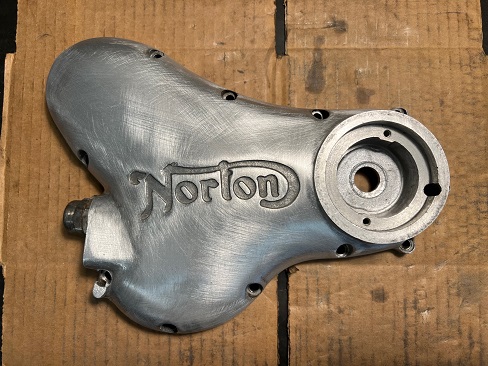
Then switching to 240 wet sandpaper.
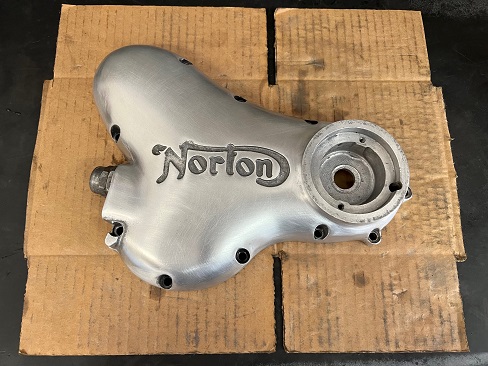
More wet sanding with 400, 600, and 1000 grit paper, then over to the buffing wheel.
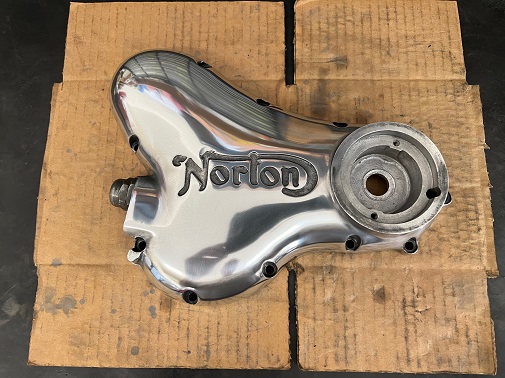
Read: How To Polish Aluminum Engine Parts
******************
Timing Cover Installation
The oil pump seal sits between oil pump and cover.
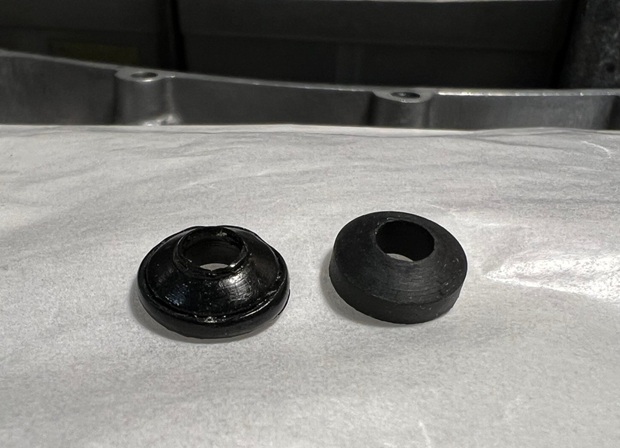
Pictured: Old oil pump seal on left, new seal on right.
Before applying gasket sealer, push the cover up with gasket in place and check fitment. Remember that the oil pump seal needs to be compressed.
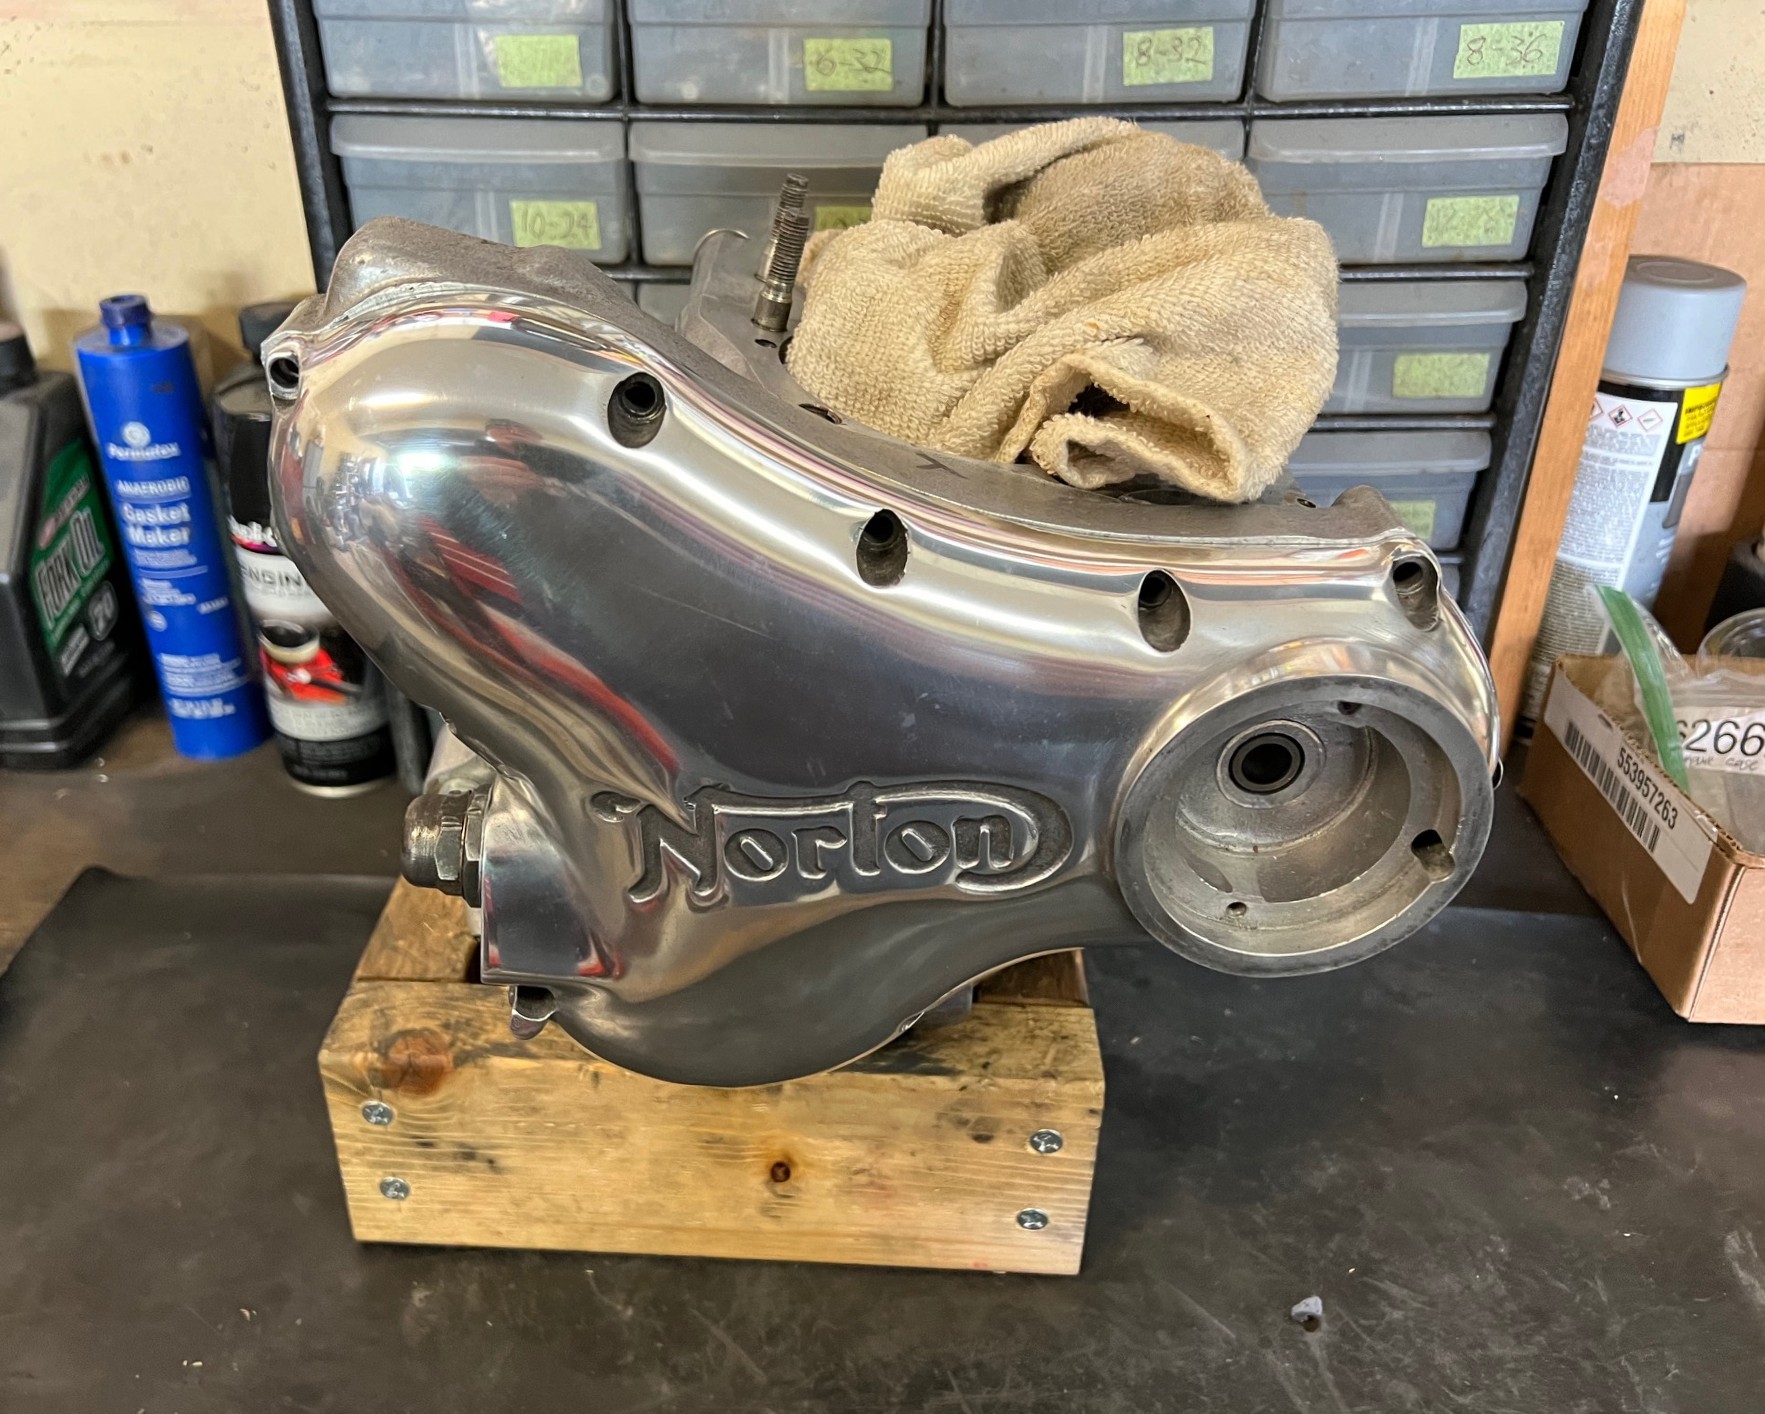
If everything is good, apply sealant and install cover and bolts.
Notes and Misc
Once the ignition rotor is back on, static timing can be adjusted.
******************
Norton Commando Articles: