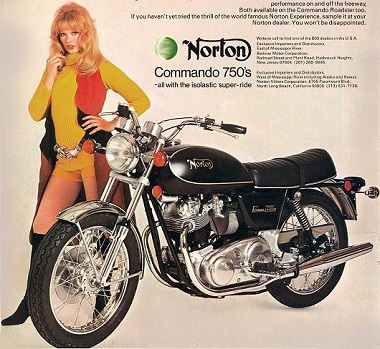
Norton Commando Engine Removal
Article by Mark Trotta
The engine/gearbox mounting on Norton Commandos is unique and unlike any other motorcycle. When set up correctly, the isolastic mounts work surprisingly well. However, during a major service, there are many more steps to disassemble and reassemble the bike.
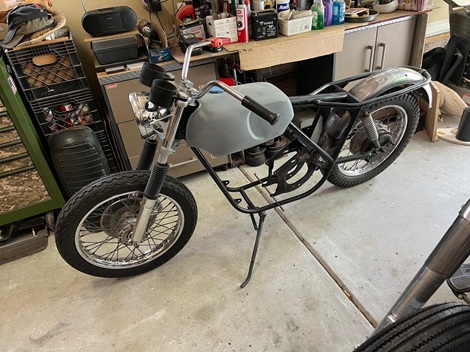
The factory service manual describes how to remove the engine/gearbox/primary transmission as an assembly. It also describes how the engine and/or gearbox can be removed after the primary transmission is removed.
Keep the Game Plan Flexible
During any 50 year-old motorcycle overhaul, the restorer cannot always tell how far they need to go for a service or repair. Such was the case on this 1974 Roadster. As it often happens, one thing leads to another.
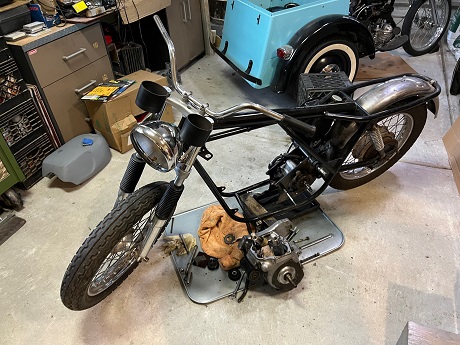
With the gas tank, seat, air box, carburetors, exhaust, head steady, electrical wiring, and cylinder head already taken off, I found that a Commando Mk2 motor can be lifted out of the frame fairly easily.
Getting Started
The motorcycle work stand in my garage was not available for this project, so work was done on ground level. The bike was positioned so that both sides could be gotten to easily.
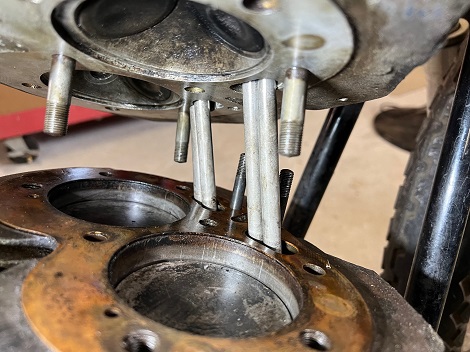
Read: Commando Cylinder Head Removal
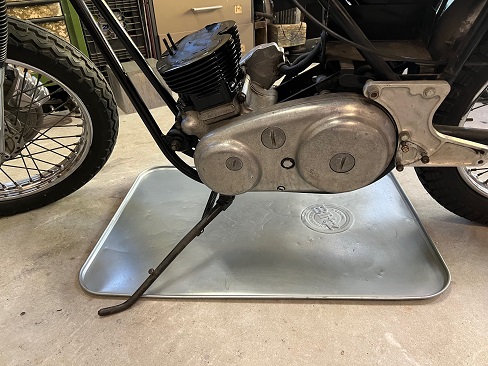
The cylinder barrel was unbolted, but left in place until the engine was nearly ready to be lifted out of the frame. This was done to prevent anything from falling into the motor.
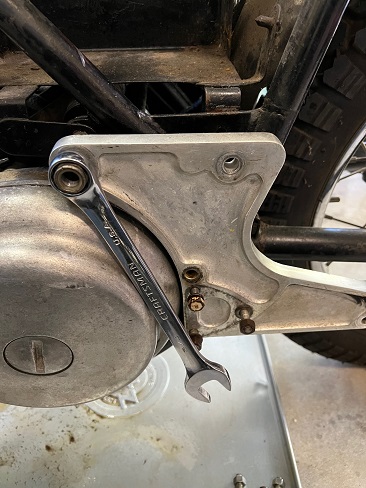
Left and right side Z-plates unbolt easily.
***********************
Battery Tray Removal
Removing the battery tray allows better access to the rear mounting bolts. The two oil tank mounting bolts were loosened to give a little more clearance.
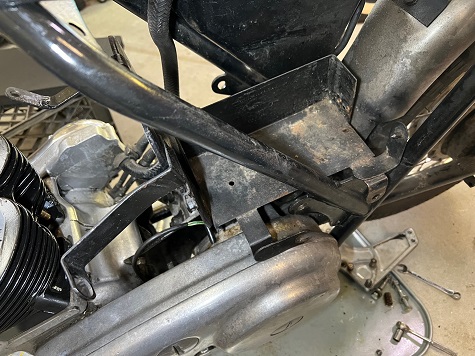
There are seven tabs and brackets that need to be unbolted.
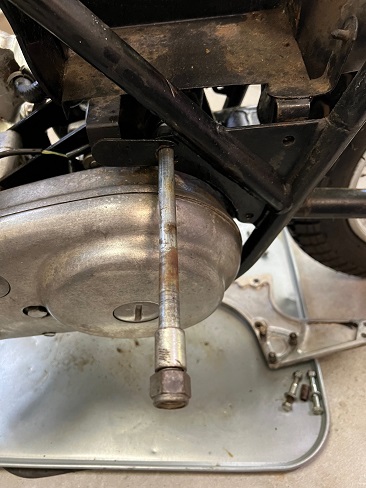
This will include the long rear mount stud shown above.
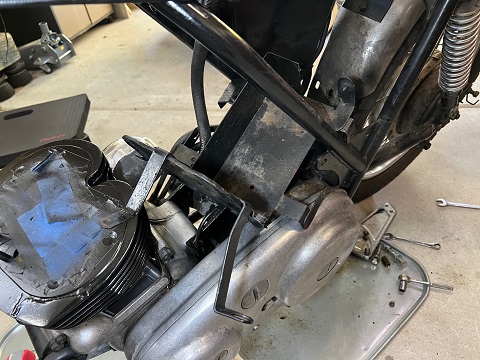
Once all the tabs and brackets were free, tray assembly can be pulled forward, and then out the left side.
Oil Tank Hoses
To help reassembly, pictures were taken of how each of the three oil hoses were routed.
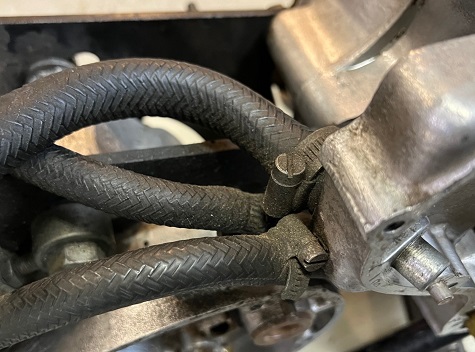
Could these herringbone hoses be 50 year-old originals?
***********************
Primary Transmission Removal
The primary transmission on Norton Twins is comprised of alternator and rotor, engine sprocket, clutch, chainwheel, and primary chain.
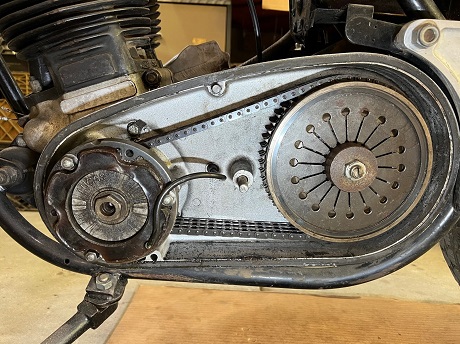
Read: Clutch Removal Norton Commando
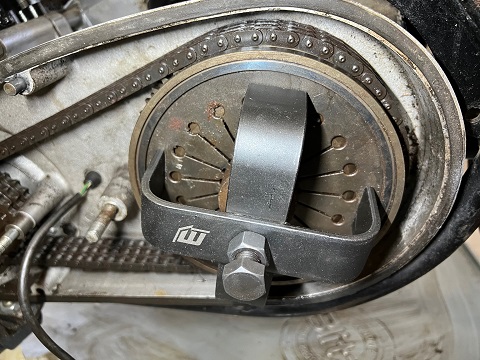
After the clutch, stator, rotor, and engine sprocket are off, primary chain, engine sprocket, and chainwheel come off together.
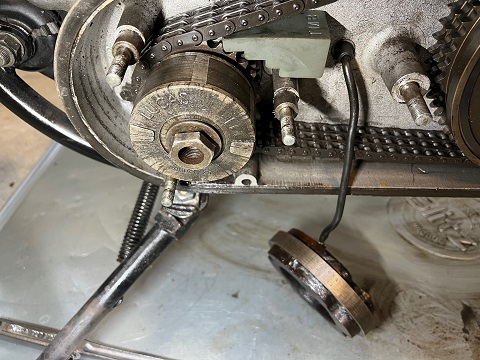
Read: Primary Chain Removal
***********************
Inner Chaincase
The inner chaincase is attached to the motor with three 1/4-20 x 9/16" bolts. Each bolt has a locking plate.
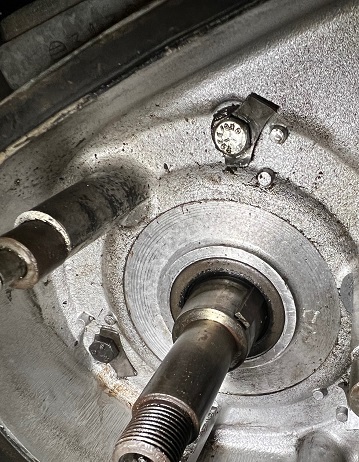
With drift pin and hammer, the locking plate tabs can be tapped out of the way to access the bolt head.
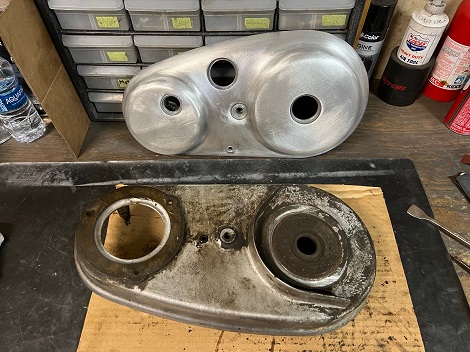
Pictured: Inner and outer chaincase covers.
*********************
Engine Mountings
To keep the motor from dropping, an automotive scissor jack was placed underneath for support. Blocks of wood will also work.
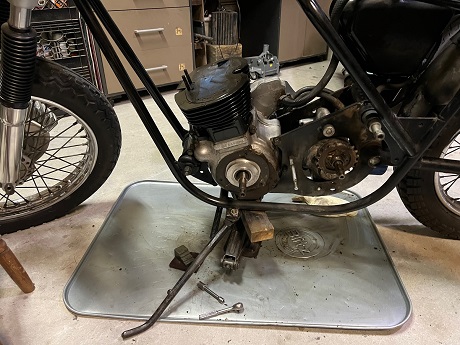
The cylinder was now taken off, which lightened the motor considerably.
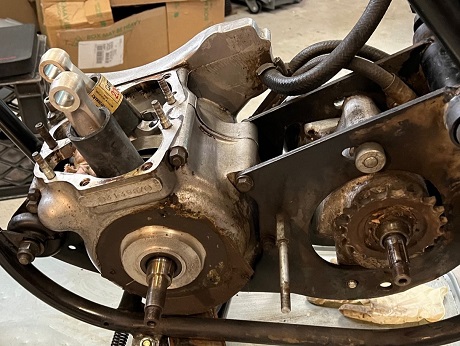
Small lengths of automotive radiator hose were slipped over each connecting rod to protect them from nicks and scratches.
Front Engine Mount
The front mounting bolt can now be pulled out. The mounting bracket will stay attached to the motor.
*********************
Rear Engine Mounting Bolts
Lastly, the three long bolts in back of the motor.
Two bolts are 3/8" UNF x 4-1/4"
One bolt is 5/16" UNF x 4-1/4"
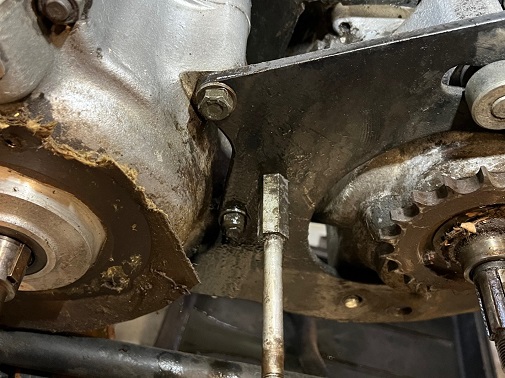
A drift pin and hammer helped knock the bolts through the cases, and the engine was now free to be lifted out.
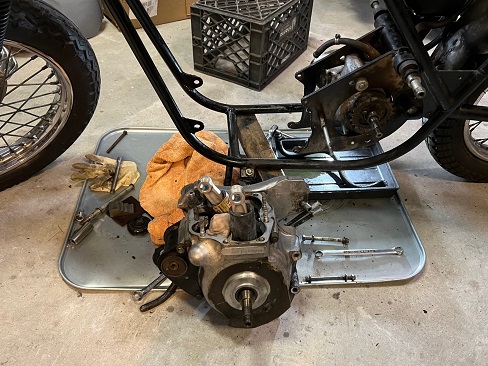
With the top of the motor off, the weight of a Commando engine isn't too bad for one person to handle.
*********************
Notes and Misc
Find a safe spot to keep all the old parts.
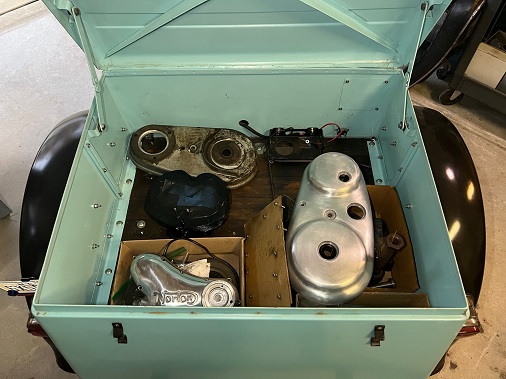
Rolling storage box, aka my 1961 Servi-Car
*********************
Temporarily reinstall the three chaincase bolts, or any residual engine oil will leak out of the threaded holes.
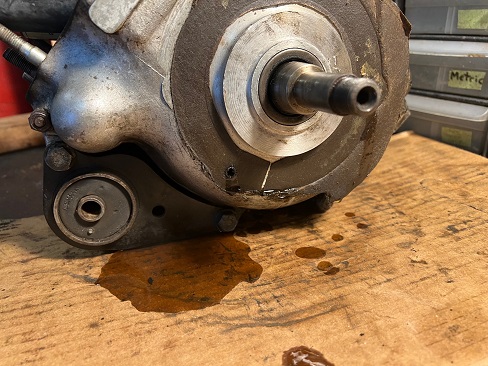
No need to thread the bolts all the way in. If you do that, they'll hit the flywheel.
*********************
Related Articles:
Norton Commando Build - Homepage
Sludge Trap Cleaning and Crankshaft Reassembly
Bottom End Assembly
Timing Cover Removal and Installation
Remove Cylinder Head
Norton Commando Upgrades
