Norton Commando Build
Article by Mark Trotta
With the additional complexity of rubber-mounted engine, gearbox, and swing arm, original Norton Commandos (1967-1977) are one of the more difficult classic motorcycles to restore. A complete overhaul requires a lengthy engine and cradle installation sequence.

Norton Commando Restoration Overview
Purchased in 2024, this 1974 Roadster sat non-running and partially disassembled for 20 years.
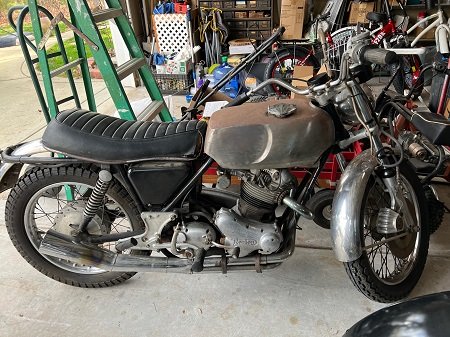
On any 50+ year-old motorcycle whose history is unknown, it's best to remove and inspect every component for re-use. Not just engine parts, but drivetrain, front and rear brakes, and front and rear suspension.

Engine Overhaul

Full strip-down and engine rebuild, 850 Norton Commando MK2
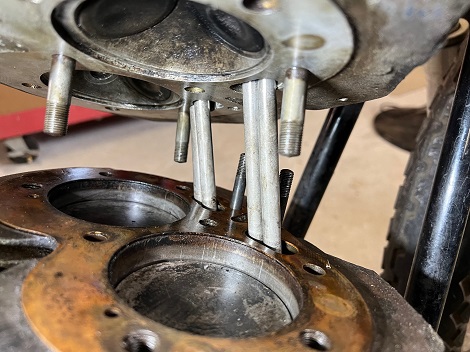
Cylinder Head Removal

Timing Cover Removal and Installation

Clutch Removal
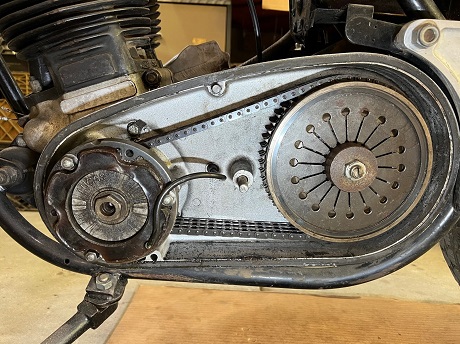
Primary Chain Removal
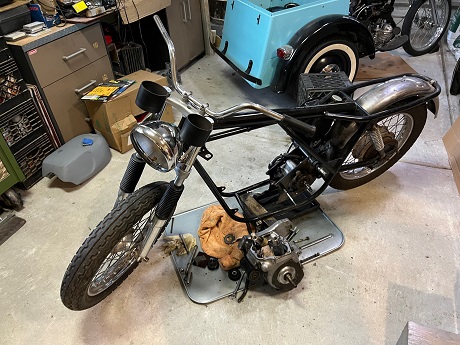
Engine Removal
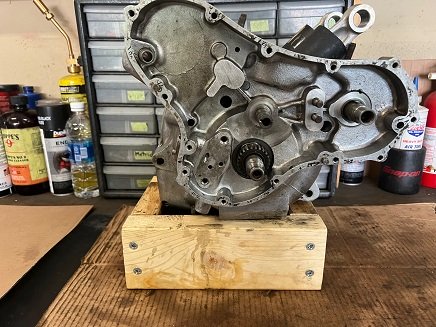
Pinion Gear Removal
Engine Assembly
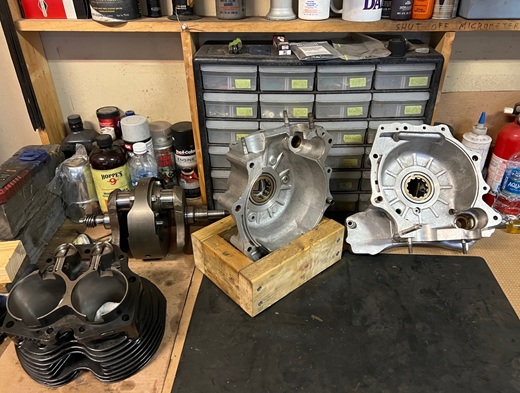
After many hours of disassembly, cleaning, inspection, and the ensuing decisions and judgment calls that vintage engine builders mull over, it's finally time for re-assembly.
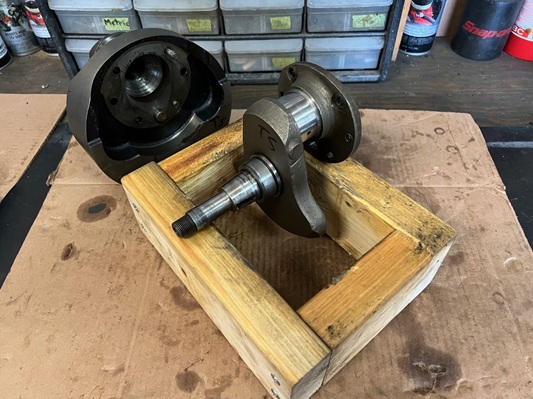
Sludge Trap Cleaning and Crankshaft Reassembly

Bottom End Assembly

Timing Chain Installation

Install Cylinder Barrel

********
Gearbox
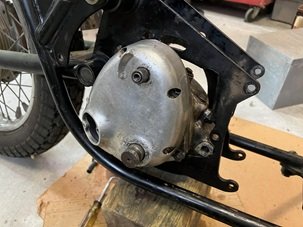
Remove Commando Gearbox
Gearbox gone over. New layshaft bearing, new seals and gaskets installed.

And of course, the cover was polished!

Frame and Suspension
Both fork tubes were badly pitted and needed replacement. Reassembly included new upper and lower neck bearings.
Remove Front End
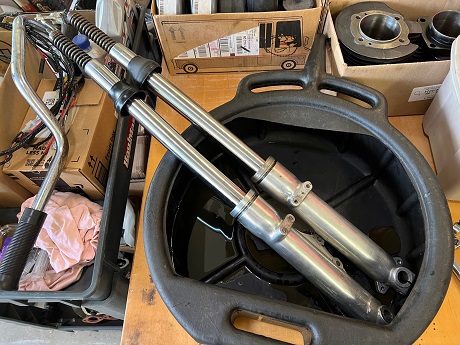
Front Fork Disassembly
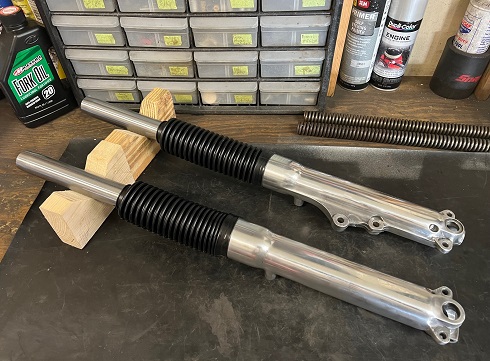
Front Forks Overhaul/Replace Seals
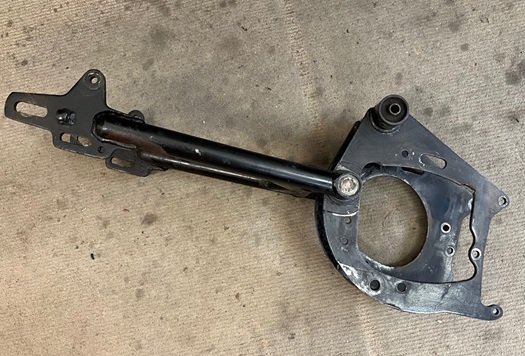
Swing Arm Removal

Swing Arm Overhaul
Later-style Mk3 style Isolatics were installed front and rear.
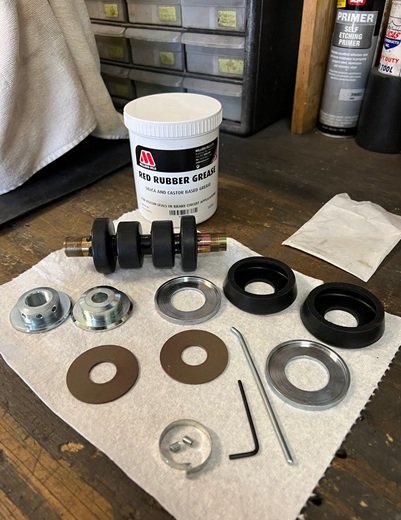
Read: Remove and Install Isolastics
********
Brakes
When purchased, the front brake was inoperable, and since the bike sat for so long, there was concern that the pistons were stuck inside the caliper and wouldn't come out. A combination of patience and luck resulted in success!
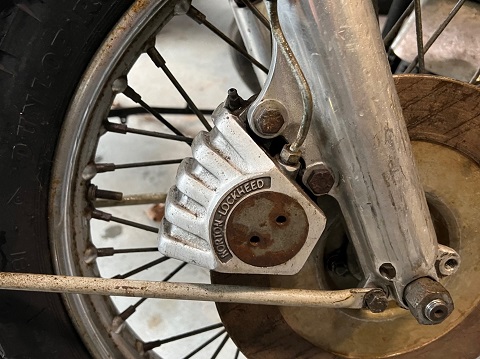
Before and After Brake Caliper Overhaul
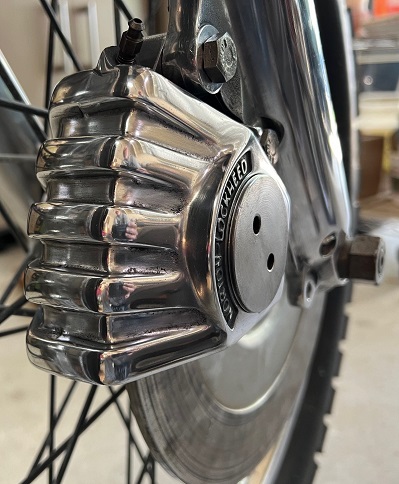
Brake Caliper Overhaul
Rear brake drum overhaul consisted of removal, disassembly, cleaning and inspection, sanding the brake plate to bare metal, priming, painting, and reassembly.

Left-side 'dummy' axle removed.
Brake plate stripped and ready for primer/paint.

Note: The upper and lower inspection holes on brake plate are unique to 1974 Commando Mk2 models.
Before reinstalling, Z-plates were wet-sanded, buffed, and polished. The battery tray was sanded and painted gloss black.

I could have bought brand new fenders for about $200 each and been done with it. But by taking the time and effort to renew the originals, I saved $400 on the overall restoration budget.

Renew Stainless Steel Motorcycle Fender
********
Gas Tank and Side Panels
Before painting, the gas tank was stripped down to bare metal, then cleaned and pressure tested.
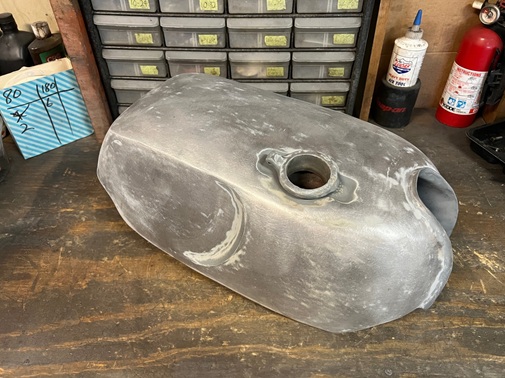
Tank and side panels were painted Canary Yellow in base coat/clear coat.
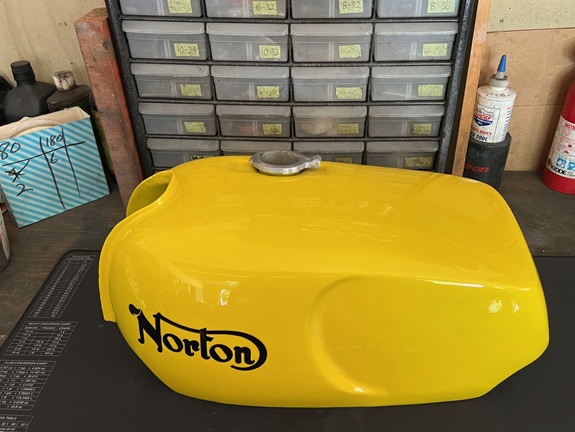
Decals were applied before clear coating.
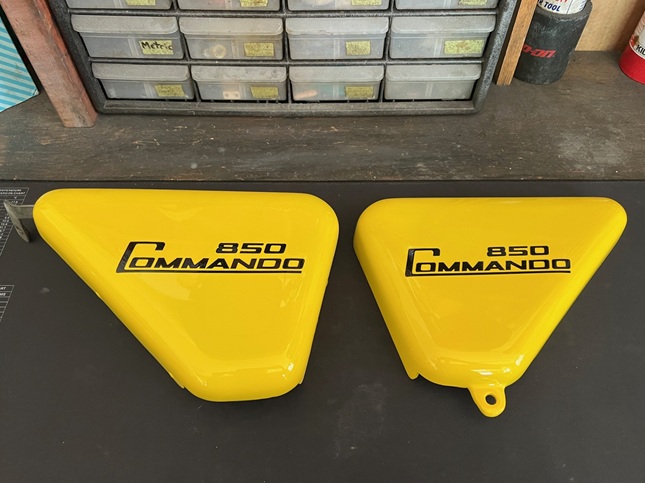
Paintwork by Johan's Motorcycles and Repairs, Clayton N.C.
********
Notes and Misc
A lot of the Commando's allure is it's performance. Everything about the bike was engineered for the sole purpose of going fast.
And no-one can deny it's a fine looking machine.

Unlike most 70's bikes, very few saw major customization. Other than performance upgrades, most have been left original.
Another part of it's appeal is the company's historic racing history. During the 1930's alone, Norton accrued dozens of Isle Of Man TT wins, and many more followed.
The 1973, 1974, and 1975 seasons saw success with the John Player Norton, which wasn't that far removed from a Commando road bike.
********
Related Articles:
Crankshaft Journal Polishing
What Are Whitworth Tools?
Hard Times For British Motorcycle Restorers
How To Polish Motorcycle Forks
Norton Commando Upgrades
