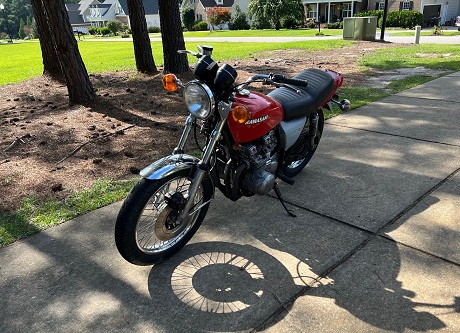
Kawasaki KZ650 Remove and Install Carburetors
Article and Pictures by Mark Trotta
Here's a step-by-step tutorial on how to remove and install carburetors from a Kawasaki KZ650. Other four-cylinder Japanese bikes will follow a similar procedure.
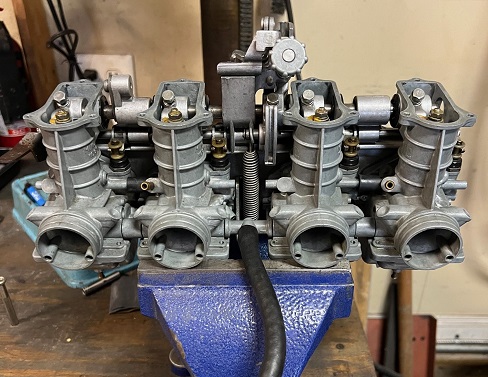
Like most UJM's, carbs are removed from the engine as a complete assembly.
Getting Started
First, find a place where you can get to both sides of the bike easily. After shutting off the fuel valve, disconnect hose from gas tank. I put an old pan underneath the bike to catch any spillage.
Remove Gas Tank
On early models like this 1977 KZ650, a quick tug pulls the back of the tank out of a rubber grommet. Later models have a rear tank bolt.
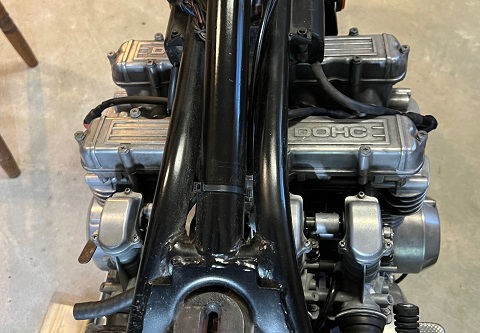
Lift tank up and back, and find somewhere safe to keep it.
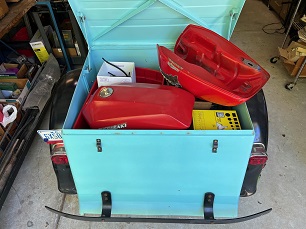
Rolling storage box, aka 1961 Harley Servi-Car
******************
Spring Clamps and Boots
Just behind each carb, there is a spring band clamp which secures it to the air box boot.
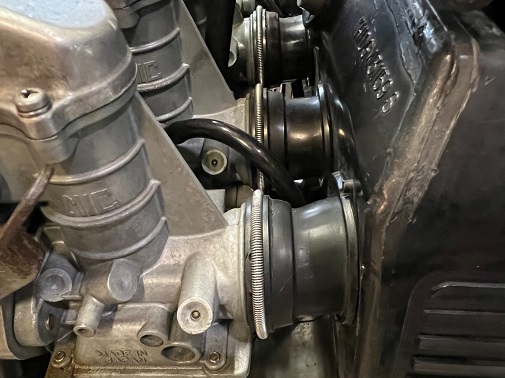
I was able to roll them back and out of the way by hand.
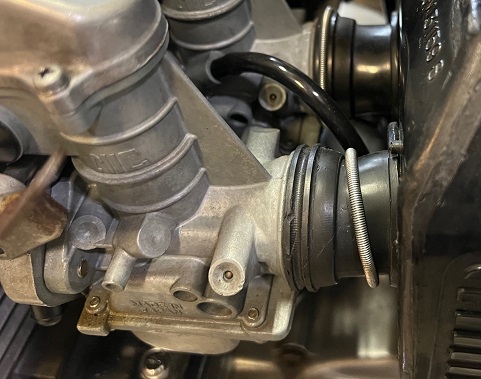
If yours are stubborn, don't use anything pointy to remove them, as it may puncture the rubber boots.
Loosen Front Clamps
In front of each carburetor are mounting clamps, which need to be loosened.
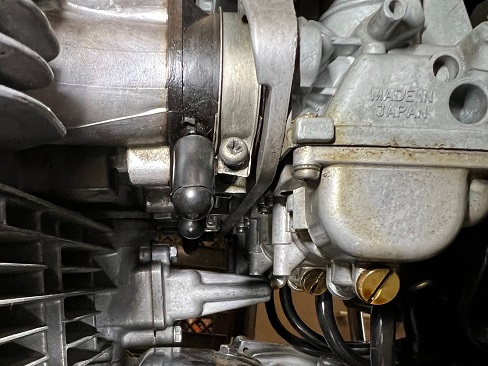
Depending on how the last guy put them on, the two inner ones may be a little awkward to get to.
Remove Air Box?
The factory service manual recommends removing the air box during carb removal, but it's really not necessary.
Remove Air Box Boots
With a heat gun, slightly warm the rubber boots to make them soft and pliable. You'll then be able to push them into the air box. This will make enough clearance to remove the carb rack once everything is loosened and disconnected.
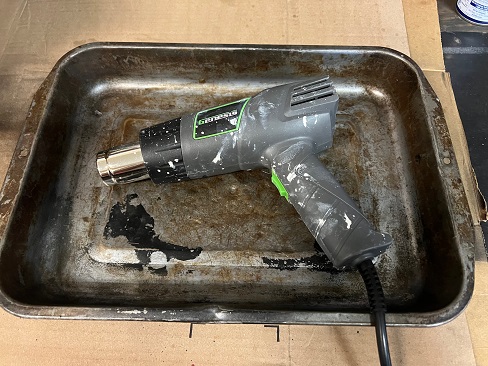
CAUTION: Careful with the heat gun! You can literally melt the rubber. 20 to 30 seconds per boot is enough to make them softer.
******************
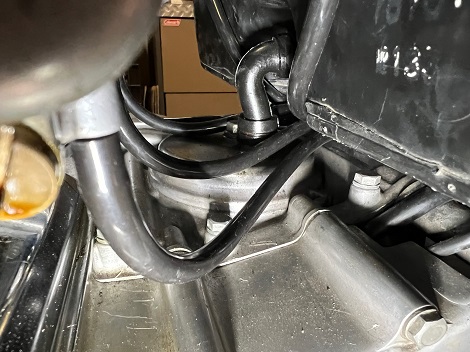
Bottom Vent Hoses
Remove vent hoses on bottom of each carb.
******************
Remove Throttle Cables
First, slacken cables at handlebars.
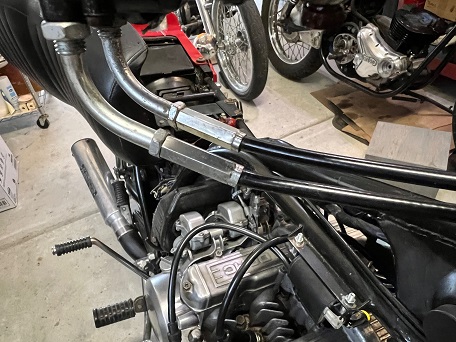
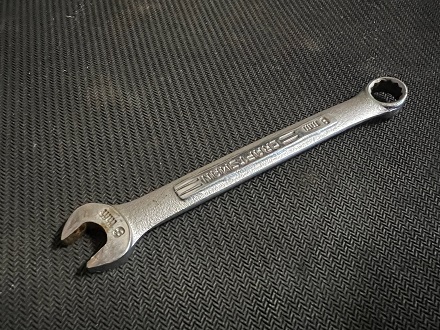
An 8mm open-end wrench is needed to loosen the upper lock nuts.
On the other end, slacken and remove cables from the pulleys.
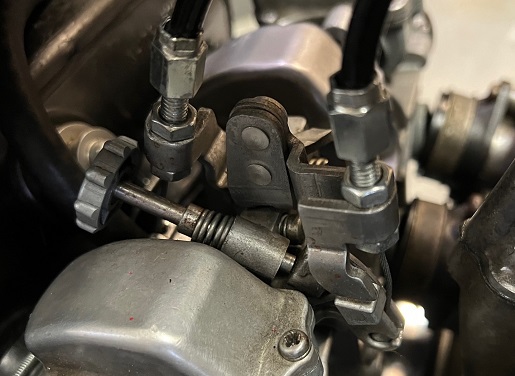
A 10mm open-end wrench is needed to loosen the lower lock nuts.
******************
Upper Vent Hoses
Depending on year and model, there may be vent lines on #1 and #4 carburetors.
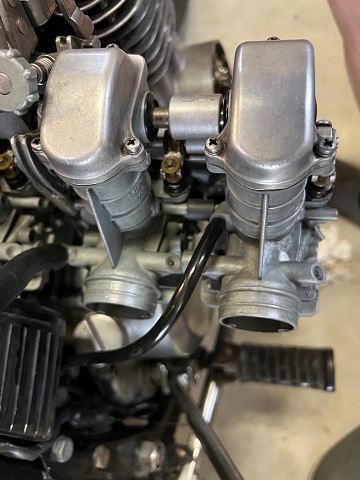
Because it's difficult to get your hands on them, I waited until everything was loosened and removed, then pulled off the vent lines just before removing carb rack from engine.
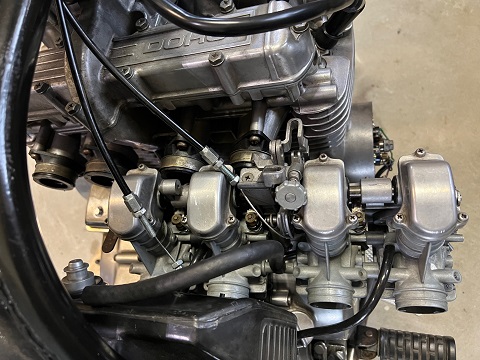
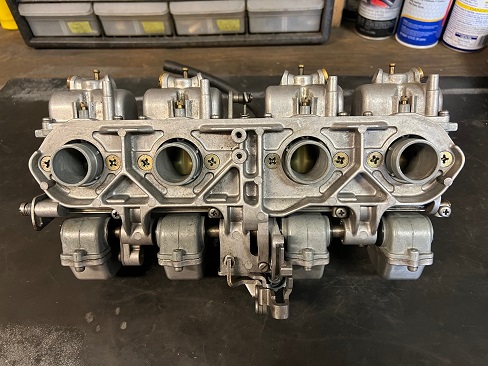
With both hands, pivot carb rack downward and it should pop out of place. Remove from right side of bike.
******************
Reinstall Carburetors
Working from the right-side of the bike, I held the carb rack with one hand, while connecting the upper vent hoses with the other hand. The four lower hoses can be installed after the rack is back on the cylinder head.
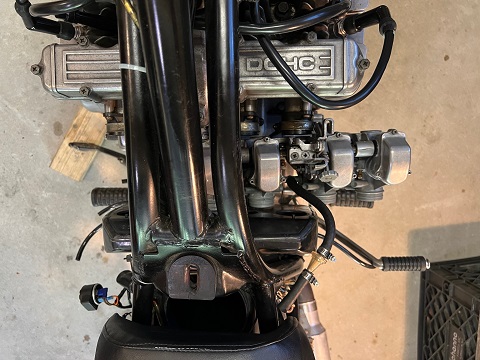
I found it difficult to line up and tighten the front clamps, so I used a block of wood to prop the rack in place while tightening.
Once all four clamps are tight, the air box boots may be reinstalled.
Install Air Box Boots
Yup, this is the hard part. Even after heating them up with a heat gun, they'll still give you a hard time going back in.
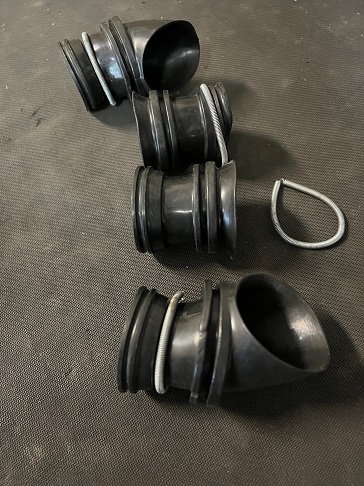
TIP: If you're working without gloves, leave the spring clamps off when you heat them up - the metal gets much hotter than the rubber does!
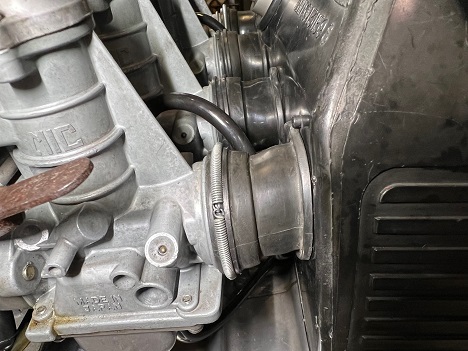
Re-install spring band clamps when boots are back in.
Next, re-connect throttle cables and adjust.
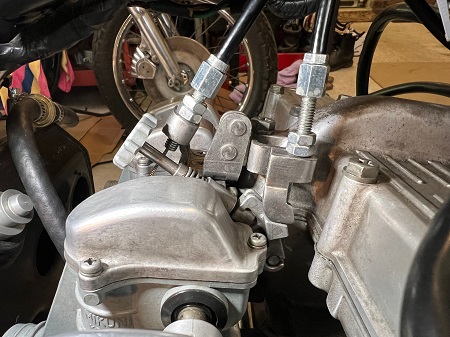
Working with the threaded fasteners and lock nuts, tighten until the slack is removed from both push and pull cables.
Re-connect lower vent hoses.
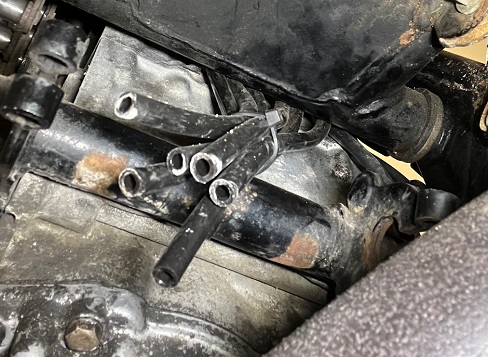
Pictured above: Typical vent hose routing under bike.
Re-install gas tank and connect fuel hose.
******************
Notes and Misc
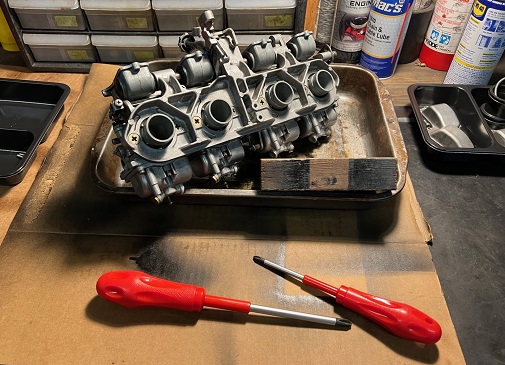
Read: What Is A JIS Screwdriver?
******************
Related Articles:
KZ650 Check Valve Clearance
KZ650 Adjust Valve Clearance
Motorcycle Carburetor Problems
Motorcycle Repair Tools and Equipment
