Kawasaki KZ650 Check Valve Clearance
Article and Pictures by Mark Trotta
Checking and adjusting valve clearance allows top engine performance and fuel consumption, and helps eliminate unwanted noise. On this '77 KZ650, it solved the hard-starting issue.
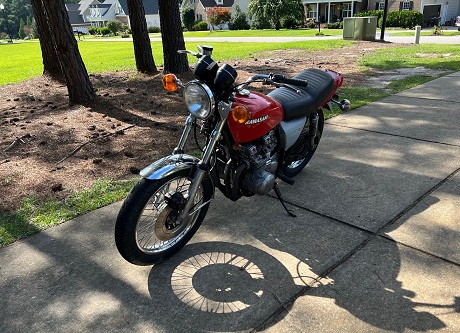
Proper valve clearance is also inexpensive insurance against future engine problems.
What Is Valve Lash?
Valve clearance, or valve lash, is the distance between the bottom of a cam lobe and the top of the valve followers (commonly called cam buckets on DOHC engines).
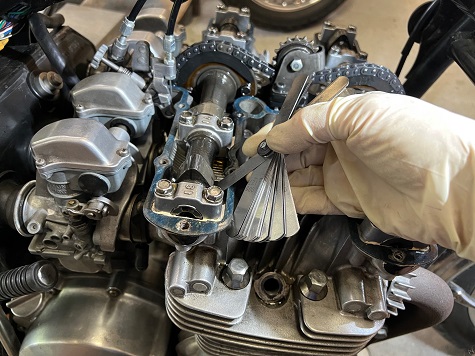
How To Measure Valve Lash
Valve lash is measured with a feeler gauge.
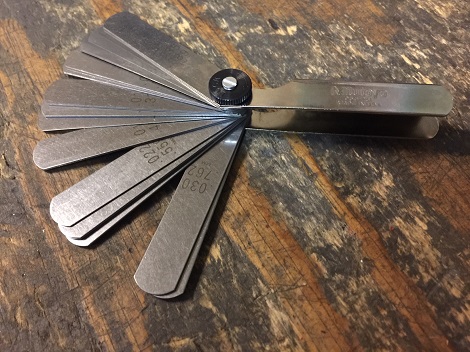
They're made up of thin metal blades, and each blade is a different width of precise thickness. They will be calibrated in either thousandths of an inch, or millimeters, or both.
TIP: On Japanese motorcycles, you'll want to take the measurements in metric, because that's how replacement shims are offered.
Valve lash is measured when the engine is cold.
Valve Shims
Underneath the cams, and underneath each bucket, there are small round shims that are available in different thicknesses.
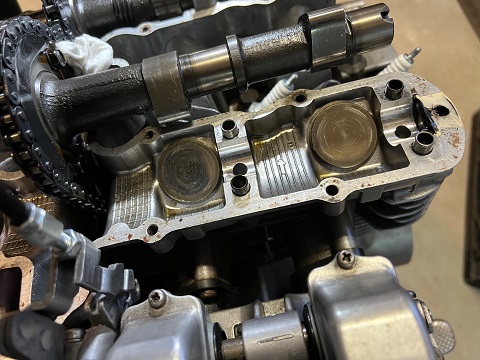
During shim replacement, cams must be moved aside in order to access the cam buckets.
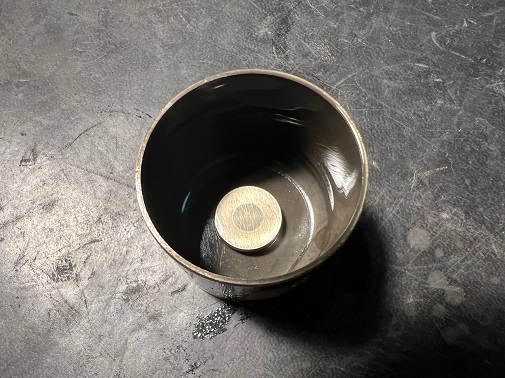
Pictured above is a valve bucket sitting upright with shim still in place.
If valve clearance is too small or too large, shims can be swapped out for larger or smaller sizes.
Valve Clearance Interval
The factory service manual recommends checking valve clearance every 5,000 kilometers, which is about 3,100 miles.
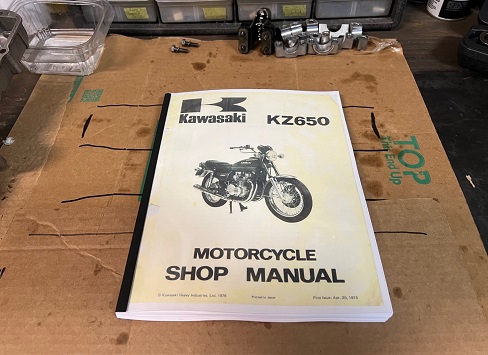
Valve clearance should also be also checked if a new camshaft, cylinder head, or cam bucket is installed.
Valve Lash Specs
On this 1977 Kawasaki KZ650, proper valve lash is 0.008mm to 0.018mm. My factory manual is for early models, so it's best to check your exact year and model.
CAUTION: If you're in doubt as to your abilities to check and adjust valve clearance, consider bringing your bike to a shop or dealership. A well-intentioned DIYer can do serious damage!
********************
Getting Started
First, find a place where you can get to both sides of the bike easily.
Disconnect fuel hose that runs from fuel valve to carbs. On early models like this 1977 model, a quick tug pulls the back of the tank out of a rubber grommet. Later models have a rear tank bolt.
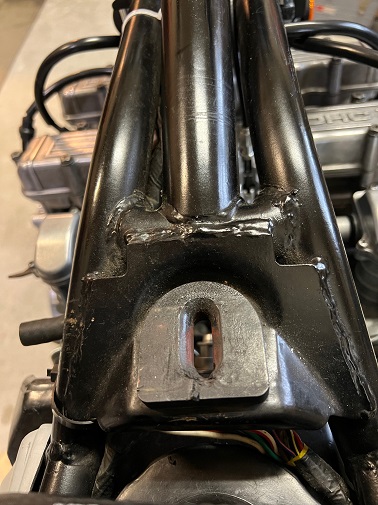
Lift tank up and back, and find somewhere safe to keep it.
Remove Ignition Coils
From the main harness, there are three wire connections that go to the two coils.
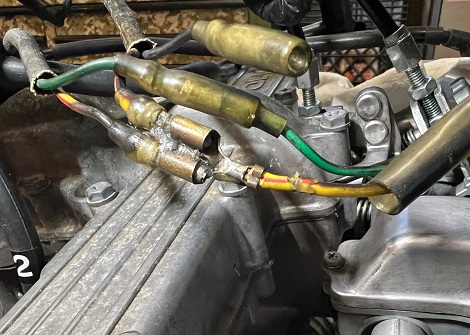
Green wire goes to left-side coil, black wire goes to right-side coil. The yellow/red wires plug in tandem.
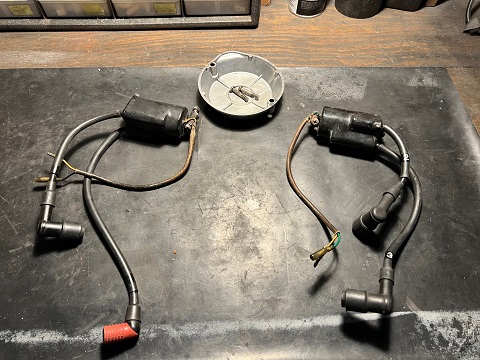
Unbolt both coils from mounting brackets. They're held on by two bolts each (10mm socket).
Cylinder Cover
Head cover bolts are removed with a 10mm socket. There's 24 of them.
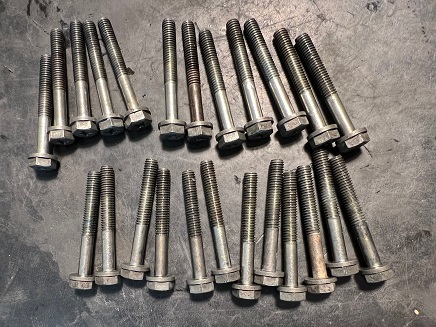
The cover may be a little tricky to take off, as there's not much clearance.
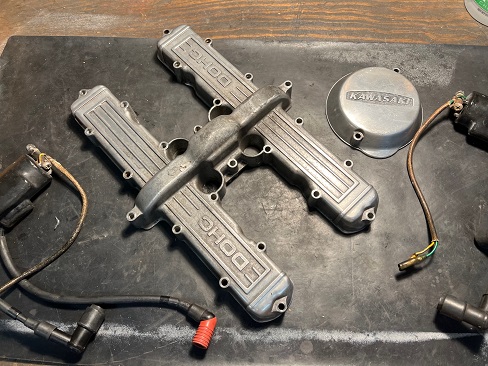
The four end caps may stay in place, or they may fall out, so keep track of them.
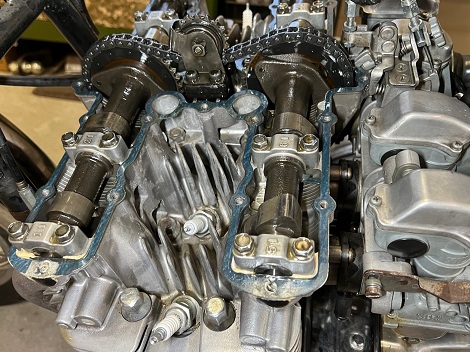
With the cover removed, you'll see the cam caps thoughtfully marked #1 through #8.
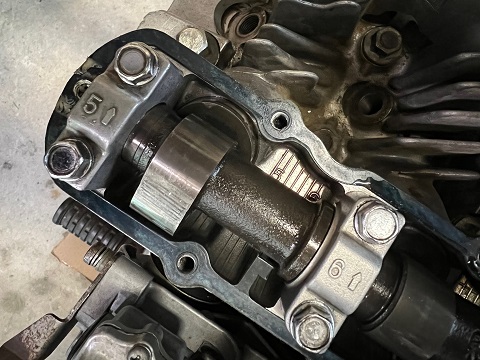
Numbers 1, 2, 3, and 4 are exhaust (front cam), while 5, 6, 7, and 8 are intake (rear cam).
********************
Factory Valve Clearance Procedure
The Kawasaki factory service manual recommends a four-step procedure, which is as follows:
Remove the points cover, then turn the crank clockwise (with 17mm wrench) until the 'Ex' mark on the exhaust camshaft sprocket is facing forward.
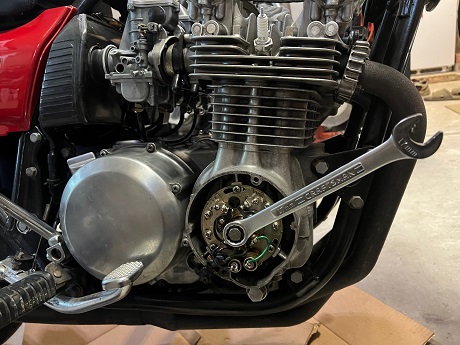
With the exhaust cam in this position, check valve lash on #1 and #3 valves.
Insert a feeler gauge between the cam and bucket. The blade should slide through with a slight drag.
Correct clearance for 1977 KZ650 is 0.008mm to 0.18mm. Check specs for your year and model.
To check cylinders #2 and #3, turn the crank clockwise (with 17mm wrench) until the 'Ex' mark on the exhaust camshaft sprocket faces rearward.
To check intake valve lash, turn the crank (with 17mm wrench) until the 'T' mark on the inlet camshaft sprocket is aligned with the rear cylinder head surface. With the cam in this position, check valve lash on #5 and #7 valves.
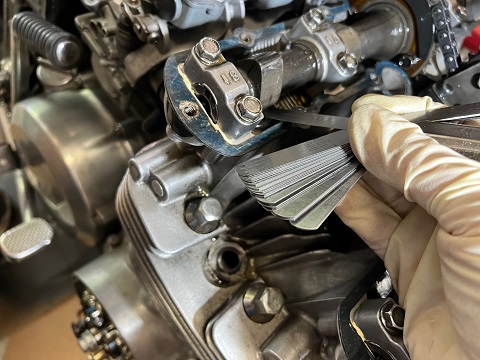
Lastly, turn the crank (with 17mm wrench) until the 'T' mark on the inlet camshaft sprocket is aligned with the front cylinder head surface. With the cam in this position, check valve lash on #6 and #8 valves.
Zero Clearance
If one or more valves have no clearance, there is a cause for concern, as it may be a sign of severe valve seat wear. However, if the cam bucket can still be rotated, there's probably clearance, you just don't have a thin enough blade to measure it. Of course, the lack of proper clearance needs to be corrected.
********************
Here are the measurements (in millimeters) before adjustment.
Within tolerance is 0.008mm to 0.18mm
EXHAUST
1 - .279 (too much)
2 - .127 (within tolerance)
3 - .178 (within tolerance)
4 - .000 (was able to rotate head of bucket)
INTAKE
1 - .102 (within tolerance)
2 - .229 (too much)
3 - .152 (within tolerance)
4 - .203 (too much)
For article on How To Adjust KZ650 Valve Clearance click here.
********************
Shim Under Bucket vs Shim Over Bucket
Unlike early Kawasaki Z1 DOHC motors, which have valve shims on top of the cam bucket, KZ650 engines have valve shims underneath them.
With the shim over bucket design, if there happens to be over-revving and valve float, shims could come loose and lodge themselves somewhere else in the valvetrain. The fix was to move the shims under the buckets.

Pictured above is a valve bucket sitting upright with shim still in place.
With shims underneath the bucket, there is no chance of them dislodging. Additionally, shims could be now made smaller in diameter, which reduced valvetrain weight slightly.
Shim Under Bucket Disadvantage
The one disadvantage of 'shim under bucket" design is the extra steps required to adjust valve clearance.

Adjusting the lash involves lifting the cams off the cylinder head to access the buckets, then removing/installing shims to achieve proper clearance.
********************
Notes and Misc
TIP: Before you start checking valve clearance, check torque on cam bolts, as loose bolts will give false readings.
The factory service manual recommends 92-113 inch-pounds for cam bolts, which are 6mm in diameter (10mm head). Curiously, the service manual also recommends just 52-69 inch-pounds for 6mm general fasteners, but cam cap bolts have a higher torque rating.
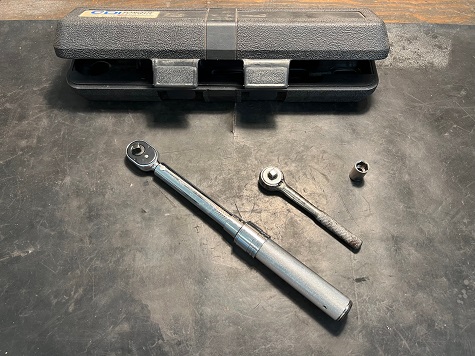
Only use an inch-pound torque wrench on cam cap bolts.
If the cam cover gasket is not ripped or damaged, it may be re-used.
********************