Kawasaki KZ650 Adjust Valve Clearance
Article and Pictures by Mark Trotta
If you weren't the last tech to adjust valve lash on a DOHC Kawasaki, you may be in for a few unwelcome surprises. On this low-mileage '77 KZ650, I encountered over-tightened bolts and stripped threads.
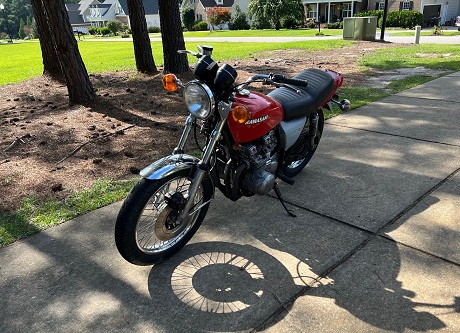
Once the proper shims were installed, the bike was much easier to start when cold, and ran smoother at all speeds.
************************
This article shows step-by-step how to adjust valve lash on classic Kawasaki KZ650 models.
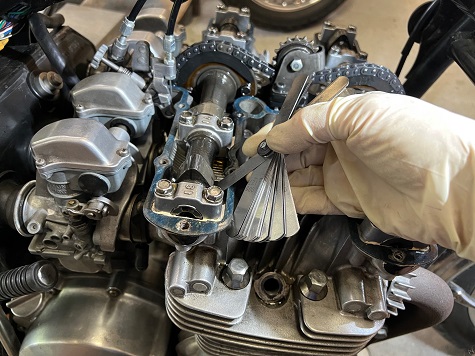
For article on how to check valve clearance click here.
************************
Shim Under Bucket
In a DOHC Shim Under Bucket design, an inverted “bucket” (valve follower) sits over the top of the valve, underneath the camshaft.
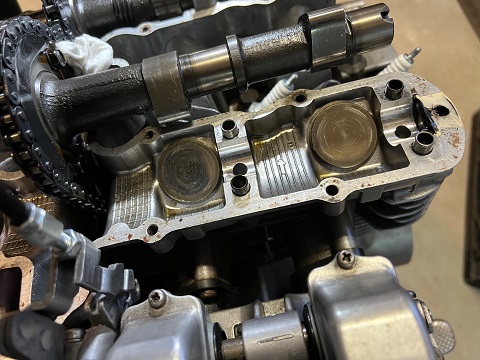
Underneath the cams, and underneath the buckets, there are small round shims that are available in different thicknesses. If valve clearance is too small or too large, shims can be swapped out for larger or smaller sizes.
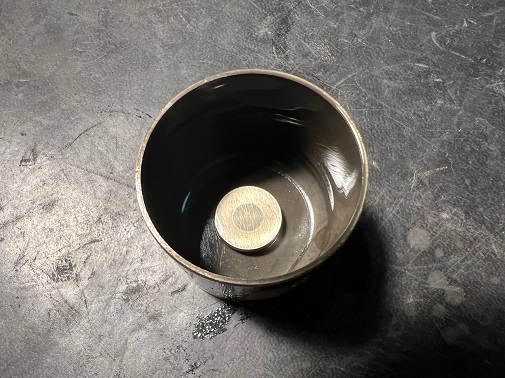
Pictured above is a valve bucket sitting upright with shim still in place.
************************
CAUTION: If you're in doubt as to your abilities to check and adjust valve clearance, consider bringing your bike to a shop or dealership. A well-intentioned DIYer can do serious damage!
************************
Adjusting Valve Lash
Technically, you're not “adjusting” anything--if valve lash is out, the shim is replaced with one of a different thickness. If clearance is too small or too large, shims are available in larger and smaller sizes.
Although they can be purchased individually, buying a valve shim kit is usually more practical. Besides being more price effective, it gives you a margin of error when calculating.
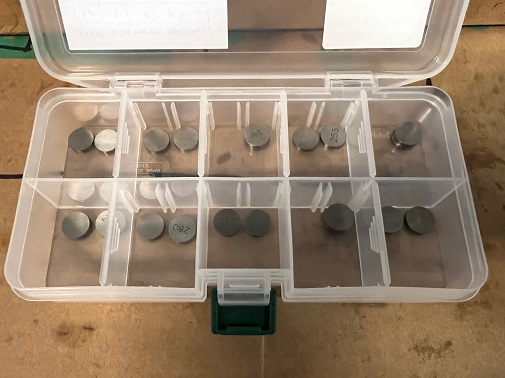
This shim kit was purchased from Z1 Enterprises in Florida. For about $85, you get 20 different-sized shims, so that works out to $4.25 apiece.
********************
To actually get to the shims and valve buckets, the cam(s) have to be lifted up and out of the way.
Procedure To Remove Cams
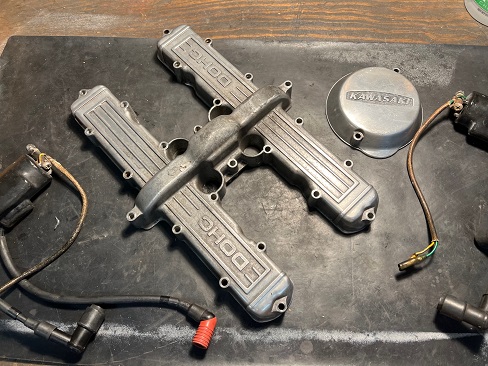
Follow the procedure on how to check valve clearance. This will include removing the gas tank, coils, and cam cover.
********************
There are upper and lower cam chain tensioners. During the valve adjustment procedure, they need to be removed so that tension is taken off the chain.
Remove Upper Cam Chain Tensioner
The top tensioner is removed with four 5mm hex-head bolts.
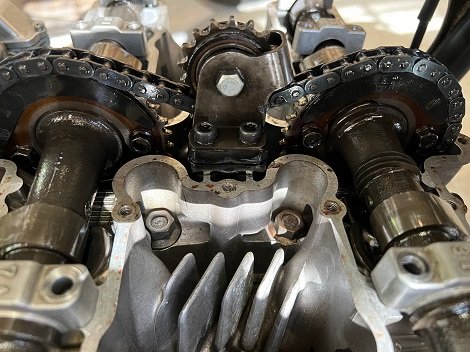
CAUTION: Do not drop any of the tensioner parts into the open crankcase!
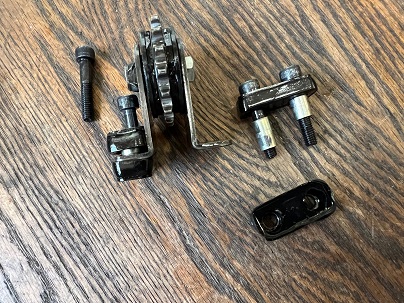
Remove Lower Cam Chain Tensioner
On early KZ650's, the lower chain adjuster is automatic. Two bolts (10mm wrench) hold it to the back of the cylinder.
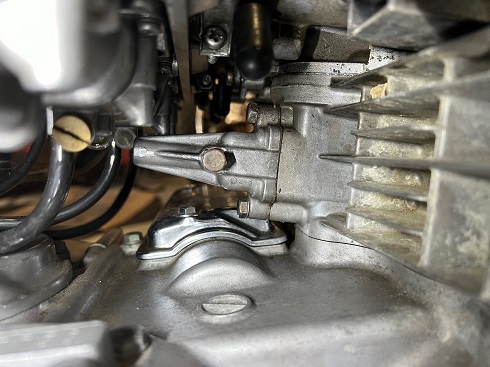
It's a tight squeeze, but I was able to remove the two bolts by first using a long wrench (for torque) and a then short wrench (for clearance).
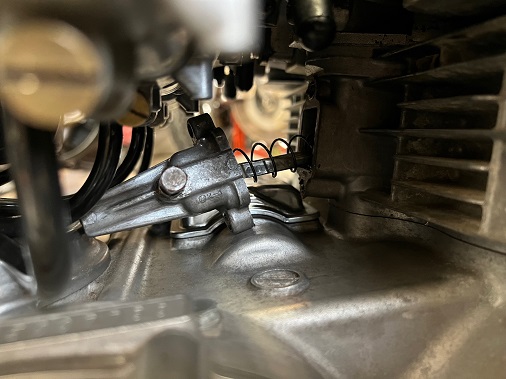
Lower tensioner removed.
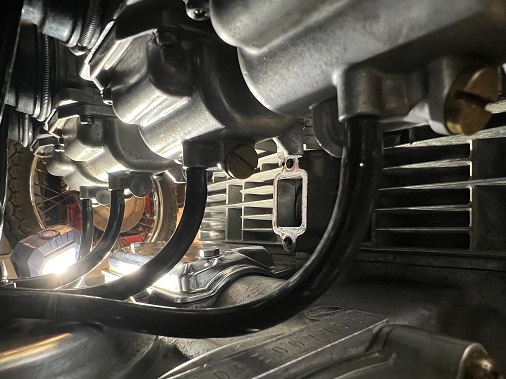
Tachometer Cable
The tachometer cable unscrews from the front of the cylinder head with a round knurled fastener. Light pressure with a pair of Channel Lock pliers (or similar) is all you should need to loosen it.
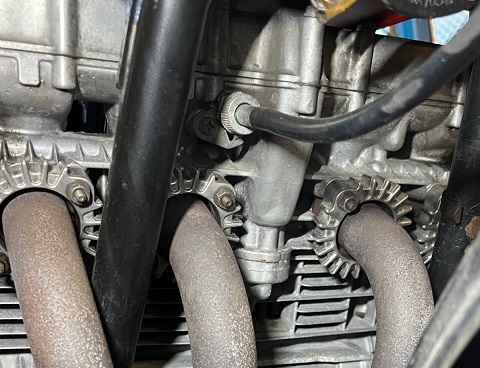
Remove Cam Caps
Cam cap bolts are removed with a 10mm socket.
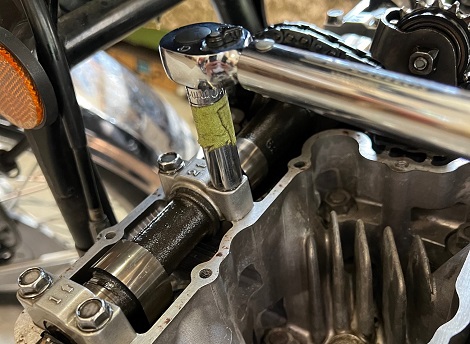
About the green tape on the socket.
I never have to look too hard to find my 10mm socket.
It's the one with the green tape on it.
********************
Over-Tightened Bolts
Loosening over-tightened bolts is always scary, especially when they're in a precision-machined aluminum cylinder head.
On this motor, all 16 cam bolts were previously over-tightened, with two of them stretched to the point of distortion.
By loosening slowly and carefully with a small 1/4" drive ratchet, I lessened the chance of any of them snapping.
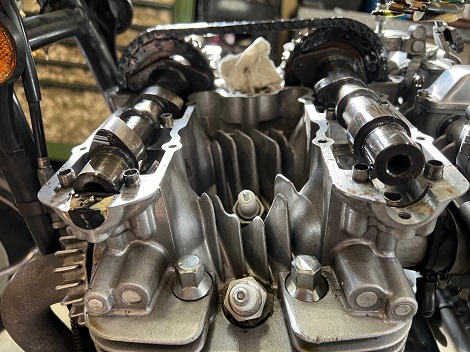
While loosening the caps, the cams will start rising up off their perches. This is normal and OK, it's just valve spring pressure under the cams.
********************
Camshaft Removal
You don't necessarily have to take the cams off the engine to get to the cam buckets. With upper and lower tensioners removed, there's enough free-play in the chain to move the cam and have access to the buckets.
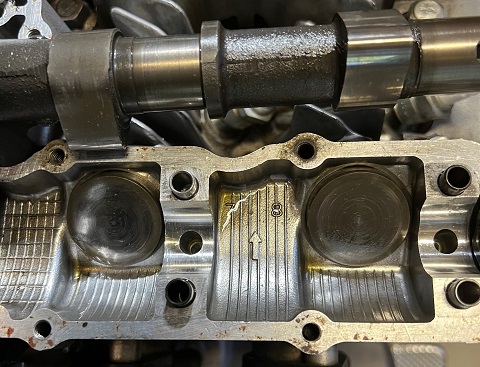
Roll Camshaft Out Of The Way
Without taking the chain off the gear, you can 'roll' the cam away from it's perch, change the shim(s) in question, then roll the cam back onto it's perch.
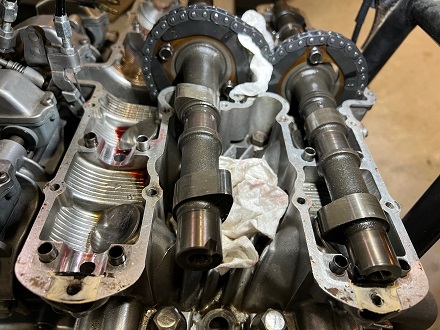
By using this method, you never lose chain placement.
********************
Before proceeding, take a moment and look across the top of the cylinder head.
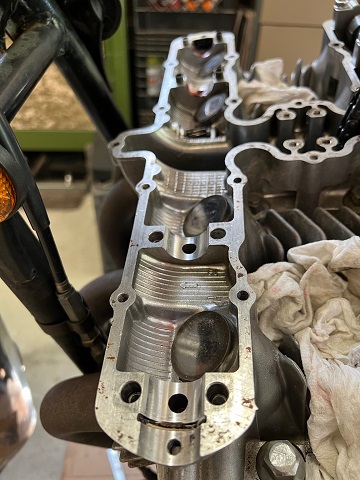
Do any of the valve buckets sit further down than the others?
If so, it's a sign of a badly worn seat, bent valve, or perhaps broken spring.
********************
Remove Valve Buckets
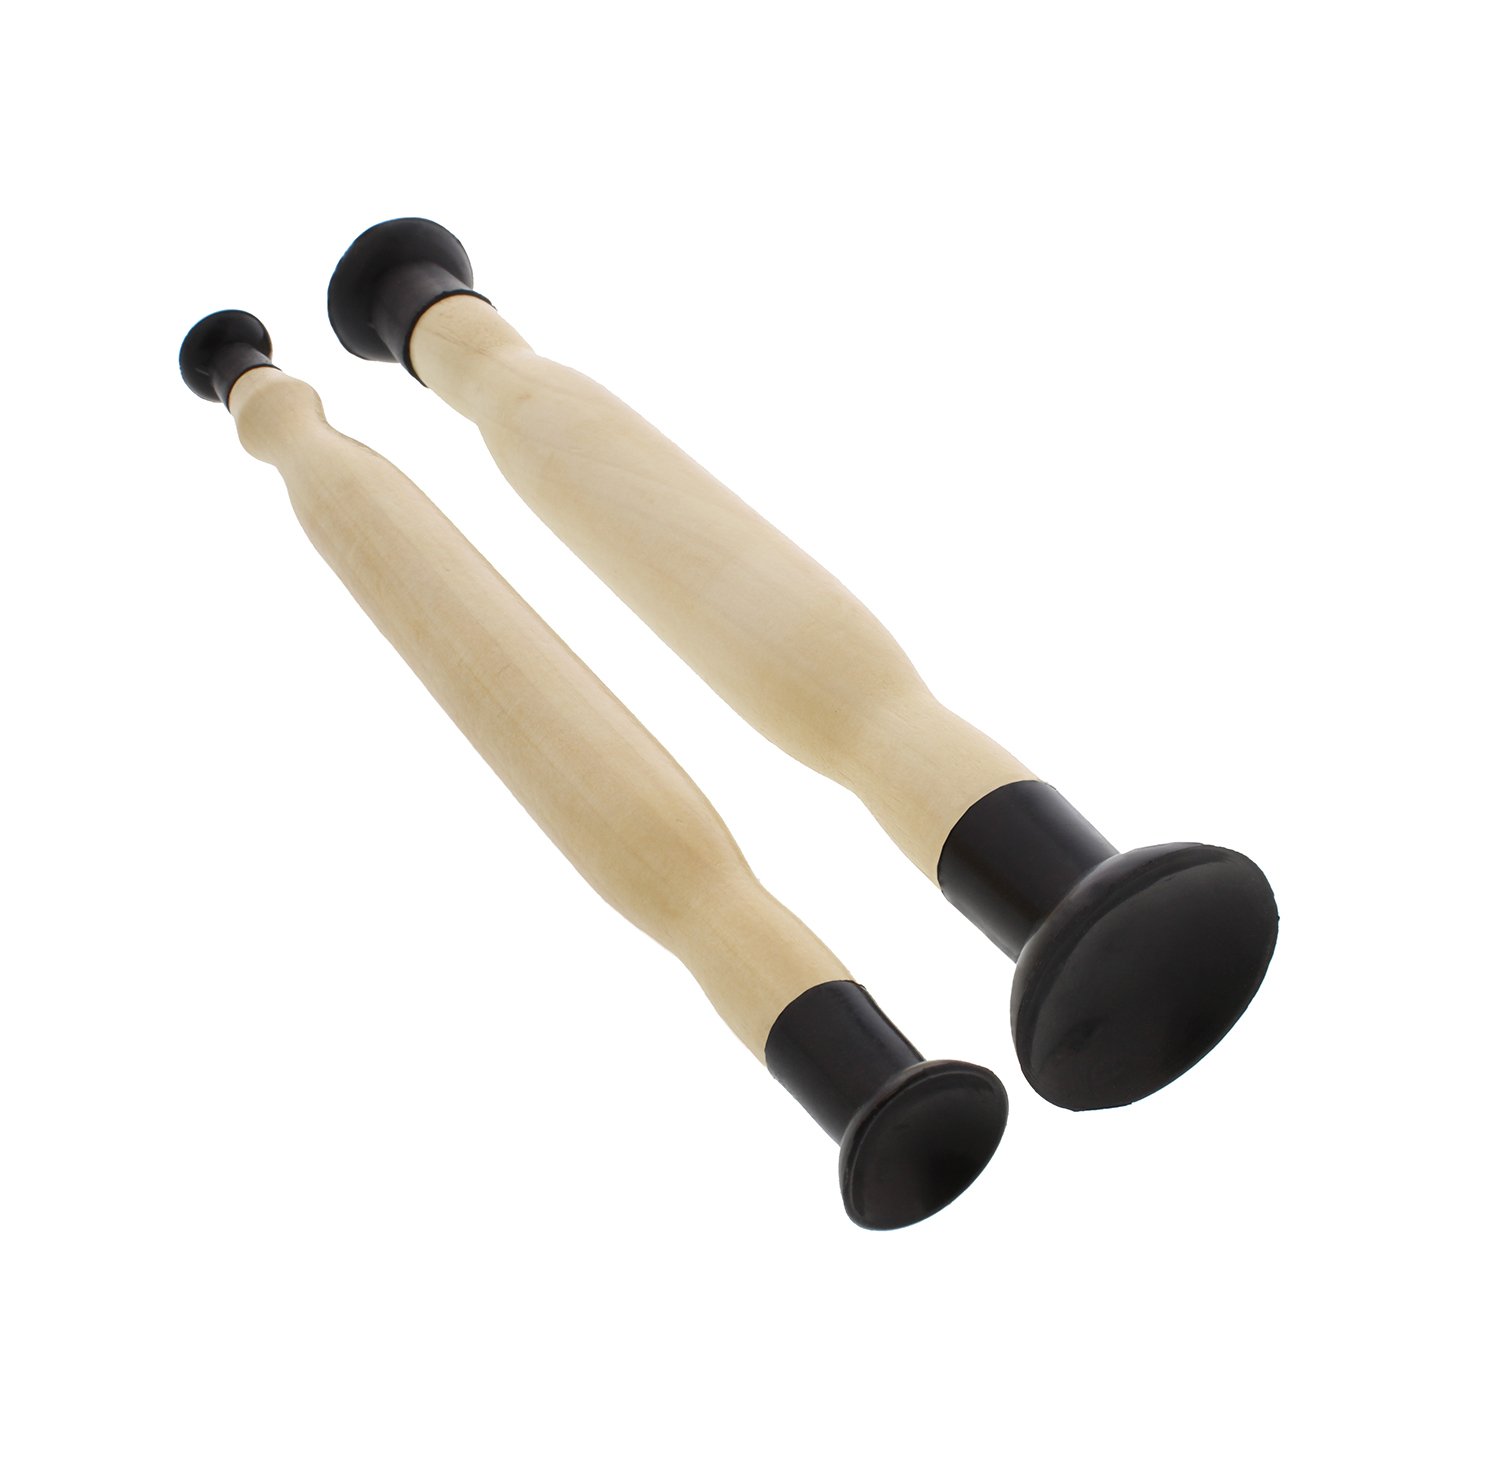
To remove the cam buckets, you'll need a valve lapper tool, which is basically a plastic or wooden dowel with a suction cup on the end.
If needed, squirt a few drops of oil on the top of the bucket.
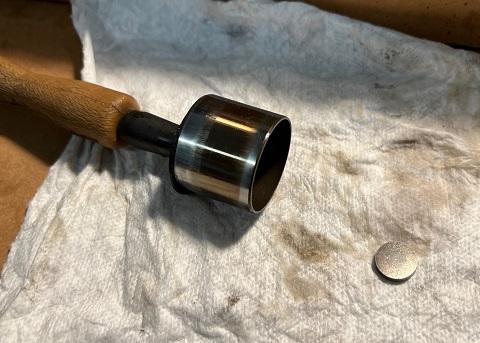
Rubber cups stick well to oily buckets.
********************
Valve Lash Specs
To get the valve lash into the recommended range, you first have to determine what size shims you need. If you can't read the numbers on the old ones, measure them with a digital caliper.
The factory service manual includes a chart, which tells you which shim to use to achieve recommended clearance. Or you can just do the addition/subtraction on a piece of paper.
On this 1977 Kawasaki KZ650, valve lash specs are 0.008mm to 0.018mm. My factory manual is for early models, it's best to check your exact year and model.
After getting the cam shims right, during final torquing, one of the cam bolt threads stripped. This led to very carefully drilling out and inserting a 6mm Helicoil insert.
Read: Repair Stripped Threads In Aluminum
********************
Finally, time to button up the motor.
Cam Cap Installation
Before reinstalling the cam caps, apply a few drops of engine assembly lube.
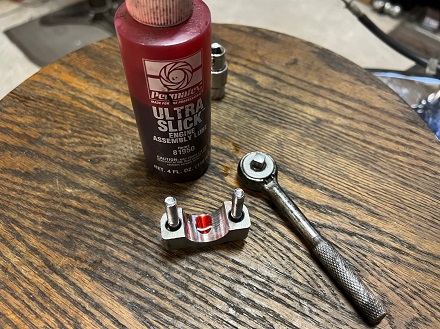
In case you forget where the caps go, from left-side of bike to right-side, numbers 1, 2, 3, and 4 are exhaust (front cam), while 5, 6, 7, and 8 are intake (rear cam).
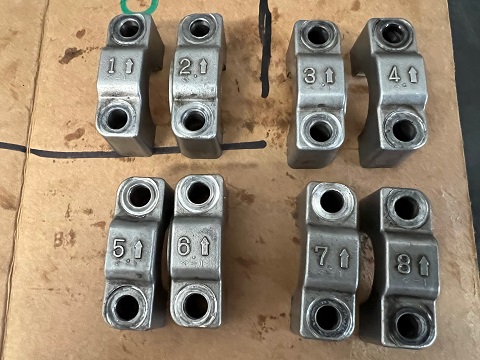
The factory service manual recommends 92 to 113 inch-pounds for cam bolts, which is quite high for a 6mm bolt. After my experience with the stripped bolt, I torqued them to 100 inch-pounds.
There is a recommended sequence to tightening cam cap bolts, which is generally inner to outer. Once they are all hand-snug, torque equally to 60, then 80, then 100 inch-pounds.
********************
Notes and Misc
On early Kawasaki KZ650 models, the factory service manual recommends checking valve clearance every 5,000 kilometers, which is about 3,100 miles.
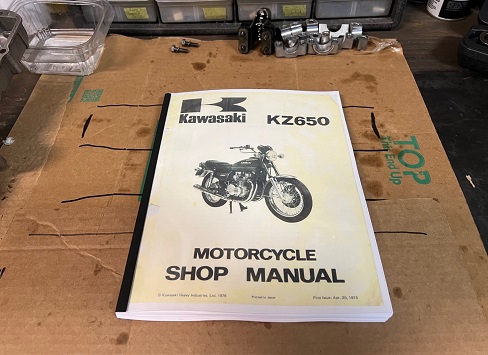
The FSM will let you find answers quickly and accurately.
Conclusion
Adjusting valve clearance restores engine performance and helps eliminate unwanted noise. On this '77 KZ650, it also solved the hard-starting issue.
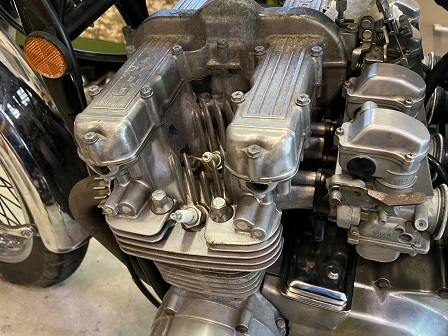
Proper valve clearance is also inexpensive insurance against future engine problems.
********************