Ironhead Transmission Basics
Text and Pictures by Mark Trotta
With over 50 individual pieces, overhauling an Ironhead transmission requires attention to detail and a lot of checking and rechecking. A well-intentioned DIYer can easily cause damage by forgetting a retaining ring or installing a wrong-size thrust washer.
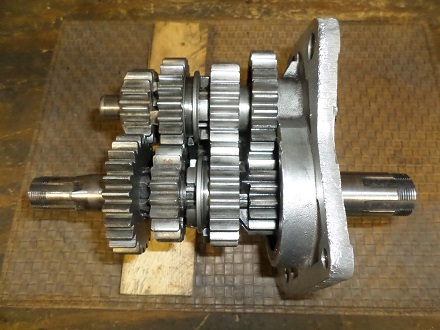
Four-Speed Unit Transmission
The 4-speed Sportster transmission was produced for over three decades, first seeing use in 1954-1956 Harley K-models, then 1957-1985 Ironheads, and lastly 1986-1990 Early Evo Sportsters.
Although some feel a four-speed is antiquated, it does a fine job of spreading the abundant torque of the motor. Not a whole lot of down-shifting is needed, just twist the throttle and go!
You can easily hold a gear where other makes and models have to go back a gear or two.
Rebuilding A Sportster Transmission
Although it's a bit complicated to assemble, there's no groundbreaking technology here. Similar to engine building, the skills needed to rebuild one are acquired as needed.
The first step is to learn how to remove it.
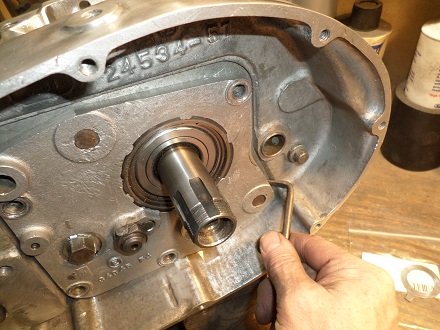
Read: Remove And Install Ironhead Transmission
********************
An Ironhead transmission is easier to understand when broken down into categories:
- Mainshaft and Gears
- Countershaft and Gears
- Trap Door and Bearing
- Shifter Assembly
- Shifter Forks
********************
Ironhead Mainshaft Assembly
The mainshaft sits above the countershaft and is longer. It rides between the clutch gear bearing in the trap door and 23 loose bushing rollers in the right-side engine case.
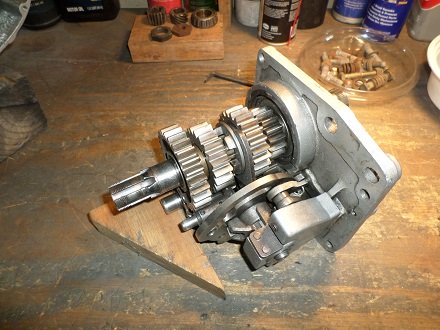
From inside to outside, the four main gears are 1st, 3rd, 2nd, and 4th. This is done for fitment reasons.
Mainshaft Differences
Throughout it's production years, the Ironhead Sportster was fitted with three different mainshafts.
There is an early dry-clutch mainshaft (1957-1969).
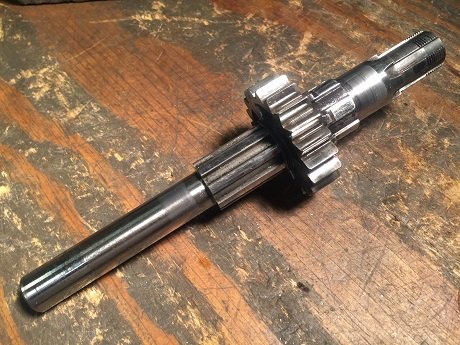
Pictured above: early dry clutch mainshaft with third gear attached.
The later dry-clutch mainshaft (1967-1970) is for electric start bikes.
Dry clutch mainshafts are hollow to allow push rods to activate the clutch.
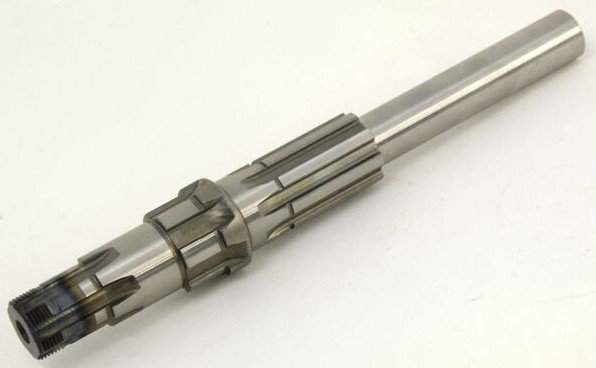
Pictured above: Solid mainshaft for 1971-1984 Sportsters with wet-clutch.
********************
Ironhead Countershaft Assembly
The transmission countershaft rides between an open needle bearing in the trap door and a closed needle bearing in the right engine case.
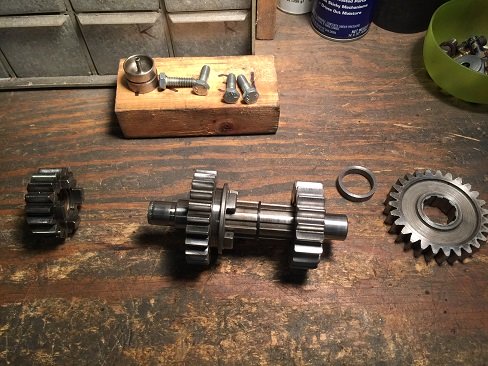
There are two different countershafts for the four-speed Sportster transmission. The early style pictured below was used from 1958 up until early 1984.
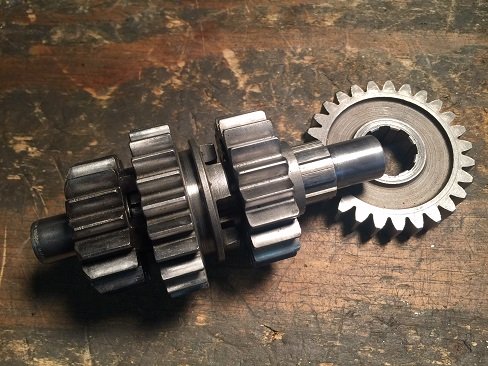
The later countershaft is used on both late Ironheads (1984-1985) and early Evo Sportsters (1986-1990) up until the last year of the four-speed.
Check Shafts for Straightness
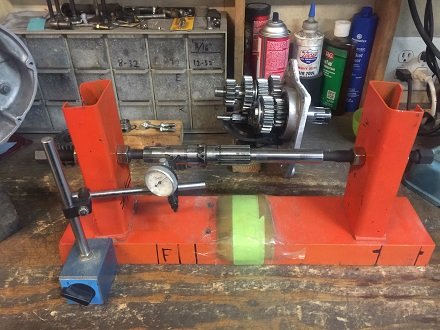
Both shafts should be checked for straightness. Anything past .003" runout is questionable.
The picture below shows checking mainshaft straightness on a homemade flywheel truing stand.
Check Gears for Pitting
Carefully check all gears before re-use. Once pitting occurs, gear wear is rapidly accelerated.
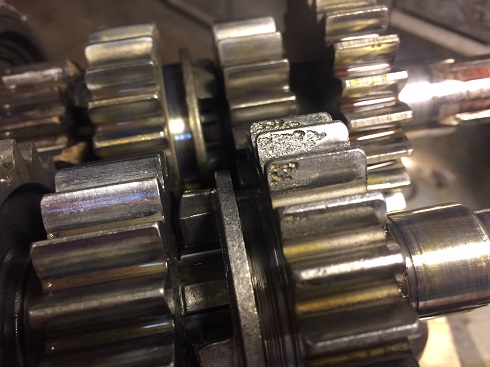
The picture above shows a badly pitted CS third gear.
Once assembled with other gears on a shaft, every gear should roll free without any noise or binding.
********************
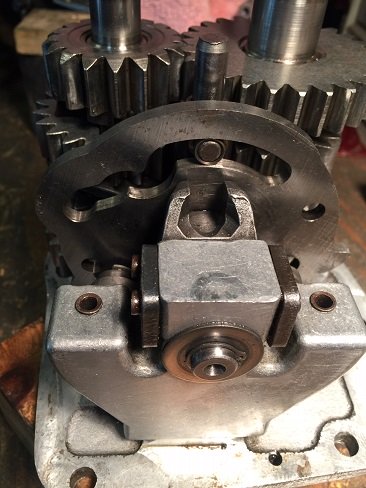
Sportster four-speed pawl carrier.
********************
Trap Door And Mainshaft Bearing
The transmission access cover on Sportsters is commonly called the trap door. It is mounted with four bolts that do not require washers.
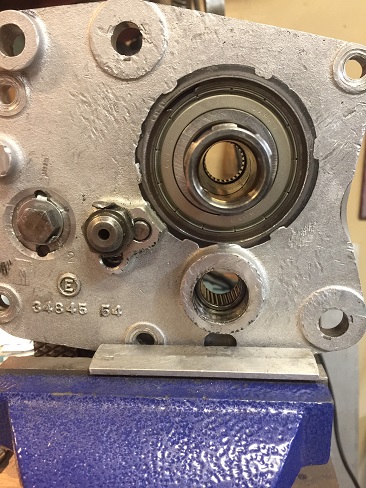
The trap door assembly contains the mainshaft bearing, which is held in place by two retaining rings. After the rings are removed, it's a light press fit to remove the clutch gear and bearing.
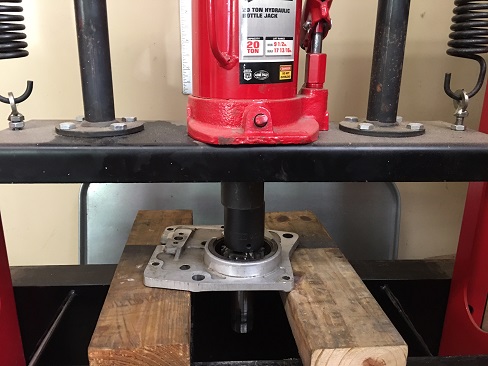
Once separated from the trap door, the MS bearing can be spun by hand to feel for any binding or excessive wear.
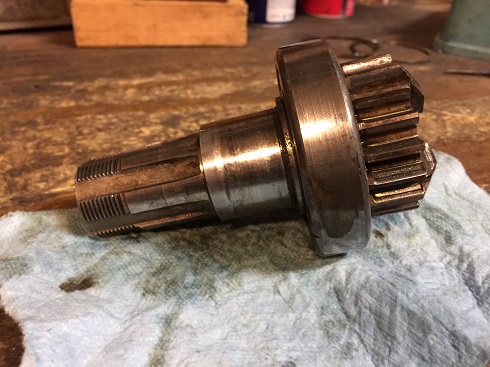
Oiler Plug
The oiler plug sits outside the open needle bearing and press-fits into the trap door. Before installing the oiler plug, check CS end play. Once installed, the oiler plug should stick out of the case about 7/16" with the hole facing up.
********************
Shifter Forks and Spacing
The two slider gears need to be spaced apart as equally as possible. The most common way to adjust gear spacing is to replace the shift forks with different sizes until proper clearances are obtained.
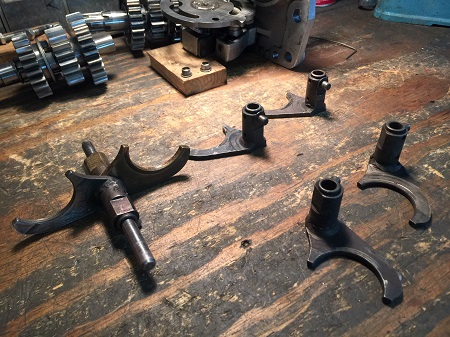
Both Steel Shifter Forks and Brass Shifter Forks are still readily available. They are available in +.010" -.010" +.020" -.020" sizes.
Steel vs Brass Forks
Technically, steel is stronger than brass, but brass has better friction properties, but it usually comes down to what you have and what fits best. I've used both with no problems.
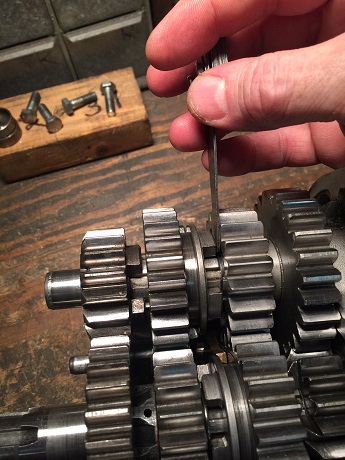
Although only two are needed, a meticulous builder may spend an hour 'mixing and matching' various shifter forks before the correct gear clearance is obtained.
********************
Lastly, before transmission installation, both mainshaft and countershaft end play need to be established and adjusted.
********************
Parts Interchange
Gears, springs, forks, thrust washers, bearings, bushings, hardware--nearly all transmission parts interchange between 1952 through 1990 Sportster models.
Shop: Ironhead Transmission Parts
********************
Related Articles: