Ironhead Sportster Projects
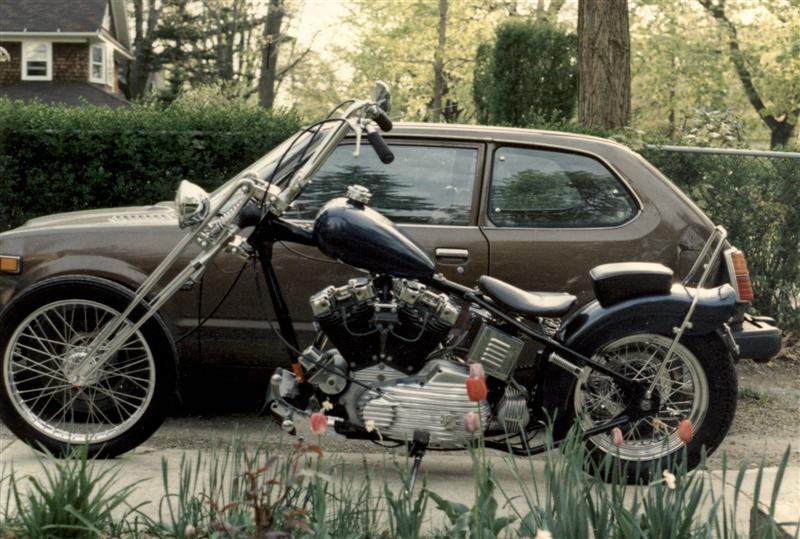
Over the last 60 years, Ironhead Sportsters have been the basis for choppers, bobbers, cafe racers, drag bikes, flat trackers, scramblers, hill-climbers, fully-faired track bikes, and even trikes.
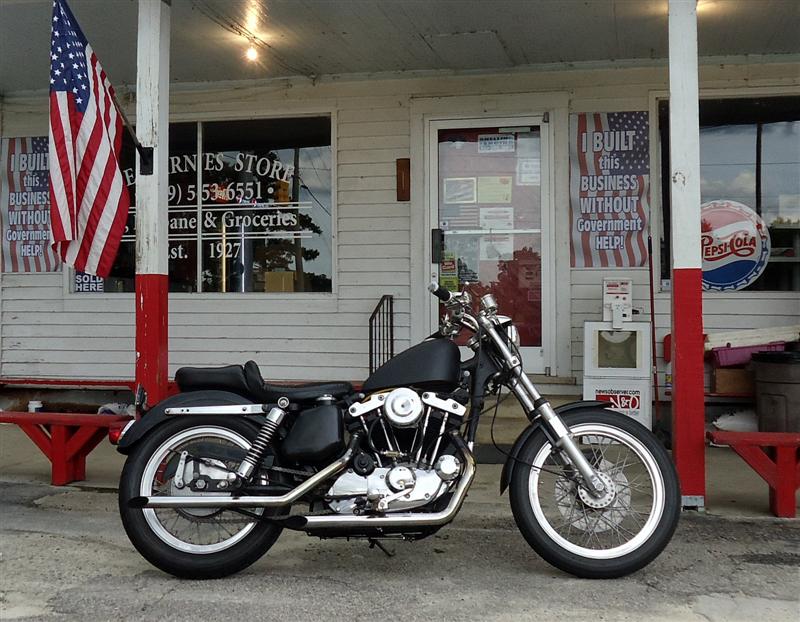
Flexibility of the compact V-twin and basic frame are nearly limitless.
Best Year Ironhead Sportster
No model years are really better than others for a project bike, but certain year Sportsters may be more desirable for one reason or another. The 900cc Ironheads from the late fifties and early sixties were certainly the coolest looking in stock trim. These early Sportsters are much harder to come by, simply because less where made (ie, less than 2,000 total in 1962).
Early Sportsters equipped with magneto ignitions, 6-volt electrics, and solid-mount engines are not for everyone, but when left factory original or restored correctly, are worth quite a bit more than later models.
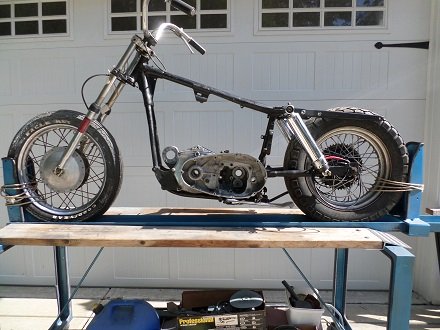
Many Sportster enthusiasts rate the 1965 XLCH as one of the best. It was the first year of 12-volt electrics, and had the wider front drum that came out the year before. It was also the last year for the DC Linkert carb and the "horseshoe" oil tank.
From 1957 to 1966, all models had the same frame and engine cases. To accommodate a bigger battery box and electric starter, the 1967 XLH received a new frame and redesigned engine cases. This was the first Sportster with electric start.
Last Real XLCH
Up through 1969, the XLCH Sportster had the early, shorter frame, so 1969 is considered the last "real" XLCH. All Sportster models from 1970 through 1977 would use same, longer frame.
In 1970, Harley-Davidson started stamping corresponding VIN numbers into both engines and frames. Before this, only the engines had VIN numbers, making early engines easy to swap in and out of whatever frame you choose.
1971 Sportster
The last year of the 900cc Ironhead engine was 1971, and it was the first year of new engine cases. The external distributor was moved from the top of the right-side engine case to inside the engine case, now employing an automatic advance mechanism to aid starting. The fiberglass seat and tail section, known as the 'boat-tail' was available for the second and final year.
Read: Sportster History (1967-1979)
********************
Unit Transmission
Unlike Harley Big-Twins, you can't ignore the transmission when doing bottom end work on a Sportster engine. The transmission is housed inside the engine cases, so at a minimum you'll at least need to know how to remove and install.
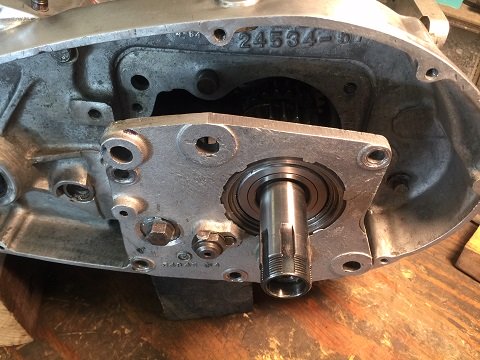
Read: Sportster 4-Speed Transmission
Read: Sportster Transmission Remove and Install
********************
Dry-Clutch vs Wet-Clutch
A dry clutch is not spinning in engine oil, which causes less drag and robs less power than a wet clutch does. Wet clutches are quieter, but a harder pull at the clutch lever.
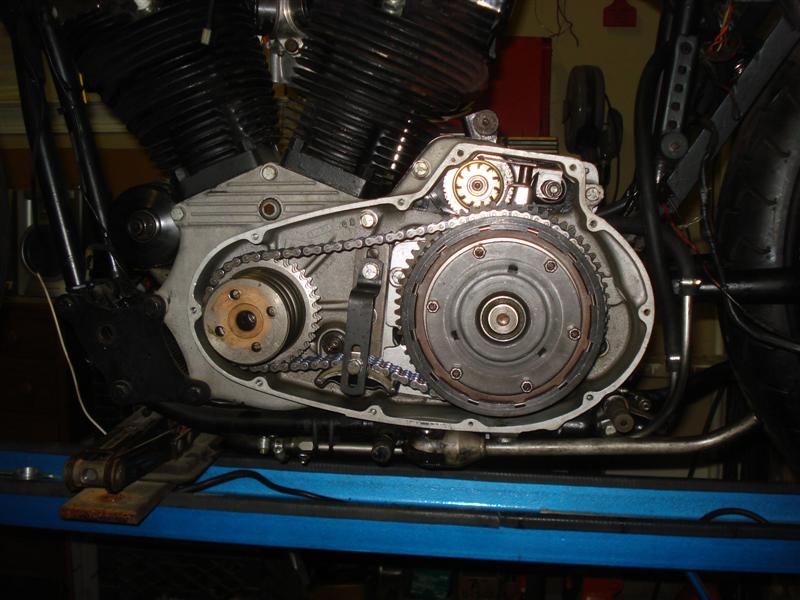
Read: Sportster Clutch Remove and Install (1971-1984)
Sportsters were converted to a wet clutch setup in 1971. As its name implies, the wet clutch sits in oil, the earlier dry clutch (1957-1970) does not.
*******************
1000cc Sportster
To keep up with the litre-bikes that Japan was offering, a bump in motor size was seen in 1972. Boring the cylinders 3/16" brought displacement from 883cc to 997.3cc (advertised as 1000cc).
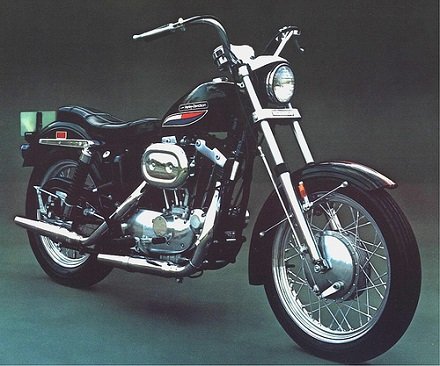
Read: Ironhead Sportster Cylinders
The increase from 900cc to 1000cc also gave a more optimum bore-to-stroke ratio, resulting in a slightly smoother running motor. Power was also increased, pushing top-speeds past 110 mph. Quarter-mile times dropped into the mid-thirteens, and by removing the stock exhaust baffles, another half-second was easily gained.
In 1973, the speedometer drive was moved from the bottom of the engine case to the front wheel. This allowed Harley to put some extra meat in the right side of the transmission area where the drive used to be. Because of this, 1973-up Sportster engine cases are slightly stronger than the earlier models.
Also this year, the original 33.4mm front forks were replaced with 35mm forks.
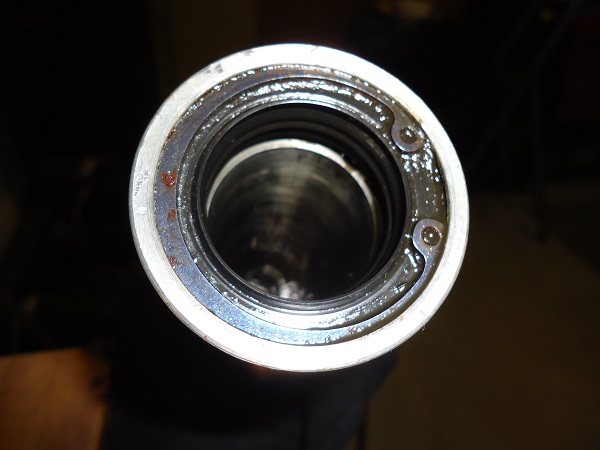
Read: Replace Sportster Fork Seals
********************
Disc Brakes
The Sportster front brake drum was upgraded to a single disc in 1973. Sportsters from 1973 through mid-1977 have the "pie-slice" brake caliper.
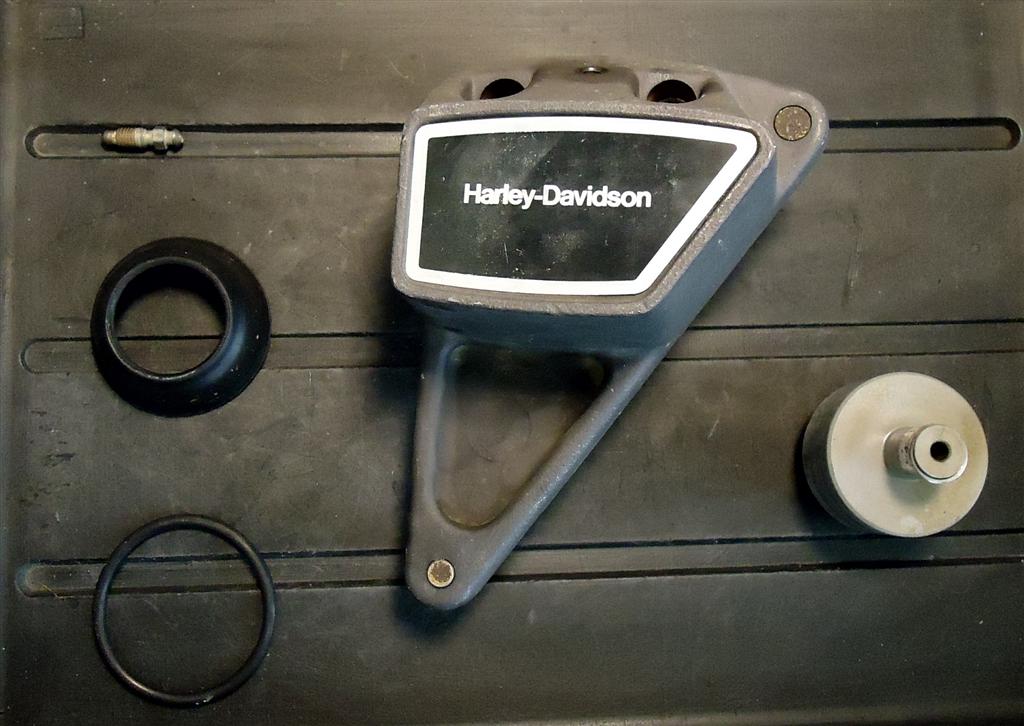
Read: Rebuild 1973-1977 Sportster Caliper
Later models (1978-1983) have dual-disc front brakes.
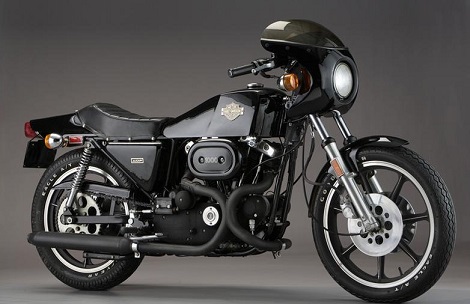
Read: Rebuild Harley Dual Disc Calipers
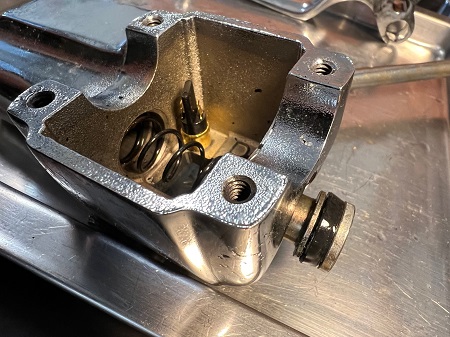
Read: Rebuild Harley Master Cylinder
********************
Right-Side to Left-Side Shift
The two years that Sportsters had the crossover shaft to make them left-side shift (1975-1976) makes them harder to find parts for. I've read that some riders had issues with these bikes, but I had no problems at all shifting or braking my 1976 Sportster.
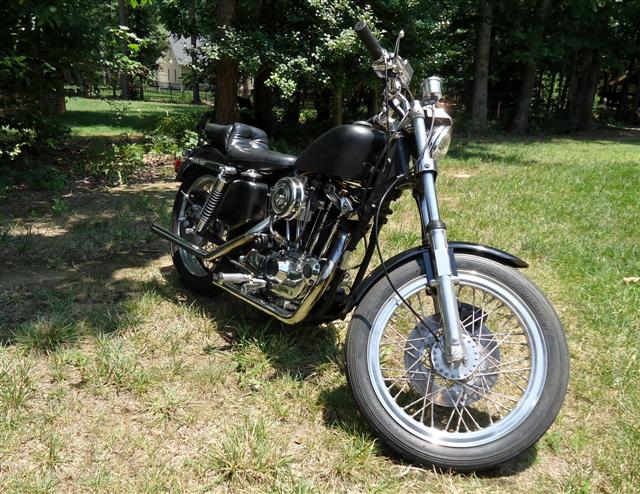
Read: 1976 Sportster Project
********************
Cafe Racer
Produced for two years only (1977-1978), the XLCR Cafe Racer sported a new frame, front bikini fairing, four-gallon gas tank, and fiberglass rear tail section. Foot controls were mounted further back, and low handlebars allowed the rider lean forward into a "racer tuck".
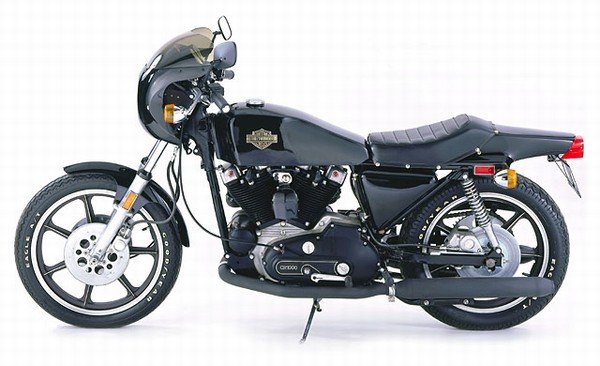
The Sportster Cafe Racer was offered in black only, with wrinkle-black engine paint and black Siamesed exhaust pipes which exited left and right. The exhaust was a departure from past Sportster models, but added a solid five-horsepower gain in performance. Unlike earlier Sportster frames, the XLCR frames have room for improvement, particularly when front and rear shocks are upgraded.
Cafe Racer Build
If you want to build an XLCR replica, the best bike to start with is a 1979/1980/1981 Sportster. These frames are basically the same as the factory Cafe Racer, as is the 1000cc motor.
Specific XLCR parts such as the seat, exhaust, headlight mount, and fairing are available either used or reproduction. One of the harder parts to find are the rear foot controls.
********************
Ironhead Carburetor Links
Linkert DC Carb Rebuild
Bendix Carburetor Rebuild
Install Mikuni Carb on Sportster
Tuning The S&S Super B
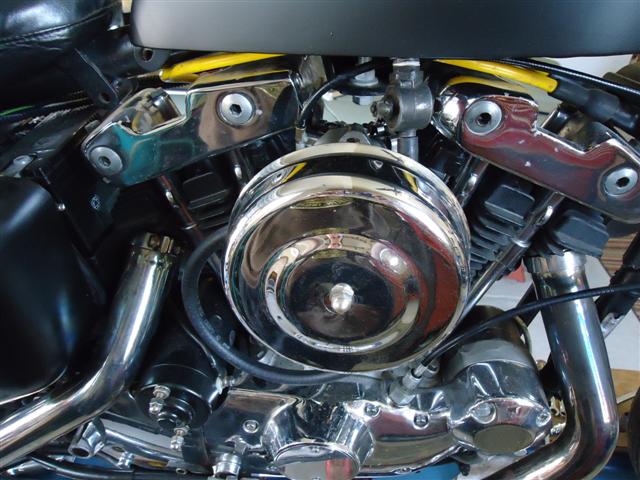
Read: Best Carburetor For Ironhead Sportster
********************
1979 Sportster
In 1979, all Sportster models were upgraded to a new, stronger frame and swing-arm, derived from the XLCR. Some feel that the new frame took away the classic Sportster look, but it was lighter and made for a better handling bike.
Also this year, the mechanical rear drum brake was replaced with a hydraulic disc brake, and points ignition were replaced with a breakerless electronic type.
Eighties Ironheads
The 1980 through 1985 models were the most produced Ironhead Sportsters, so they are easiest to find and least expensive to buy. They also have a lot of nice upgrades from earlier models.
Read: Sportster History 1980-1985
********************
Hardtail Sportster Build
Originally, all motorcycles were hardtails, and since there are no rear suspension components, a hardtail frame is much lighter than a conventional swing-arm frame. They are also easier and cheaper to construct, due to their simplicity. Many purists believe that with the absence of rear suspension, road vibrations become part of the experience, and the rider truly becomes part of the road.
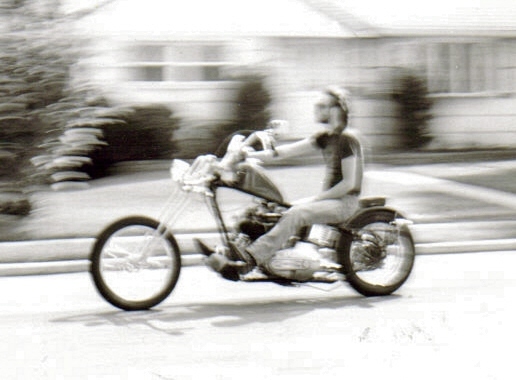
Building an Ironhead chopper is pretty simple. Unlike Big-Twin Harleys, there is no separate transmission that needs to be aligned. However, the rear-wheel chain sprocket needs to be lined up with the engine sprocket. The only way to do this is the trial and error method of adding/removing axle spacers on either side of the rear wheel.
Read: Hardtail Sportster Build
********************
Generator Charging Problems
A generator doesn't charge the battery until engine rpm is considerably higher than idle. Trips that are less than 15-20 miles are typically not enough to recharge the battery's losses from starting.
Read: Harley Generator Repair or Replace?
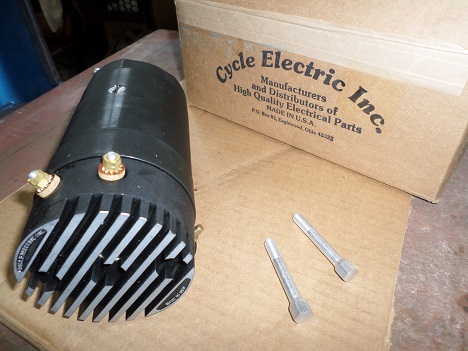
If you're having charging problems with your Sportsters generator system, the least expensive solution is a generator to alternator swap. As an added bonus, your bike will lose several pounds of weight in the conversion.
Read: Ironhead Alternator Swap
********************
Related Articles:
Ironhead Sportster Maintenance
Electric Start Ironheads
Electrical Wiring for Motorcycles
AGM Motorcycle Battery Review
Basic Motorcycle Wiring
Convert Harley To Points Ignition
********************
Ironhead Engine Articles
Ironhead Engine Build
Cylinder Head Removal
Cylinder Head Cleaning and Inspection
Ironhead Valve Job
Engine Case Prep
Remove Harley Sprocket Shaft Bearing
Ironhead Sportster Cylinders
Top End Rebuild
Rocker Box Assembly
Primary Chain Remove and Install
Remove/Install Sportster Cam Bearings
Remove/Install Sportster Cam Bushings
Install Sportster Cams
How To Adjust Ironhead Valves
Bottom End Overhaul (1957-1976)
Ironhead Engine Assembly (1977-1985)
Ironhead Special Tools
Along with more displacement, stroking an Ironhead engine will you get more power, along with lots of minor installation problems.
Read: Ironhead Stroker Build
********************
Shipping a Motorcycle and a Motorcycle Engine: