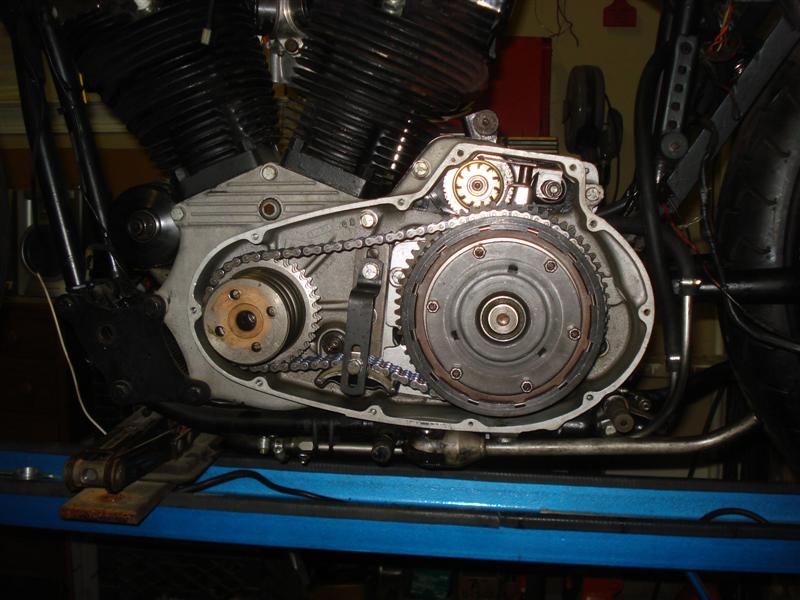
Ironhead Engine Assembly 1977-1985
Article and Pictures by Mark Trotta
The Sportster motor saw several revisions for 1977, including redesigned engine cases, a new oil pump, and new pinion bearing. Assembling these '77 and later engines require slightly different procedures than earlier models.
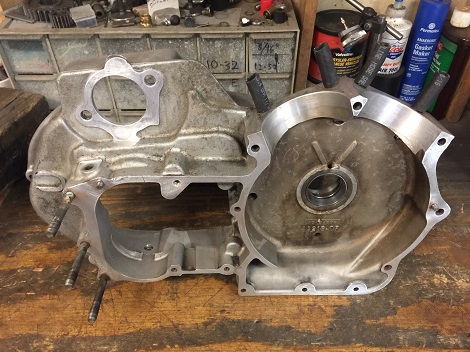
For 1957 through 1976 Sportster engine assembly click here.
******************
Getting Started
If the flywheel assembly is together and trued, engine re-assembly can begin. Here's what you should have ready:
- * Crankcase threads cleaned and chased
- * Crankcase bolts cleaned
- * Crankcase mating surfaces clean and oil free
- * Inner sprocket shaft bearing installed
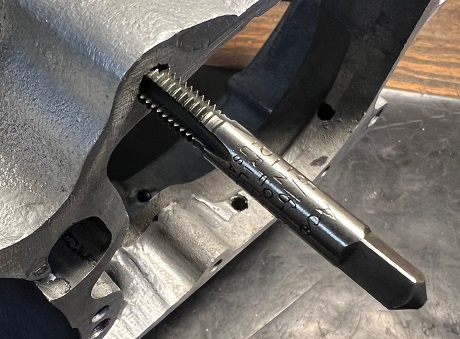
Read: Engine Case Prep
******************
Sprocket Shaft Timken Bearing Set
The inner and outer sprocket shaft bearings are the same in both early and late Ironheads, and should be replaced as a set.
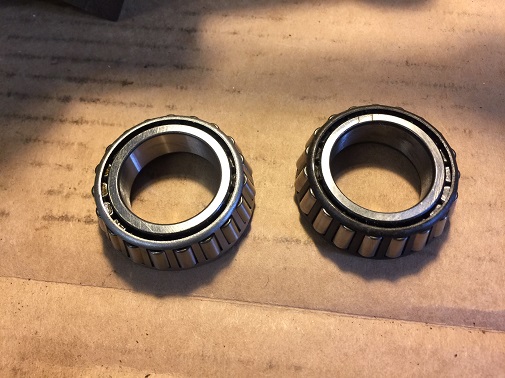
Shop: Left Crankcase Bearings For Harley Sportster 1977-2003
Whereas pre-1977 Sportster engines have a single bearing race and two bearings, 1977 and later engines have two separate races and two bearings.
Inner Sprocket Shaft Bearing
Removal can be done in one of several methods.
Read: Remove Harley Sprocket Shaft Bearing
To install, the inner bearing is pressed on until it bottoms out against the shaft shoulder. A shop press is most often used for this procedure, but the bearing can also be installed by heating it up and slipping it over the shaft.
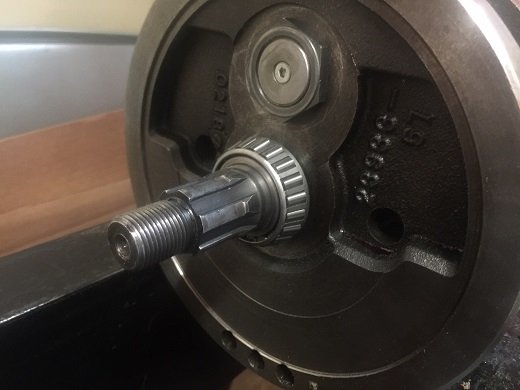
Install Flywheel Assembly
Place the flywheel assembly in a sturdy vice, so that the flywheel assembly sits with the sprocket shaft pointing straight up.
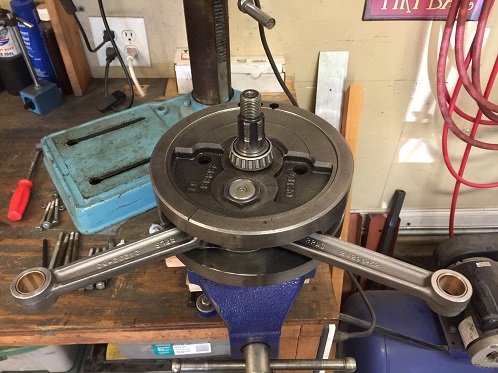
Lay the left engine case over the sprocket shaft, propping the back end up. Install the spacer, then the outer sprocket shaft bearing.
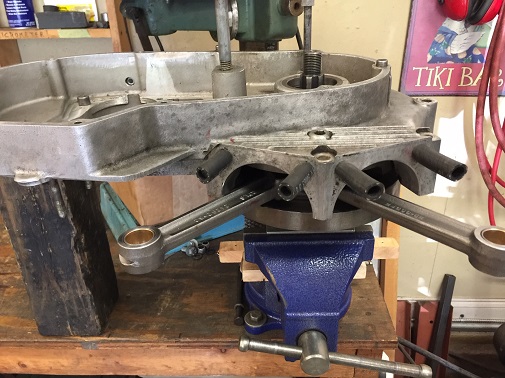
Installing the outer bearing is best done with the factory-type tool #97081-54 (or equivalent). Crank down on the tool until the bearing is completely seated.
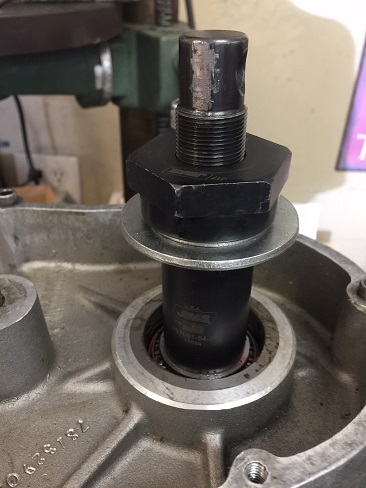
Many DIY mechanics heat up the bearing and then slip it on the sprocket shaft. The trouble with this method is, it's hard to tell if it's on all the way. When you use the tool, you can feel the new bearing "bottom out" on the shoulder of the sprocket shaft.
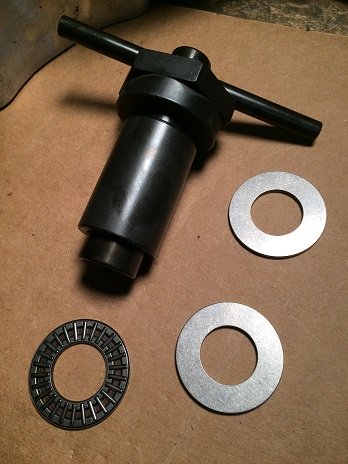
Outer Sprocket Seal
The outer sprocket seal can be installed with the same tool used for outer bearing.
With the flywheel assembly installed back into the left engine case, prop it up on blocks of wood.
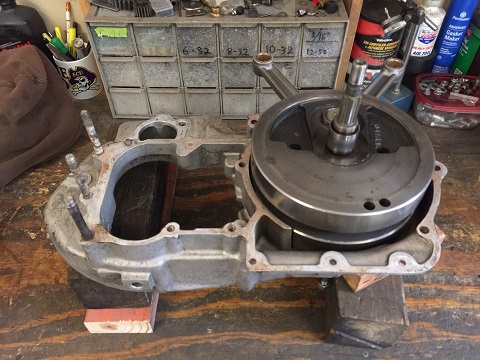
Right-Side Engine Case (1977-1985)
One of the updates to the 1977 Sportster was the pinion shaft bearing assembly. The 1977-1985 assembly (HD #24648-77) is "caged" and is a whole lot easier to install than 1957-1976 engines with 13 loose roller bearings.
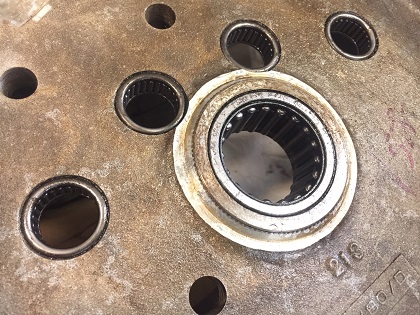
When replacing, the pinion bearing gets pressed in and out of the right-side engine case. When done, the bearing should be flush with the inside boss.
Pinion Shaft Race (1979-E1981)
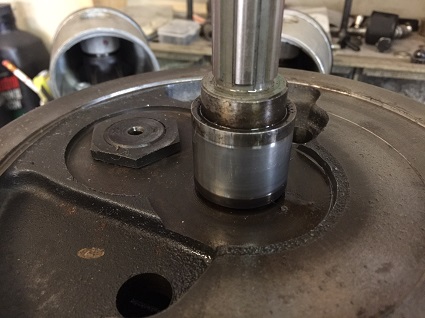
On 1979 through early 1981 Sportsters, there is a pinion race that is pressed onto the pinion shaft. When replacing, the pinion race should be .031" from the edge of the pinion shaft shoulder.
Engine Case Sealant
There are dozens of products to seal engine cases, and the ones that are sold at automotive parts stores are almost always wrong for your motorcycle. For several reasons, I prefer anaerobic gasket sealant.
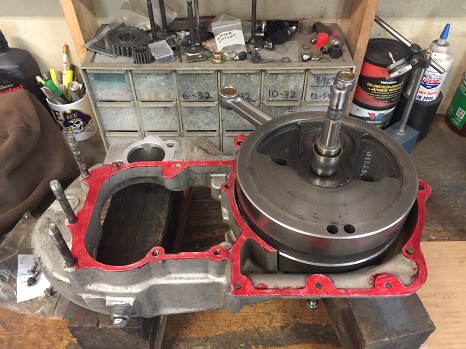
After spreading a thin coat of sealant on both case halves, wait a few minutes for them to get "sticky".
Install Rear Motor Mount
I did not remove the three rear motor mount studs from the case during this rebuild, so before placing the right case on top of the left case, I had to install the rear motor mount first. If you forget this step you'll have to remove the three studs.
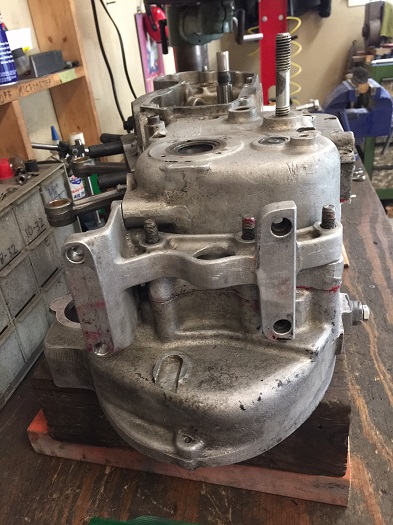
Install Crankcase Bolts
Once the cases are together, start installing the case bolts, just hand tight. Once they are all installed, tighten them evenly.
On 1979 and later motors, there is one Allen-head engine case bolt. The others are 7/16" and 1/2" six-point hex head bolts.
******************
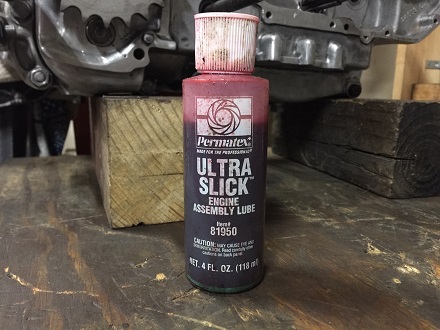
Engine Assembly Lube
It's a good idea to pour some engine assembly lube inside the connecting rods and anywhere else it can reach. Also, lubricate the pinion shaft bearing with engine oil.
******************
Engine Stand
At this stage of reassembly, the motor can be put onto an engine stand.
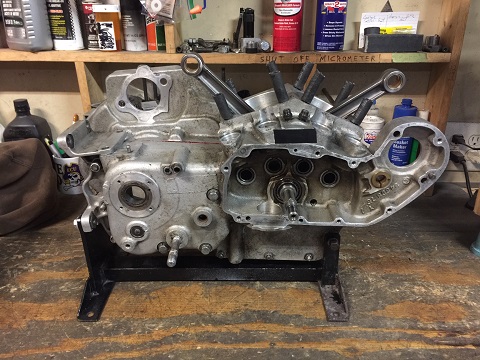
If you don't have a stand, you can continue assembling the motor on blocks of wood (4x4's work well).
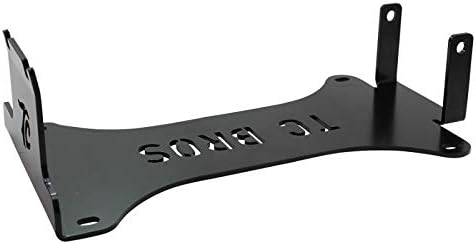
If it's in the budget, you can buy one like this TC Bros Sportster Engine Stand.
******************
Pinion Gear Install
On 1977 and later Ironhead Sportsters, the pinion gear is a slip-fit and no special procedure is needed. Note that they are color marked from the factory to match the particular pinion shaft.
The oil pump spiral gear (#26318-75) was in use from 1977 through 1985.
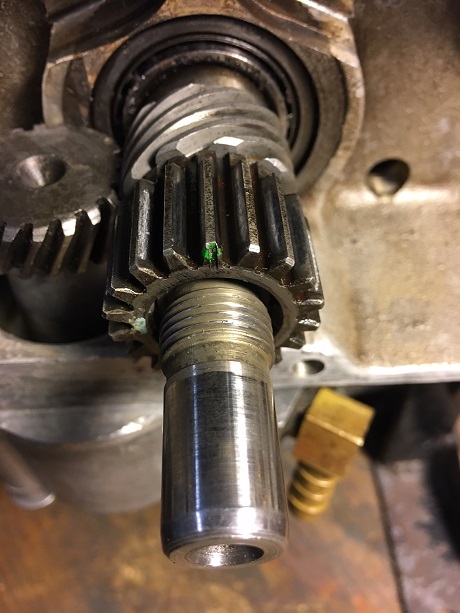
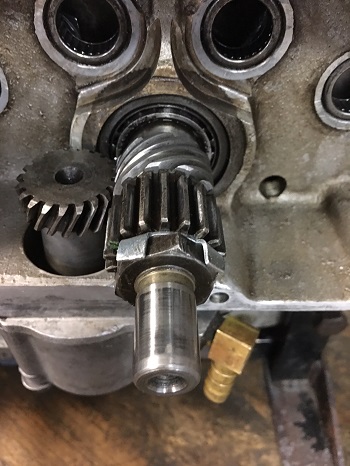
A lock washer and locknut secures the pinion gear.
******************
Notes and Misc
On early Ironhead motors (1957 thru 1976) the oil pump MUST be installed on the motor before mounting it on the frame. On 1977 and later motors, the oil pump can be installed after the motor is in the frame.
Because no two engine builds are alike, you won't know what tools and skills you'll need until a complete disassembly and careful inspection of parts.
Read: Ironhead Special Tools
******************
Related Articles
Ironhead Engine Build
Engine Case Prep
Ironhead Engine Cases
Remove And Install Transmission
Best Engine Assembly Lube
Anaerobic Gasket Sealer Review
Repair Stripped Threads In Aluminum
