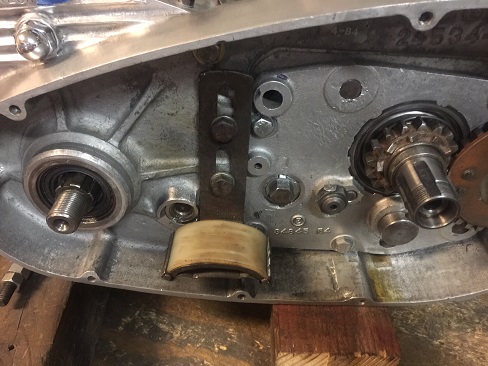
Ironhead Bottom End Overhaul 1957-1976
Article by Mark Trotta
One of the most time-consuming parts an Ironhead engine build is the bottom end. Before trying to do this yourself, consider the specialty tools required and the skills needed. And if you decide to pay someone to do this, read this article anyway, so you can be sure it's being done right.
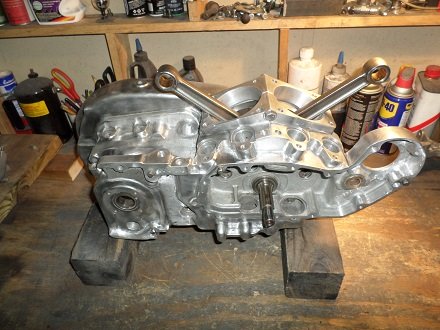
This article covers 1957 through 1976 Ironhead Sportsters.
For 1977-1985 Sportster bottom end rebuild click here.
********************
Getting Started
Aside from basic hand tools, you'll need some specialty tools. Some of these tools can be fabricated.
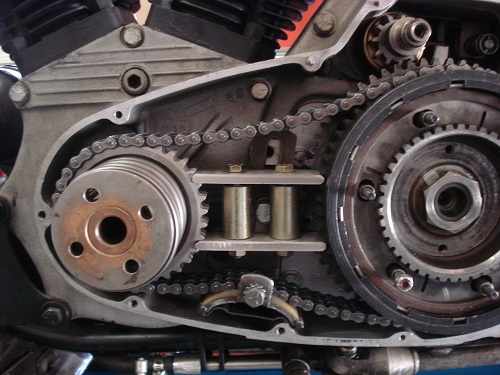
Read: Ironhead Special Tools
********************
Bottom End Overhaul Checklist
- Disassemble, Inspect, Measure, Clean
- Check Cases for Cracks
- Clean and Tap Bolts and Threads
- Rebuild Crank and Rods
- True Flywheels
- Check/Replace Sprocket-Shaft Timken Bearings
- Check/Replace Pinion Shaft Bearings
- Re-install Flywheel Assembly into Cases
********************
Inspection And Measurements
Most DIY mechanics can do the first three steps on this list.
If you've decided to do it yourself, you'll need to have some quality measuring tools.
Get in the habit of double- and triple-checking your readings.
Before you separate the engine cases, you need to remove the transmission.
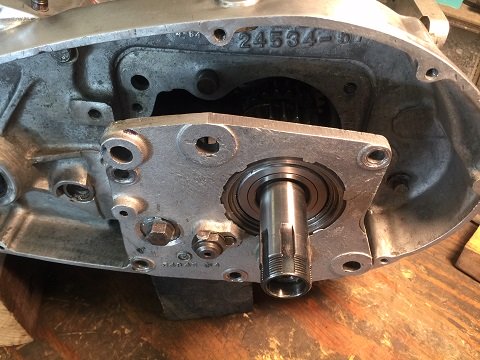
Read: Remove And Install Ironhead Transmission
********************
Engine Cases
Check both engine cases carefully. Rare is a vintage Harley that didn't have a cracked case somewhere in it's lifetime. Aluminum cases are repairable and can be made as good as new - provided the repair is done right.
Read: Ironhead Engine Cases
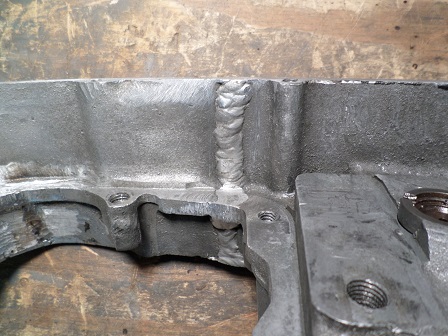
Read: Repair Cracked Cases
********************
Flywheel Assembly
A flywheel overhaul includes disassembly, cleaning, inspection, measurement, and replacing roller bearings and thrust washers if needed.
Inspect the crank pin for scoring, and both sprocket shaft and pinion shaft should be checked for straightness.
Connecting Rods
If either of the rod's big-ends are ovaled (out-of-round), both need to be replaced or re-sized. The last two Sportster motors I rebuilt had out-of-round connecting rods. Overhauling them requires a lathe, and I don't have one (yet).
Check both connecting rods for straightness. This is usually done on a lathe with a connecting rod lapping tool (Harley part #96740-36).
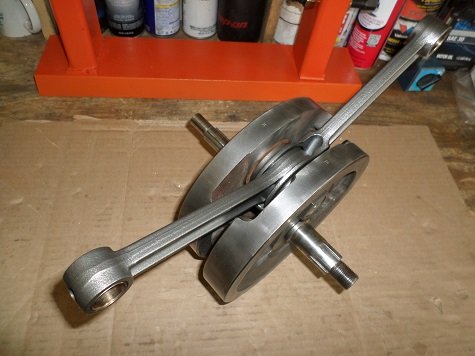
After the flywheel assembly is rebuilt, it needs to be trued before being reinstalled in the cases. For this, you'll need either a lathe or a flywheel truing stand. A truing stand is a nice luxury, but homemade units work just as well.
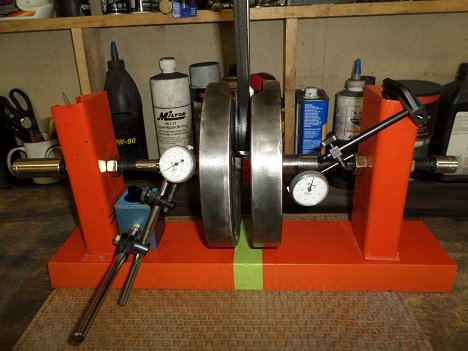
Read: DIY Flywheel Truing Stand
********************
Sportster flywheels ride on two end shafts; a pinion shaft on the left side, and a sprocket shaft on the right side.
Pinion Race
A fundamental part of an Ironhead bottom end build is checking/lapping the pinion (main bearing) race. The goal is to have the crank assembly sitting dead-parallel in the cases, since this is where the flywheels will be spinning thousands of times a minute.
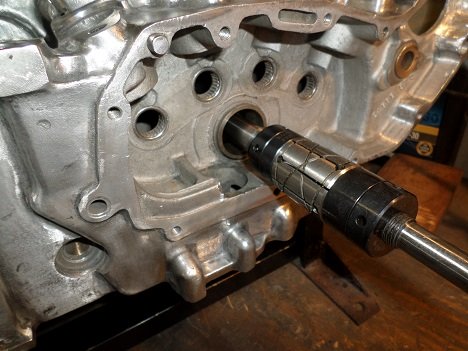
Read: Harley Crankcase Lapping Tool and Usage
Neither line-boring nor lapping the main bearing race may be needed, but careful inspection and measurement is critical. If you skip this important step, you may end up with a teeth-rattling machine you won't want to ride.
Line Boring vs Lapping
Line boring is the process of centering and re-fitting the bearing races in one or both cases. This was done at the factory before the motor was assembled, and insures that the pinion race in the right-side engine case is dead-straight with the sprocket shaft bearings in the left-side engine case.
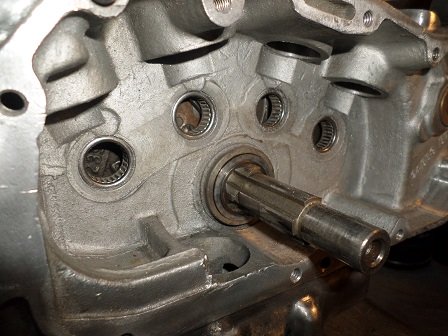
If your two cases have matching belly numbers, they probably won't need boring. A smart mechanic will always check by lapping, since numbers stamped in aluminum could have been easily changed. If either left or right engine case is being replaced, boring is required.
If the pinion race needs to be bored, lapping is required afterwards. It's done with the same tool, but with a finer compound. Line boring uses coarse abrasives, lapping uses a fine compound, which removes less metal and leaves a smoother finish.
********************
Sprocket-Shaft Timken Bearing Set
Early Sportster engines (1957-1976) have a single bearing race and two bearings. Later models (1977-1985) have two separate races and two bearings. If you are replacing the original set, you may notice the same serial number will appear on both the bearings and the bearing races.
The inner and outer sprocket-shaft tapered-roller bearings are manufactured in matched sets with the races. There is also a spacer that sits between the two bearings. If either bearing or bearing races are unusable, all must be replaced.
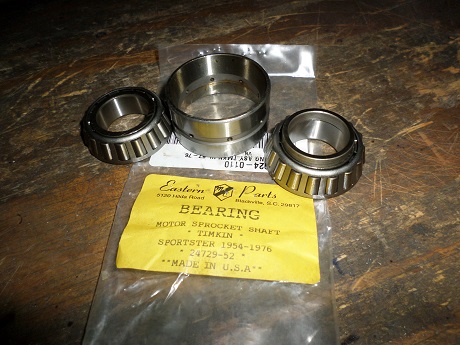
Timken Bearing Race
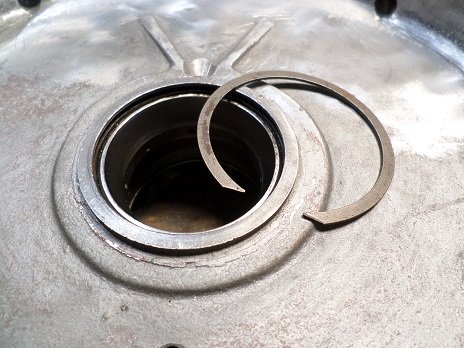
If you are replacing the Timken bearing race, it requires a shop press and another specialty tool (97081-54A). Install the C-clip (spring ring) on the inboard side before the race is pressed back into case.
Bearing Race C-Clips
You could probably re-use the C-clips, but why take a chance? Replace with new ones. Pay careful attention to the edges of the C-clip grooves. Even a small nick could to make re-installation difficult.
After the spacer and outer Timken bearing are installed (another specialty tool is required) the outboard clip goes on. Early Sportsters use Harley part number (24701-52) for both inner and outer C-clip. The pinion-shaft bearing race gets lapped in when replacing sprocket-shaft bearings and races.
Late Ironheads (1977-1985) with the two separate bearing races also require tool #97081-54A but with an additional sleeve (#97100-77).
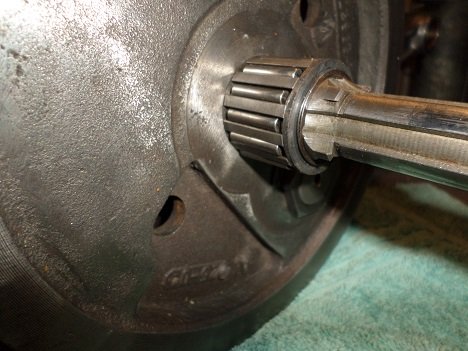
Truing and Sizing Pinion Shaft Roller Bearings
On Sportsters 1957 through 1976, the pinion shaft spins inside a round cage of 13 loose roller bearings. Examine the old bearings for wear, pitting, grooving and heat discoloration. Measure and replace per Harley factory service manual.
********************
Assembling The Cases
Before reassembly, have everything as clean as you can make it. Check that the oil passages through the pinion shaft, right flywheel and crank pin are clear. Blow compressed air into the small hole in the pinion-shaft to check.
Procedure For Engine Case Assembly
- Install flywheel assembly in left case
- Install sprocket shaft bearing with tool #97081-54 (or equivalent)
- Apply a light bead of sealant to cases
- Set right case on top of left case
- Install bolts and studs hand-tight.
- Tighten/torque bolts and studs in steps, ie, 20, 40, 60 ft/lbs.
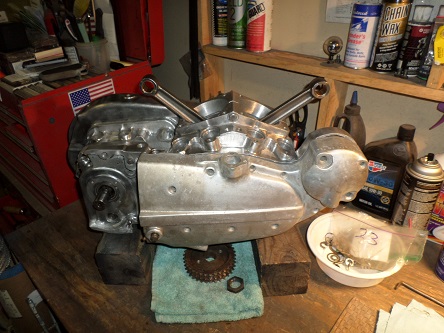
If you haven't taken a Sportster engine apart before, it may look odd to you that both pistons go up together and down together. This is because while one is going up on the power stroke, the other is going up on the exhaust stroke.
********************
Install Oil Pump
During a Sportster bottom end rebuild, the oil pump is usually installed last, BUT must be installed on the motor BEFORE mounting it on the frame. On 1977 and later motors, the frames are dimpled and oil pumps can be installed after the motor is in the frame.
********************
Engine Stand
At this stage of assembly, the motor can be put onto an engine stand.
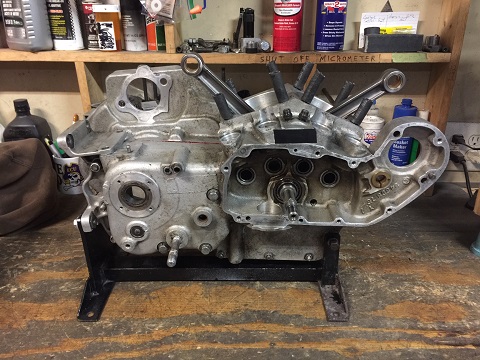
If you don't have a stand, you can continue assembling the motor on blocks of wood (4x4's work well).
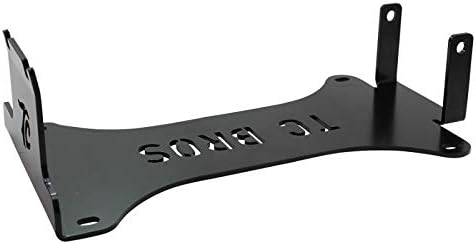
If it's in the budget, you can buy one like this TC Bros Sportster Engine Stand.
********************
Related Articles
Ironhead Engine Build
Ironhead Special Tools
Ironhead Top End Rebuild
Ironhead Engine Assembly (1977-1985)
Measurement Tools For Engine Builders
Anaerobic Gasket Sealer Review
Ironhead Engine Cases
Best Engine Assembly Lube
There's not too many 50 year-old aluminum engine cases that don't have a stripped thread or two.
