Ironhead Alternator Swap
(text and pictures by Mark Trotta)
If you're having charging problems with your old Sportster, the least expensive solution is a generator to alternator swap. As an added bonus, your bike will lose several pounds of weight in the conversion.
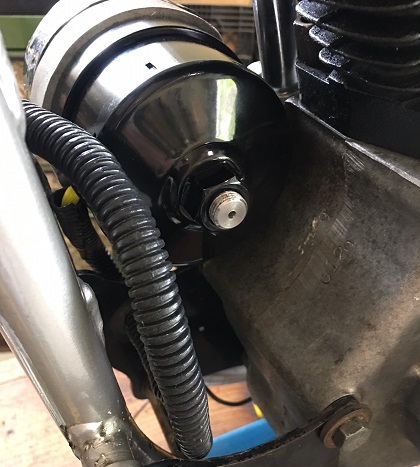
The V-Twin #32-1673 alternator conversion kit gives you a black alternator and a black voltage regulator.
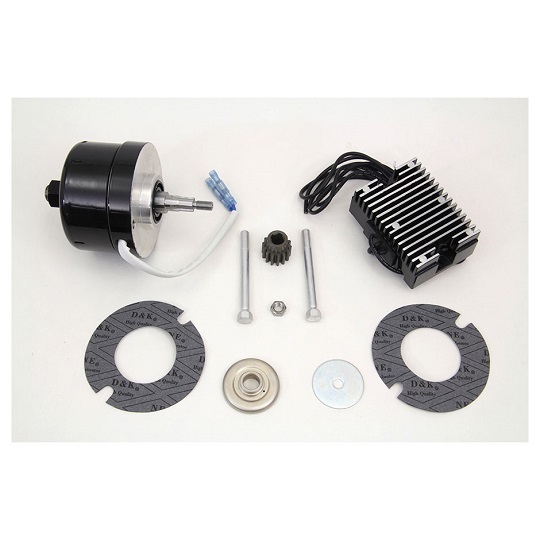
For a few dollars more they can be had in chrome, V-Twin part #32-1674.
Generator to Alternator Conversion Kit
The kit is designed to replace the stock generator on Ironhead Sportsters 1957 to early 1984. It will also fit 1941-1969 Harley FL models. If it is to be used on older, pre-1965 Harleys, the generator bolt holes in the engine case may need to be drilled out to 5/16".
Included in the kit is an alternator, voltage regulator, mounting gasket, bolts, washers (if needed) and instruction sheet.
The alternator itself is compact, about 3-1/4" long, and weighs half as much as the original generator. It has a rating of 17 amps at 1000 rpm.
Alternator Conversion Kit Installation
I've installed two of these alternator conversion kits (1976 and 1981 Sportsters). The installation is straightforward and requires no special tools except possibly a gear puller.
First, remove the old generator and remove the gear from it. Sometimes the gear is stubborn and you'll need a gear puller.
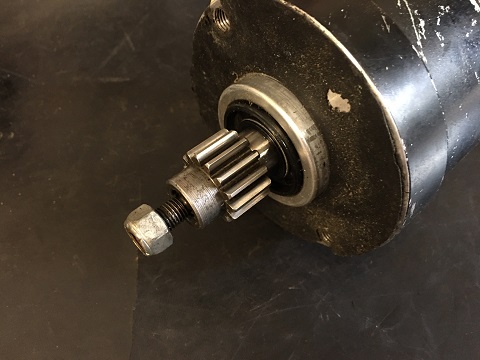
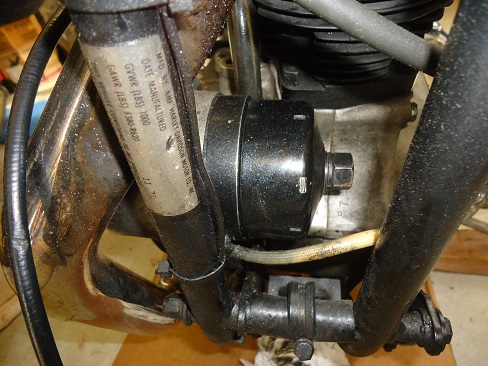
Next, install the old gear on the new alternator. After mounting the gear it gets secured with the supplied 5/16" lock nut.
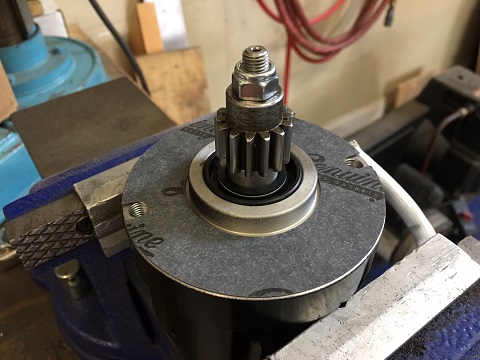
If the splined part of the alternator shaft is still seen after the nut is on the gear, you'll need to remove the nut and install a 5/16" flat washer underneath it.
The alternator mounts to a stock XL cam cover with two 5/16" bolts.
Voltage Regulator Installation
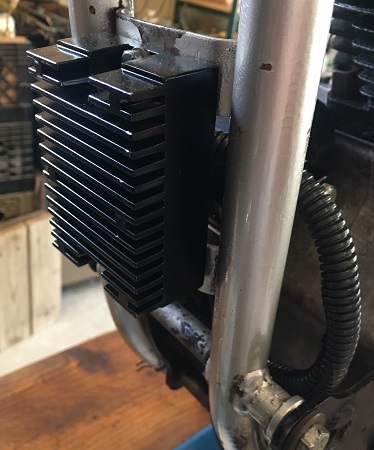
The voltage regulator can be mounted in several spots. On the 1981 Sportster, I mounted it in the stock location, on the front down-tubes.
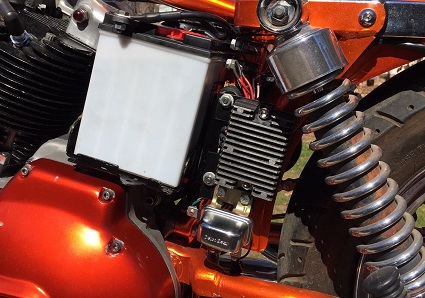
It can also be mounted behind the battery on the left. For this, you'll need to run two wires up to the alternator.
Voltage Regulator Wiring
There are three wires coming out of the voltage regulator. The two shorter wires go to the alternator. The long wire goes directly to the battery. Be sure the voltage regulator is well-grounded (a clean paint-free surface).
NOTE: After the bike has been running for awhile, re-tighten the two mounting bolts.
Problems with Generator to Alternator Conversion
If a clunking noise is heard once installed and running, stop the bike, remove the alternator, and re-tighten the gear. Make sure that the splines are not extending past the gear. If so, add the supplied washer.
The voltage regulator that comes with the alternator conversion kit is foreign-made. On my old 1976 Sportster, the was alternator not charging the battery, and after diagnosing I found that the regulator was the problem. So, if you install an alternator conversion kit and experience charging problems, you may want to replace it with a better quality regulator.
Another negative about this system is that there is no simple way to keep the indicator light. If anyone knows how to, please email me.
Conclusion
They'll always be a debate on whether to convert an old Harley from generator to alternator. But installing an alternator kit is cheaper than having the stock generator rebuilt, or buying with a Cycle Electric generator.
****************
Related Articles