Harley Generator Repair or Replace
text and pictures by Vintage Vinny
Vintage Harleys are not known for having great charging systems. And a motorcycle generator doesn't really charge the battery until engine rpm is considerably higher than idle.
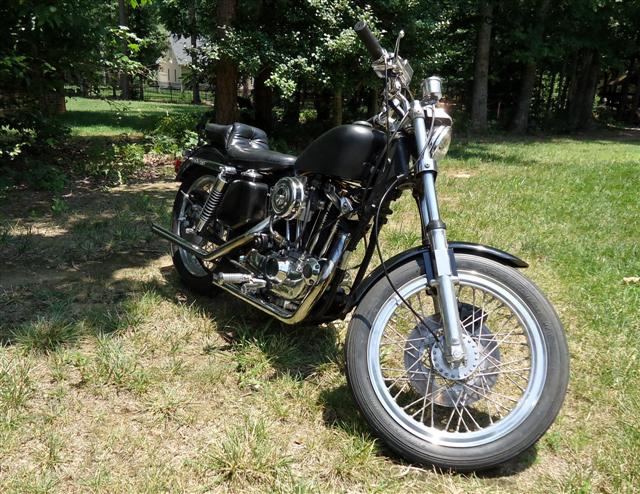
To make things worse, if your bike is electric start, trips less than 15-20 miles are not enough to recharge the battery's losses from starting.
If your battery keeps dying, stop blaming the battery. If it continuously loses charge, that's a symptom of a generator not charging properly.
Headlight Test
Here's a simple way to test the generator while it's still on the bike:
With everything hooked up properly, and with a fully charged battery, start the engine and turn on your headlight. If the light gets brighter when you rev the motor from idle, the generator is working correctly.
Amperage Test
If you have a multimeter that reads DC amps, check the generator output with bike running. It should be 10 amps or higher. Be careful not to test too long--usually you can test for about 15 seconds, then you have to let it at rest for 15 minutes before re-testing.
Generator Voltage Test
Another way to test generator output is to compare the difference between voltage at the generator and voltage at the battery. This can also be done with a multimeter. Voltage should be higher voltage at the generator.
*********************
Two-Brush vs Three-Brush
The 6-volt, three-brush generator was in use from the 1930s through the 1950s, and was troublesome. Harley switched to a two-brush generator in 1958. The first of these was the 6-volt model 58, in use from 1958 to 1960. A year later (1961) the model 61 generator replaced it.
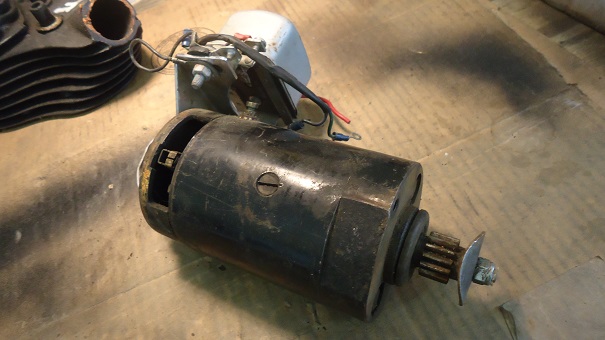
When the Motor Company started replacing their 6-volt electrical systems to 12 volts in 1964, the model 65 generator was introduced, but was quickly replaced with the 65A generator. Be aware that 65 and 65A models look alike, but have opposite-side A and F terminals.
65A Model
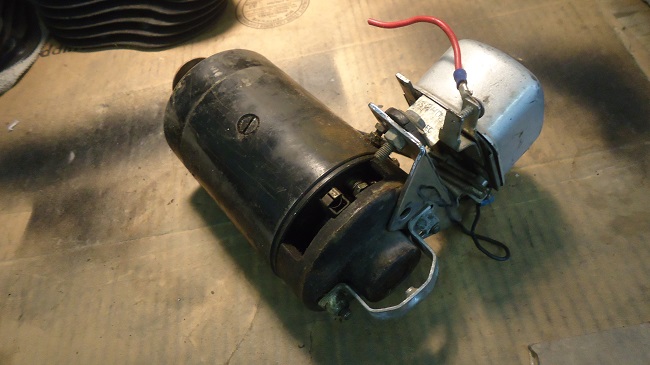
The 65A generator was found on Big-Twins from 1965 to 1969, Servi-cars from 1964 to 1969, and Sportsters from 1965 to 1981.
65B Model
In 1982, the Sportster generator was changed to the 65B, which only saw use until early 1984. Today, the 65B is pretty much obsolete.
*********************
Generator Rebuild
V-Twin Mfg offers an inexpensive Two Brush Generator Repair Kit.
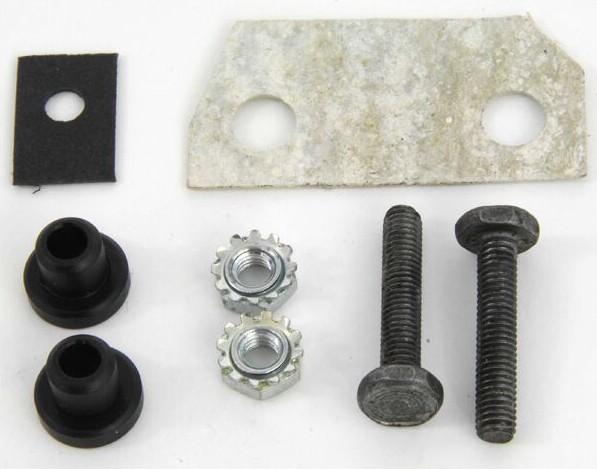
The kit works with all two-brushed generators 1958 through 1981.
*********************
If you're riding a Panhead, Shovelhead, Flathead, or Ironhead, consider upgrading from the stock generator. If it's in the budget, brand new replace units are available for all year Harley models.
I have found Cycle Electric products to be the highest quality replacements.
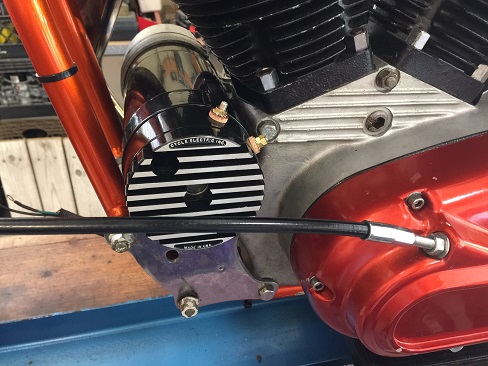
A CE unit will replace the 58, 61, 65, 65A, and 65B generators. You'll get a complete charging system in one unit, with a higher output and longer service life than your original generator. The built-in voltage regulator has a clean look and a two-wire hookup makes installation simple.
Cycle Electric offers two 12-volt units and one 6-volt unit with built-in regulators; the DGV-5000, DGV-5000L, and DGV-5006.
DGV-5000
The DGV-5000 generator with regulator will fit 1936-1984 12-volt systems with a 7-amp (or larger) battery. There are several styles of oil deflectors and you will need to re-use your old one (see below).
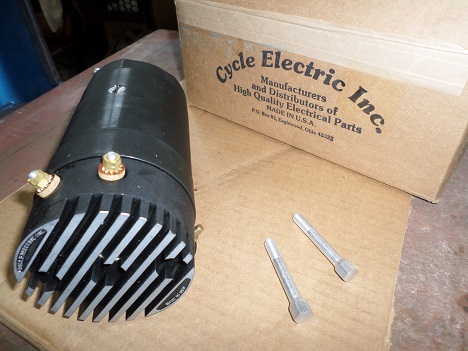
This unit is a good choice for 12-volt Ironheads and Shovelheads.
DGV-5000L
Another Harley generator replacement from Cycle Electric is a low-amp model, the DGV-5000L with regulator. This generator is designed to work with 1936-1964 models converted to 12-volts with a 5.5-amp (or less) battery.
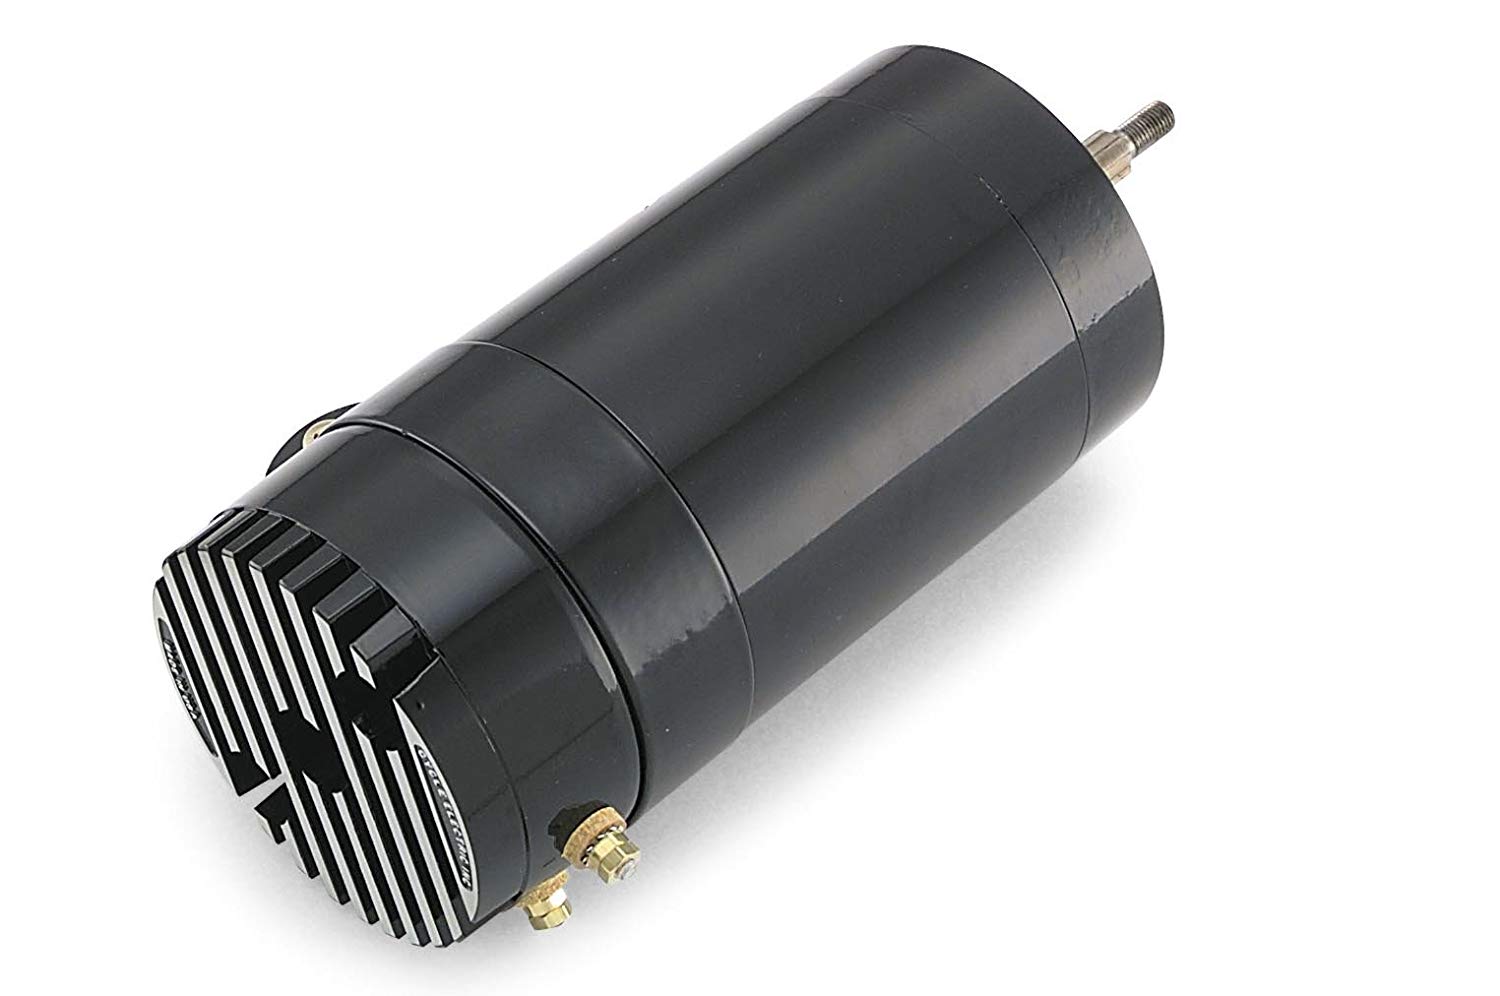
The DGV-5000L is a good choice when converting 6-volt to 12-volt with kick-start only and battery is 5.5 amps or less. If you are converting from 6v to 12v, make sure the new battery will fit in the battery box. You may also need to replace the battery cables.
Are 6-Volt Systems Reliable?
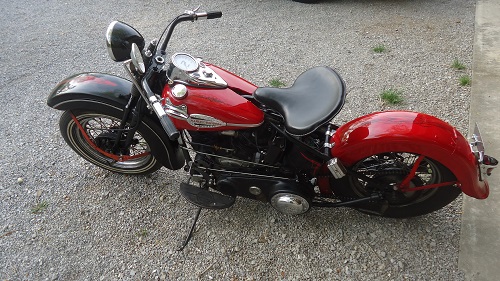
Harley-Davidson used a 6-volt electrical system on motorcycles until 1964 and on trikes until 1963. If your 6-volt battery and electrical system are in good shape, and you're not running auxiliary lighting, there is really no need to convert to a 12-volt system.
DGV-5006
Also available from Cycle Electric is the DGV-5006 with regulator. This is a 6V Generator with voltage regulator. The DGV-5006 is for restorers who want to keep their ride 6-volts, but would like a more reliable charging system.
*********************
6-Volt to 12-Volt Conversion
If you decide to convert to 12 volts, you can re-use your wiring harness provided it's in good shape.
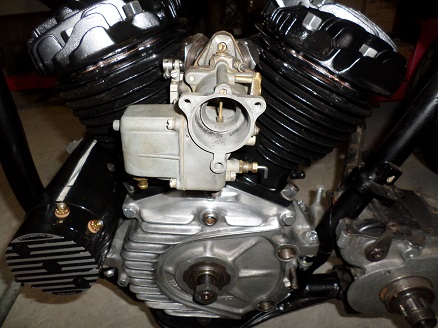
All of the old 6-volt bulbs - headlight, taillight, dash lights, etc, must be replaced with 12-volt bulbs. You can re-use your old headlight switch, brake-light switch, and high-beam switch. They will work in either a 6v or 12v system.
*********************
Oil Deflectors
On a three-brush generator, the oil deflector requires a spring between it and the bearing to hold it up against the gear. There is a spring-loaded breather on the inside of the cam cover that rides on the end of the gear. If you are replacing a three-brush generator (1936-1957) with a new-style unit, use H-D 31035-58 oil deflector, and discard spring and old deflector.
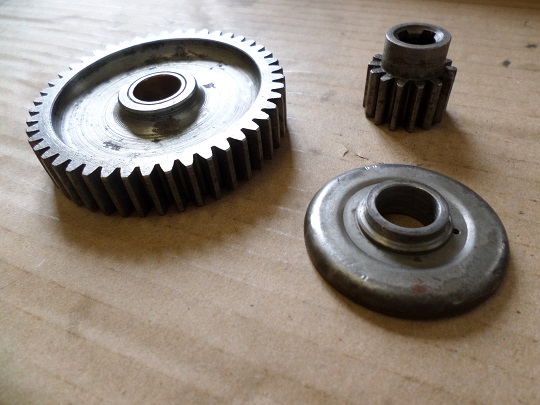
The oil deflector used on later two-brush generators has a built-in collar. The gear is drawn onto the shaft with a nut until it pinches the oil deflector tight against the inner race of the ball bearing. This sets the location of the gear and locks the armature in place. The oil deflector on two-brush generators also sets the location of the gear.
1/4" vs 5/16" Bolt Holes
Early Panheads and 45 Flatheads had 1/4"-24 generator bolts. The later two-brush generators (1958-up) used larger 5/16"-24 bolts. To mount a later generator with an early cam cover, you can either drill out the bolt holes to accept the larger bolts, or use 1/4"-24 heli-coil inserts in the generator threads.
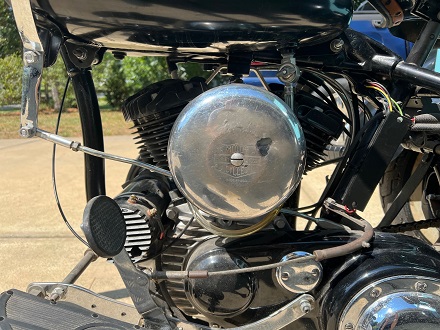
One of the upgrades made while restoring my 1961 Servi-car was a Cycle Electric generator/regulator. The DGV-5000 generator was easy to install and works perfectly.
*********************
Harley Generator Polarizing
When you buy a Cycle-Electric generator/regulator, they are polarized from the factory.
All CE generator/regulator units carry a two-year warranty. They have a good reputation for helping customers if installation issues arise. All units are American made, and it will truly be the last generator you buy for your motorcycle.
NOTE: Do not to leave ignition on without running for any extended period, or you will damage the generator.
*********************
Generator to Alternator Conversion
A less expensive solution if you're having charging problems is a generator to alternator swap. As an added bonus, your bike will lose several pounds of weight in the conversion.
V-Twin makes an alternator conversion kit that replaces the stock generator on Ironhead Sportsters 1957 to early 1984, and will also fit 1941-1969 Harley Big-Twins with slight modifications.
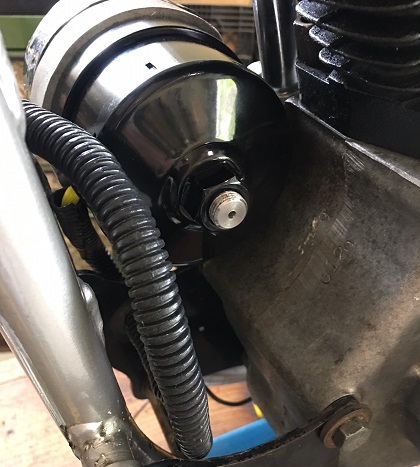
Read: Ironhead Alternator Swap
*********************
Related Articles