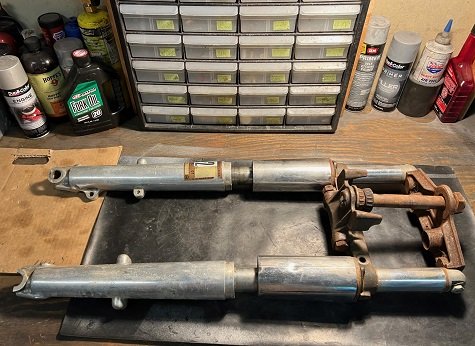
Hydra-Glide Fork Seal Replacement
Article by Mark Trotta
There are five basic steps in Hydra-Glide fork seal replacement; removing sliders from forks, removing the old seals, installing new seals, reassembling the forks, and finally, adding fresh fork oil.
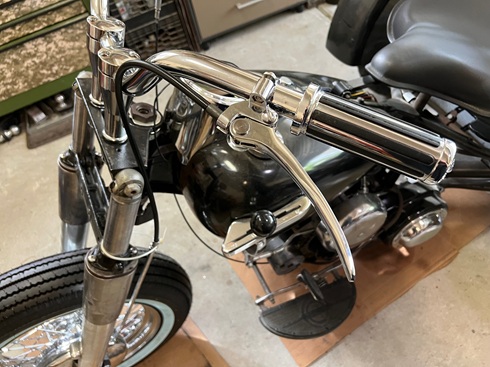
Procedures are the same for 1949 through 1965 Panheads, 1958 through 1973 Servi-Cars, and 1966 through early 1977 Shovelhead FL models.
The only difference between two-wheeled and three-wheeled Hydra-Glide front ends are the upper and lower triple trees and top caps.
Getting Started
The conventional way of replacing fork seals is by propping up the front end and removing the sliders from the fork tubes. However, on a 60+ year-old motorcycle, seal replacement is often part a complete overhaul.
Regardless of which way you approach it, removal of the front wheel, brake, and fender are necessary.
After removing the 1/2" nut on the bottom, sliders should separate from the fork tubes with some light twisting back and forth.
NOTE: If the bike is jacked up, make sure you have enough clearance to pull them completely off.
Bushing and Gasket
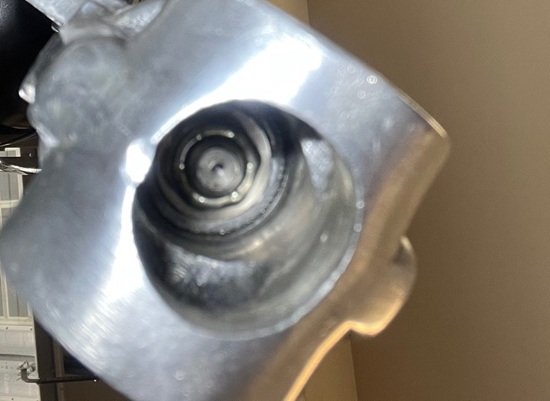
When you turn the slider upside down, a bushing and gasket should fall out. If not, they're stuck inside and need to be fished out.
I was able to poke a long screwdriver into the bottom hole and knock the bushing out, and then a picker-outer tool helped remove the old seal.
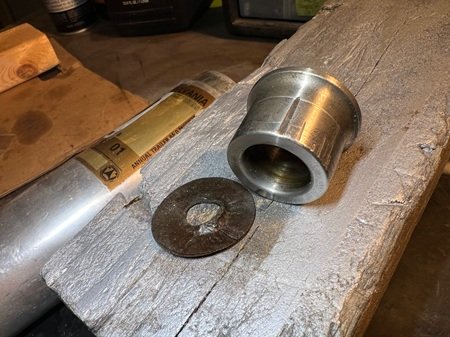
On these forks, a previous owner had applied clear silicone to the bottom nut and washer, which is not recommended or necessary.
***********************
Removing The Old Seal
The spring ring may be removed by hand or with a flat-blade screwdriver. Underneath it may be a flat steel washer.
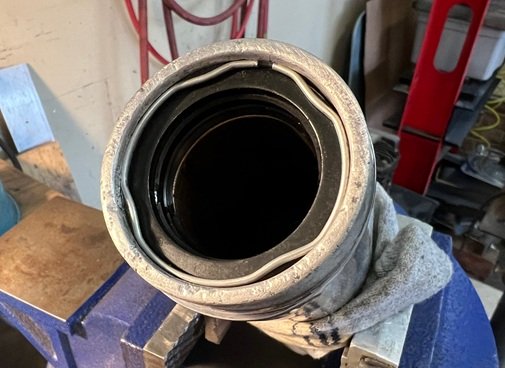
Old seals do not always come out easily.
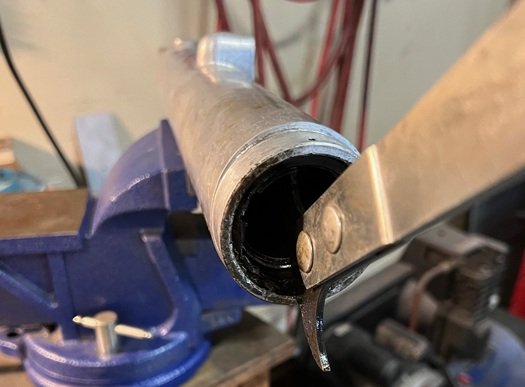
If a seal puller doesn't work, you can try threading two small screws into opposite sides of the seal, then pull them out using the head of the screw as the fulcrum.
Be careful with the aluminum, it's fairly soft and easy to scratch.
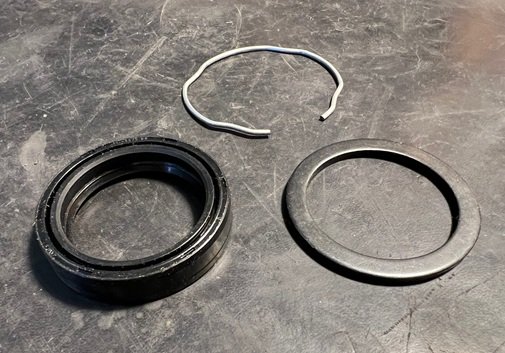
Pictured: fork seal, spring ring, and washer.
***********************
Inspection
Once the old seal is out, clean out the area and inspect for nicks, burrs, and pitting, which can cause the new seal to leak.
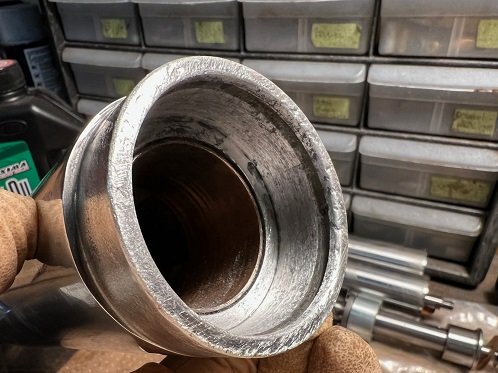
Most nicks and burrs can be taken out with piece of Emory cloth.
***********************
Replacement Fork Seals and Gaskets
Several aftermarket seal kits are available for old Harleys. I've always had good luck with James Gasket (made in USA) products.
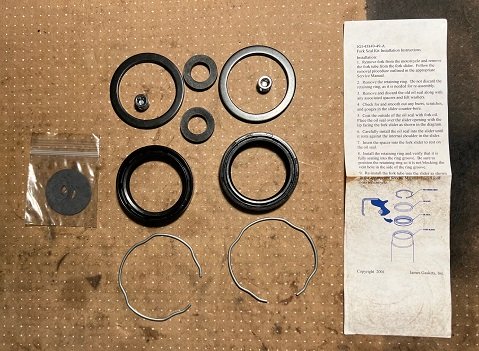
James Gasket Hydra Glide Fork Seal Kit replaces Harley 45849-49, and fits Harley FL models 1949 through early 1977, and 1958 through 1973 Servi-Cars.
***********************
Install New Seals
The new seal should be a very tight fit, and requires a mallet and driver. Although there is an actual driver tool (Harley # 96250-50), a proper-sized socket works just as well.
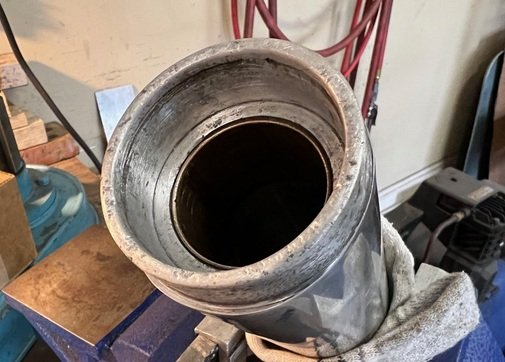
Lightly moisten new seal with fresh fork oil, then install with open part facing downward.
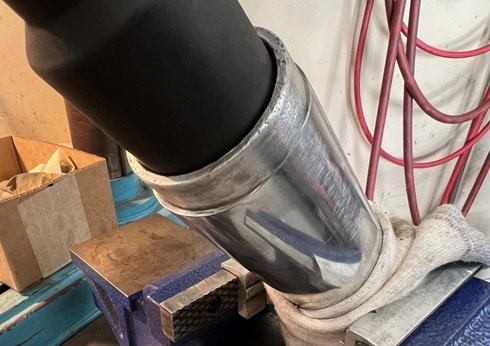
Picture above: A 38mm socket in use as seal driver.
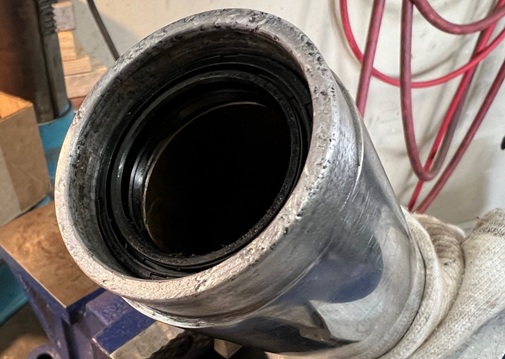
The large flat washer goes in, followed by the spring ring.

TIP: If the old seal comes out in one piece (these didn't), it can be used as a buffer when driving in the new one.
***********************
Spring Ring Installation
There is a small vent hole on the top of each slider.
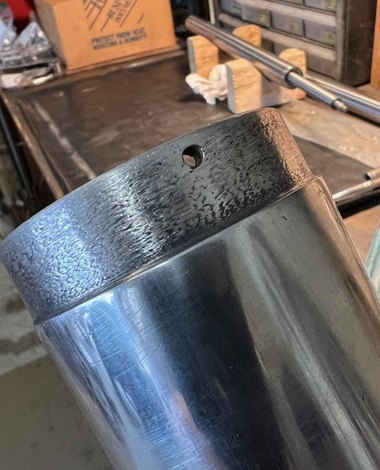
Arrange the spring ring so that it does not block this hole.
***********************
Polishing Sliders
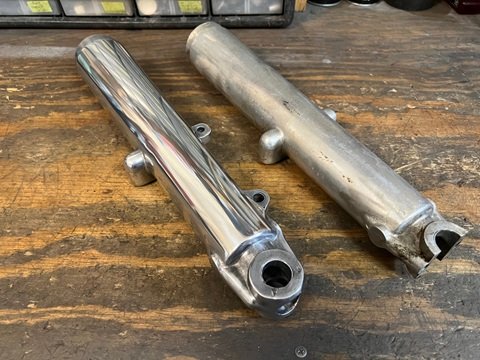
Before reassembling, these sliders were polished to a high gloss.
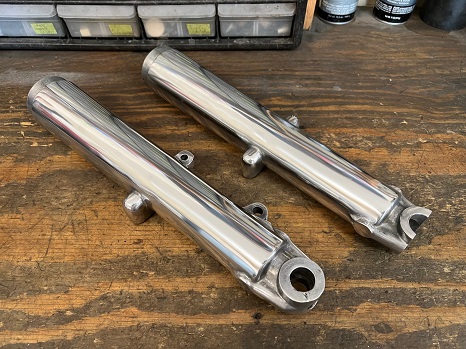
Read: How To Polish Motorcycle Forks
***********************
Reassembly
The sliders can now be reattached to the fork tubes. This part is a little tricky.
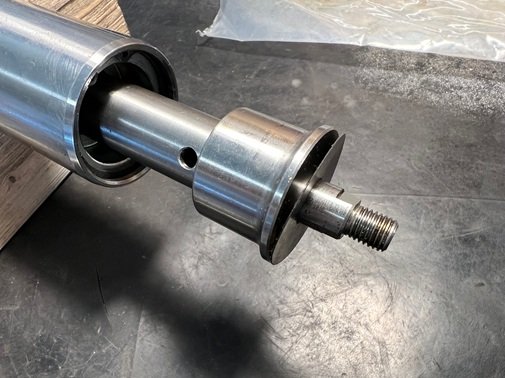
The lower fork bushing has an important job; it spreads the stress from the damper rod out to the fork slider. The larger gasket goes between it and the inside bottom of the fork slider.
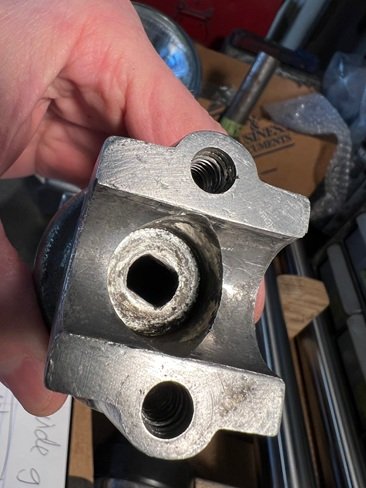
Notice the slotted bolt hole on the bottom of the slider--this prevents the rod from spinning when you tighten it.
The slider is pushed up onto the fork tube until the damper valve sticks out the bottom. It is important that the damper valve stud seats properly and a new gasket is in place, or fork oil will leak out the bottom.
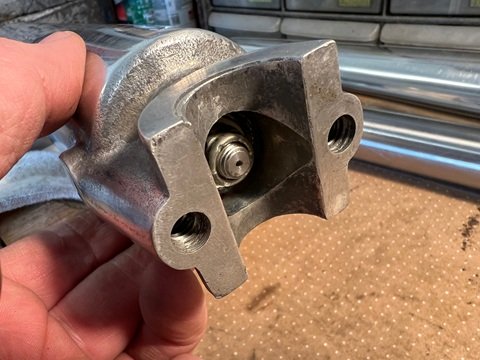
Finally, install washer and locknut.
***********************
Filling Forks with Oil
Refilling Hydra-Glide forks with oil is not an easy task. You cannot just pour it through the top because the hole is very small, and there is nowhere for the air to escape to as you fill it.
The recommended factory procedure is to fabricate a "fork filling device" as shown below.
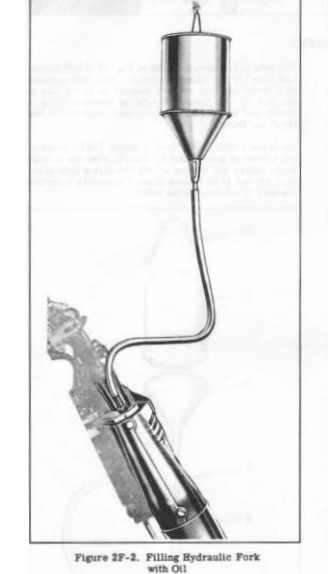
With this method, the filler can is suspended above the motorcycle with slack in the tubing, so that the forks can be moved up and down to remove air pockets. As the fork travels, oil gets sucked in. Usually three or four times up and down is sufficient to empty filler can.
Alternatives
Jims Machining makes a Vacuum Fed Fork Filler Tool that pumps fork oil into the drain plug. You insert the tapered fitting into the drain hole and create a vacuum using a standard Mityvac hand pump (not included with tool).
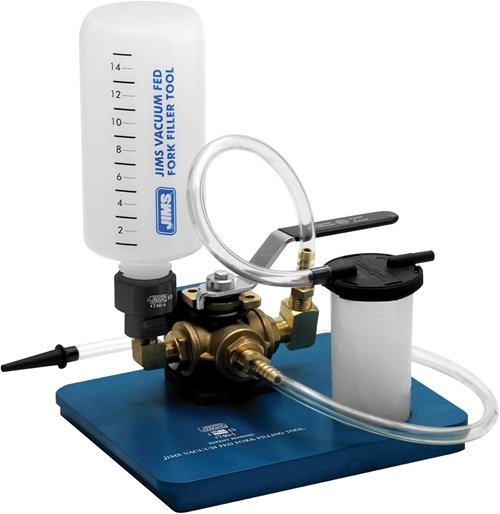
Because of the time it saves, this tool is popular with dealerships when changing fork oil on models with fairings. Shops charge around $300 for this service, so it may be worthwhile to buy the tool if you plan on doing more than one.
Another alternative...
On my 1961 Servi-Car, the front end was disassembled for a complete overhaul.
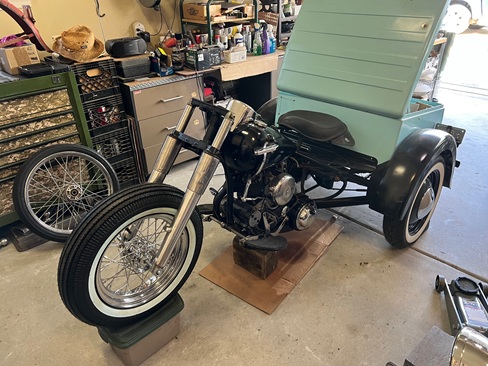
This made adding new oil easy, as it was poured directly into each fork tube before the springs were dropped in, then the top caps were screwed on.
EZ Fill Fork Caps
Several aftermarket companies offer 'EZ Fill' fork caps, but I've only found them for later (mid seventies and up) models.
***********************
Fork Oil Weight and Capacity
For average conditions, 20 weight fork oil is fine. For extreme conditions, use either 10 weight (cold weather) or 30 weight (warm weather).
Thicker oil is slower to move through the damping orifice, which gives a firmer front end feel.
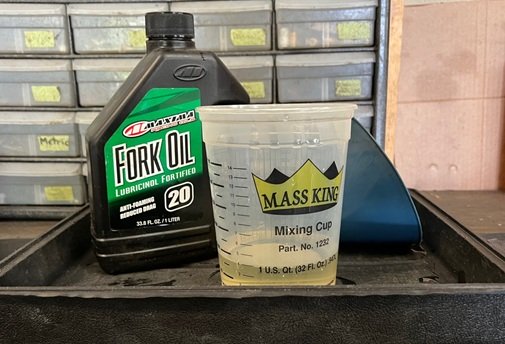
When dry, each side requires seven ounces of oil. 6-1/2 oz. (wet) or 7 oz. (dry)
DRY: Means you disassembled the forks and cleaned them dry inside and out.
WET: Means you just drained the oil out of the plug and want to refill it.
Dry fork requires .5 to 1.0 ounces more than the wet amount due to residual oil left clinging inside the fork.
NOTE: When a fork has longer tubes installed it doesn't change the amount of fork oil required. It just needs enough to keep the damper covered.
***********************
Related Articles:
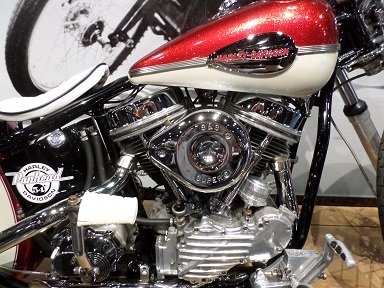
Panhead History
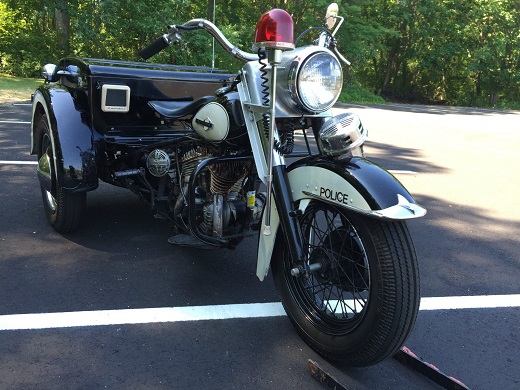
Servi-Car History
Shovelhead History
