How To Rebuild Harley Master Cylinder
Article by Vintage Vinny
If your motorcycle's master cylinder isn't holding pressure when you pull the brake lever, and you've already checked the fluid level, it's likely the internal seals are worn or damaged.
A leaking caliper would also cause no brake pressure, so check that before blaming the master cylinder!
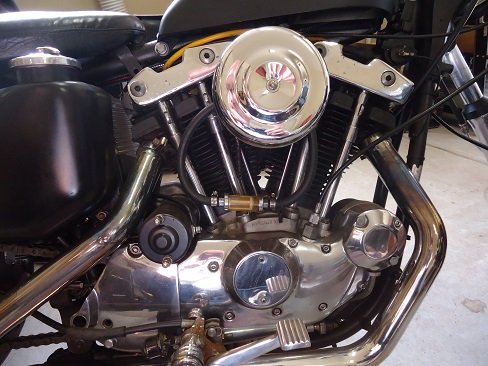
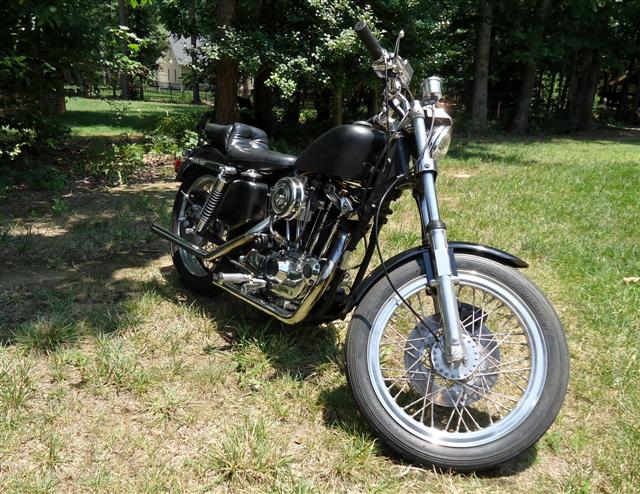
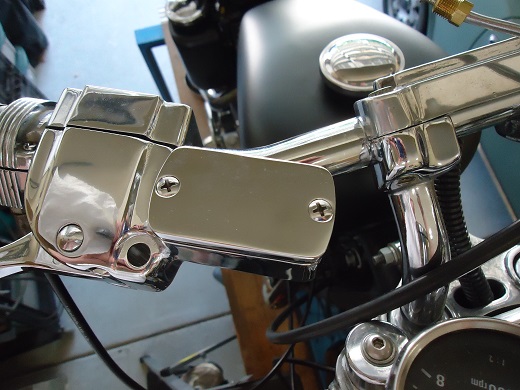
The bike in this article is a 1976 Harley Sportster. The master cylinder is actually a chrome aftermarket replacement, but rebuild kits work the same as with original Harley units.
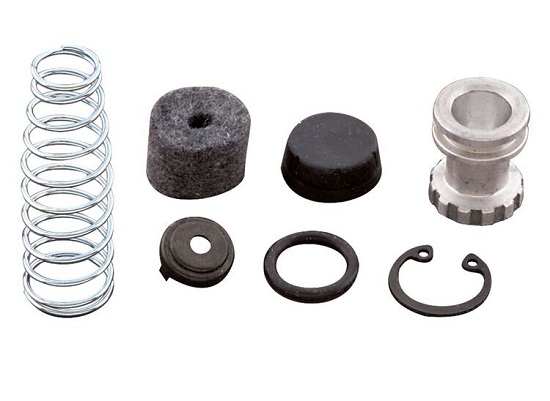
Rebuild Kit
This master cylinder rebuild kit replaces Harley # 45063-72. It fits 3/4" bore master cylinders from many 1972 through 1981 Harleys, including FL, FX, and Sportster models.
*********************
Getting Started
Although you can probably rebuild it while still mounted to the handlebars, it's a whole lot easier when it's sitting in front of you on a work bench.
Removing the brake fluid from the reservoir was done with a two-ounce (60 ml) syringe.
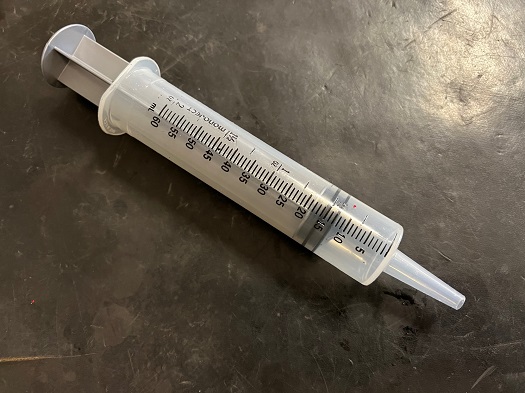
Once the reservoir was empty, the front brake line was disconnected, and the four Allen bolts removed. Carefully disconnect the two thin wires to the stoplight switch.
If you suspect the stoplight switch is bad, you can buy one here.
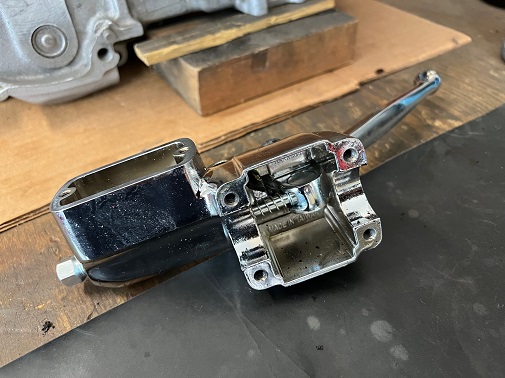
Moving over to the workbench, disassembly can begin.
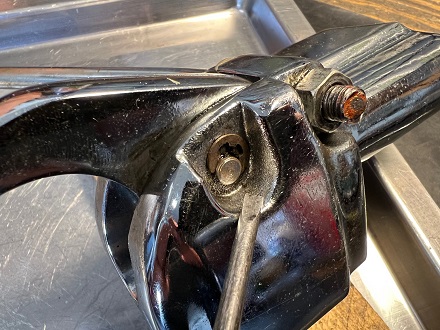
To remove the hand brake lever, remove the retaining ring (E-Clip) that holds the pivot pin.
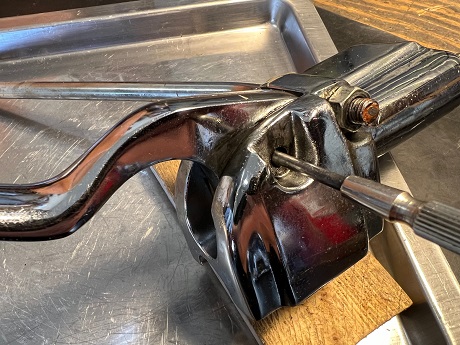
I'm using a small flat-blade screwdriver to remove the E-Clip, then pushing the pin through to release the lever.
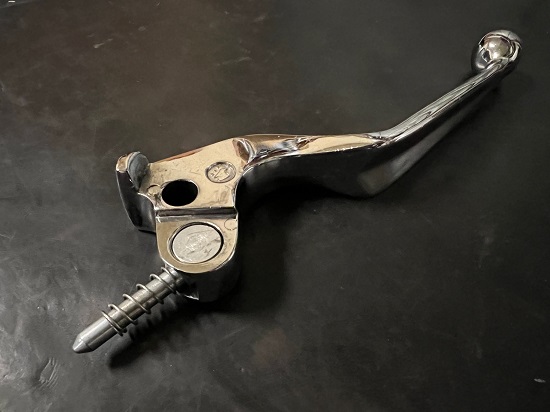
Brake lever removed.
Remove Master Cylinder Piston
You now have access to the retaining ring that holds in the piston assembly. Remove it with snap-ring pliers.
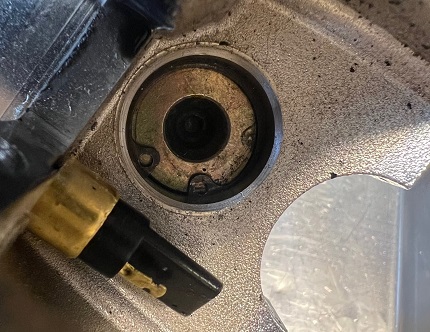
It's a little tough to get to the snap-ring because it's recessed.
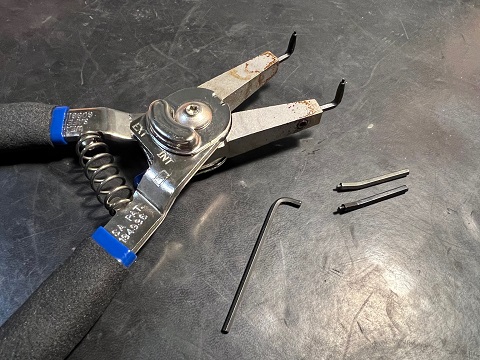
Switching from straight tips to right-angle tips on the snap ring pliers made this task easy.
Pull out the piston, O-ring, piston cup, spring cup, and piston return spring.
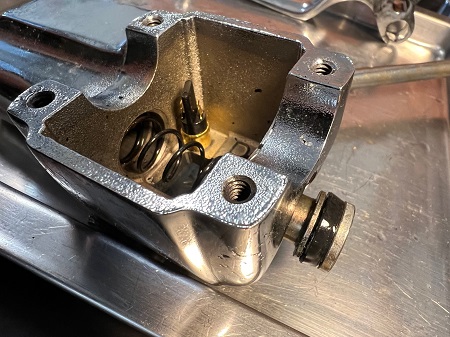
Clean and inspect all parts.
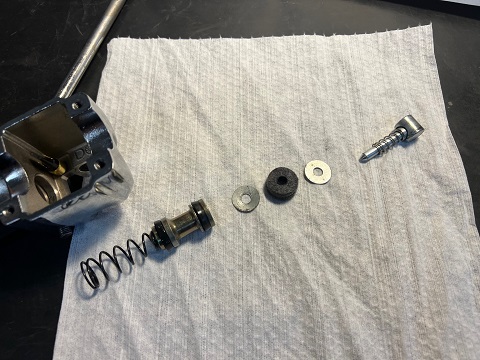
If you find a little corrosion inside the bore, you can try cleaning it with some Emory cloth, but if there's a lot, it's best to replace the master cylinder with a new one.

*********************
Reassembly
Assembly is basically reverse of disassembly.
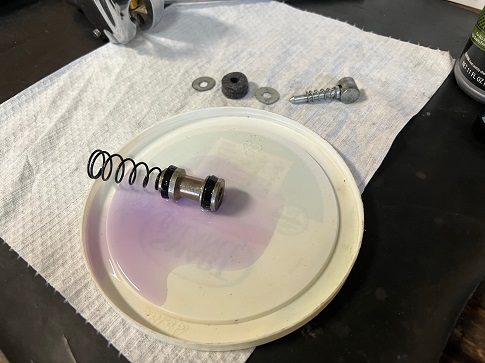
Before installing, lubricate new parts with DOT 5 brake fluid.
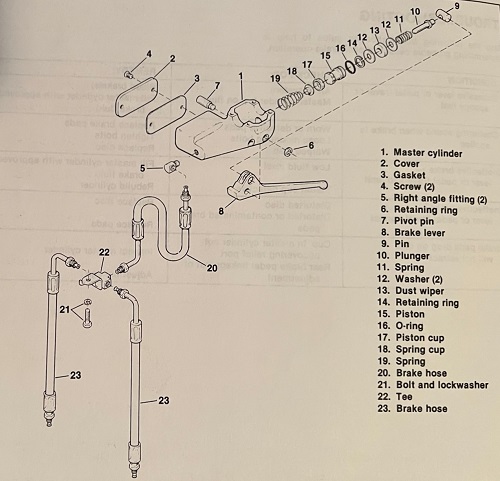
Install the spring and piston into the cylinder bore, making sure they go in the correct way. If you're not sure of the sequence, refer to the illustration.
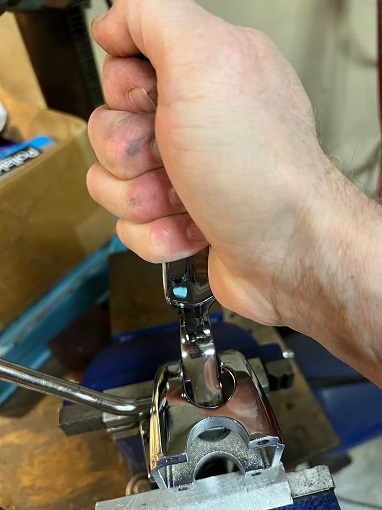
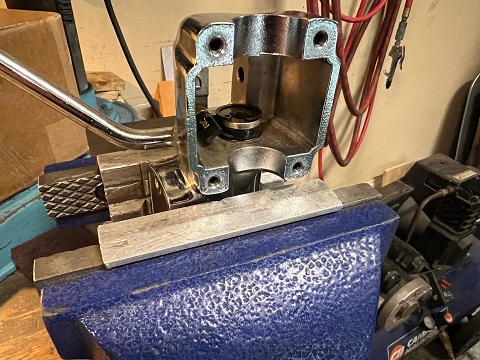
Getting the brake lever back in was a little tricky. It helped putting the master cylinder in a vice between two soft jaw pads so that both your hands are free.
Test Master Cylinder
Here's an easy way to test a motorcycle master cylinder before hooking everything back up. Hold a finger over the outlet, then pump it several times. As you let your finger go, you'll hear the air escape.
*********************
Bleeding The Master Cylinder
There's several ways to bleed a motorcycle master cylinder. First, to get the air out of the master, I took a piece of 1/4" x 8" steel brake line from an auto parts store, cut one end off, and bent it so that it fits into the reservoir.
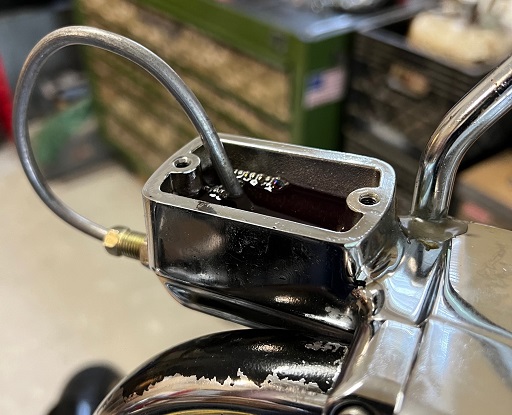
With the unit back on the bike, fill reservoir with DOT 5 brake fluid.
Pump the hand lever slowly until air bubbles stop appearing in the fluid. You'll probably have to add more fluid before all the bubbles are gone.
This one took about 10 or 15 pulls for the air bubbles to stop. The steel line was then removed and the front brake hose was attached.
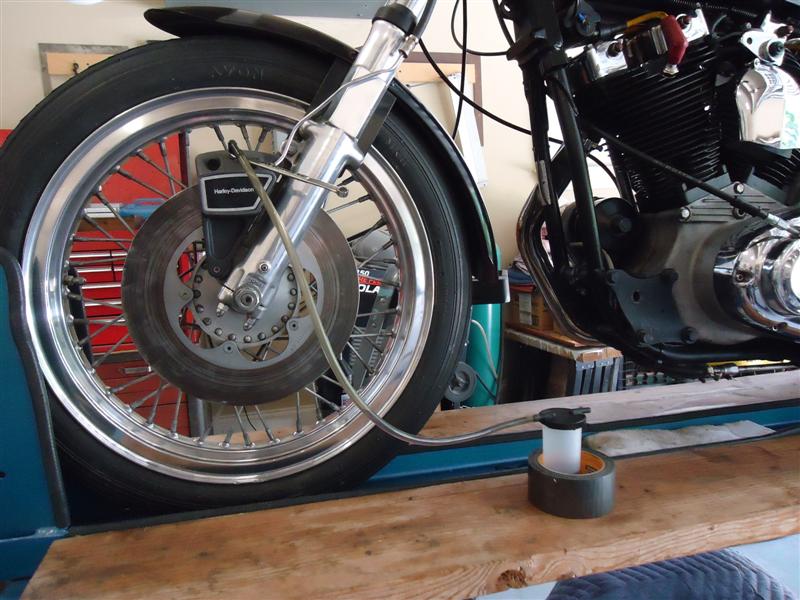
Then the brake caliper gets bled.
*********************
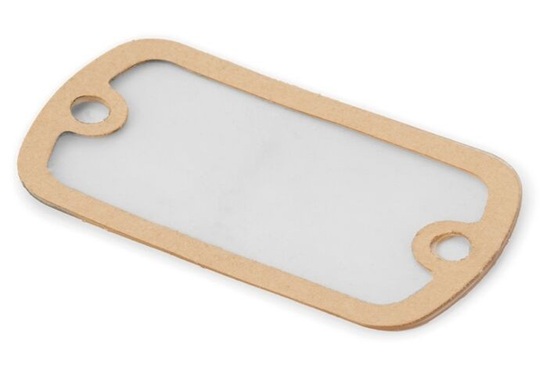
If your M/C cover gasket is old or torn you can buy one here.
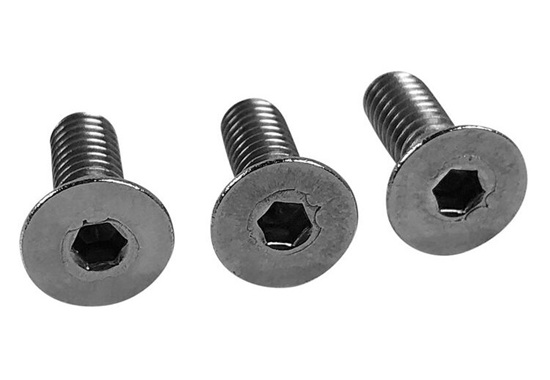
If you're missing a cover screw you can buy them here. They're sold individually.
*********************
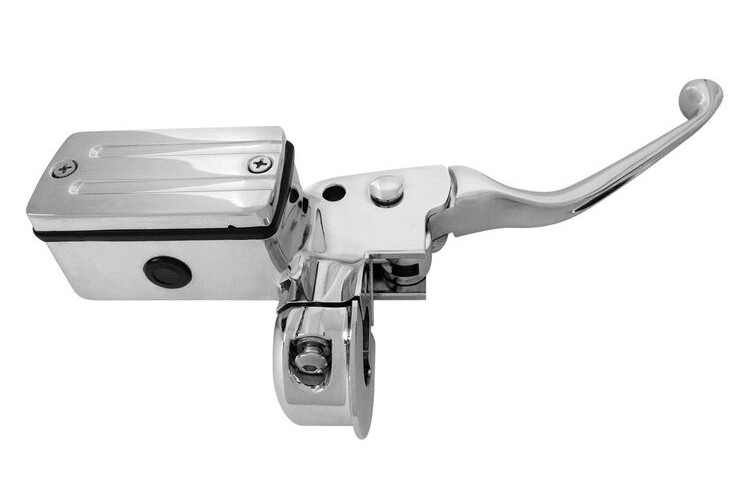
Finally, if your old master cannot be rebuilt, you can buy a new replacement.
CAUTION: Working on brake systems is not something to be taken lightly. If you don't feel that you are 100% capable of doing it correctly, leave it to a professional.
*********************
Related Articles:
Harley 'Pie-Slice' Caliper Rebuild
Harley Dual Caliper Rebuild
Best Thread Sealant For Brake Fittings
Replace Harley Fork Seals 35mm
1976 Sportster Project
