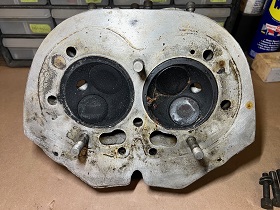
How To Lap Motorcycle Valves
Article by Vintage Vinny
No matter what type of engine you're building - V-Twin, Parallel Twin, Single, Triple, or Straight Four, proper valve seating is crucial to a strong-running engine.
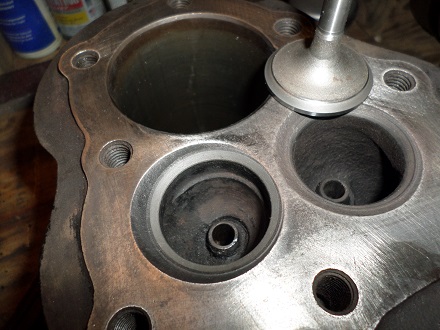
If your valves, guides, and seats are good, lapping the valves will confirm they are seating correctly.
Grinding vs Lapping
The purpose of a valve job (grinding) is to have the valve and valve seat make an air-tight fit. What valve lapping does is check to see if a valve job is needed.
After a valve job is completed, valve lapping is often done as a follow-up. This is to verify the grinding procedure was successful.
Lapping New Valves
Valve grinding puts a precise bevel on the valve and seat surfaces, but a good seal is not guaranteed. If your heads were recently rebuilt at an engine shop, the valves were likely refaced by a machine.
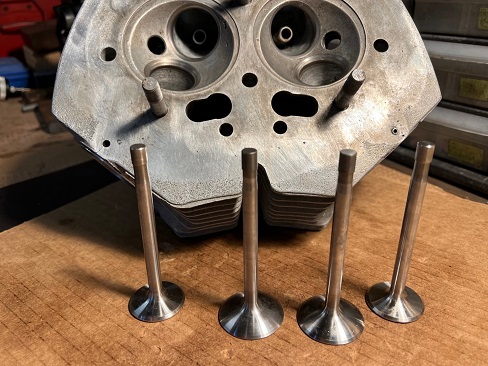
If valve seats and faces were ground correctly, the lapping process should take a minute or less for each valve.
Lapping Old Valves
Before you start, make sure there is no dirt in the valve guide or on the valve stem. Wire wheel the carbon and gunk off the head and the sealing area and the stem.
It will take longer to clean, prepare, and round up the supplies than to actually lap the valves.
What You'll Need
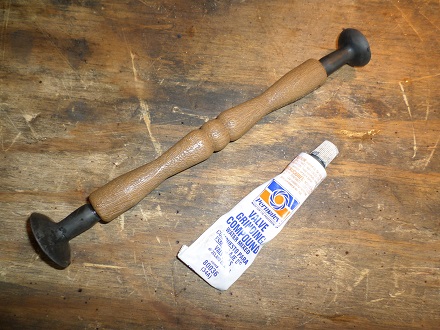
To lap valves, you'll need valve grinding compound and a valve lapper, which is basically a wooden dowel with a suction cup on the end.
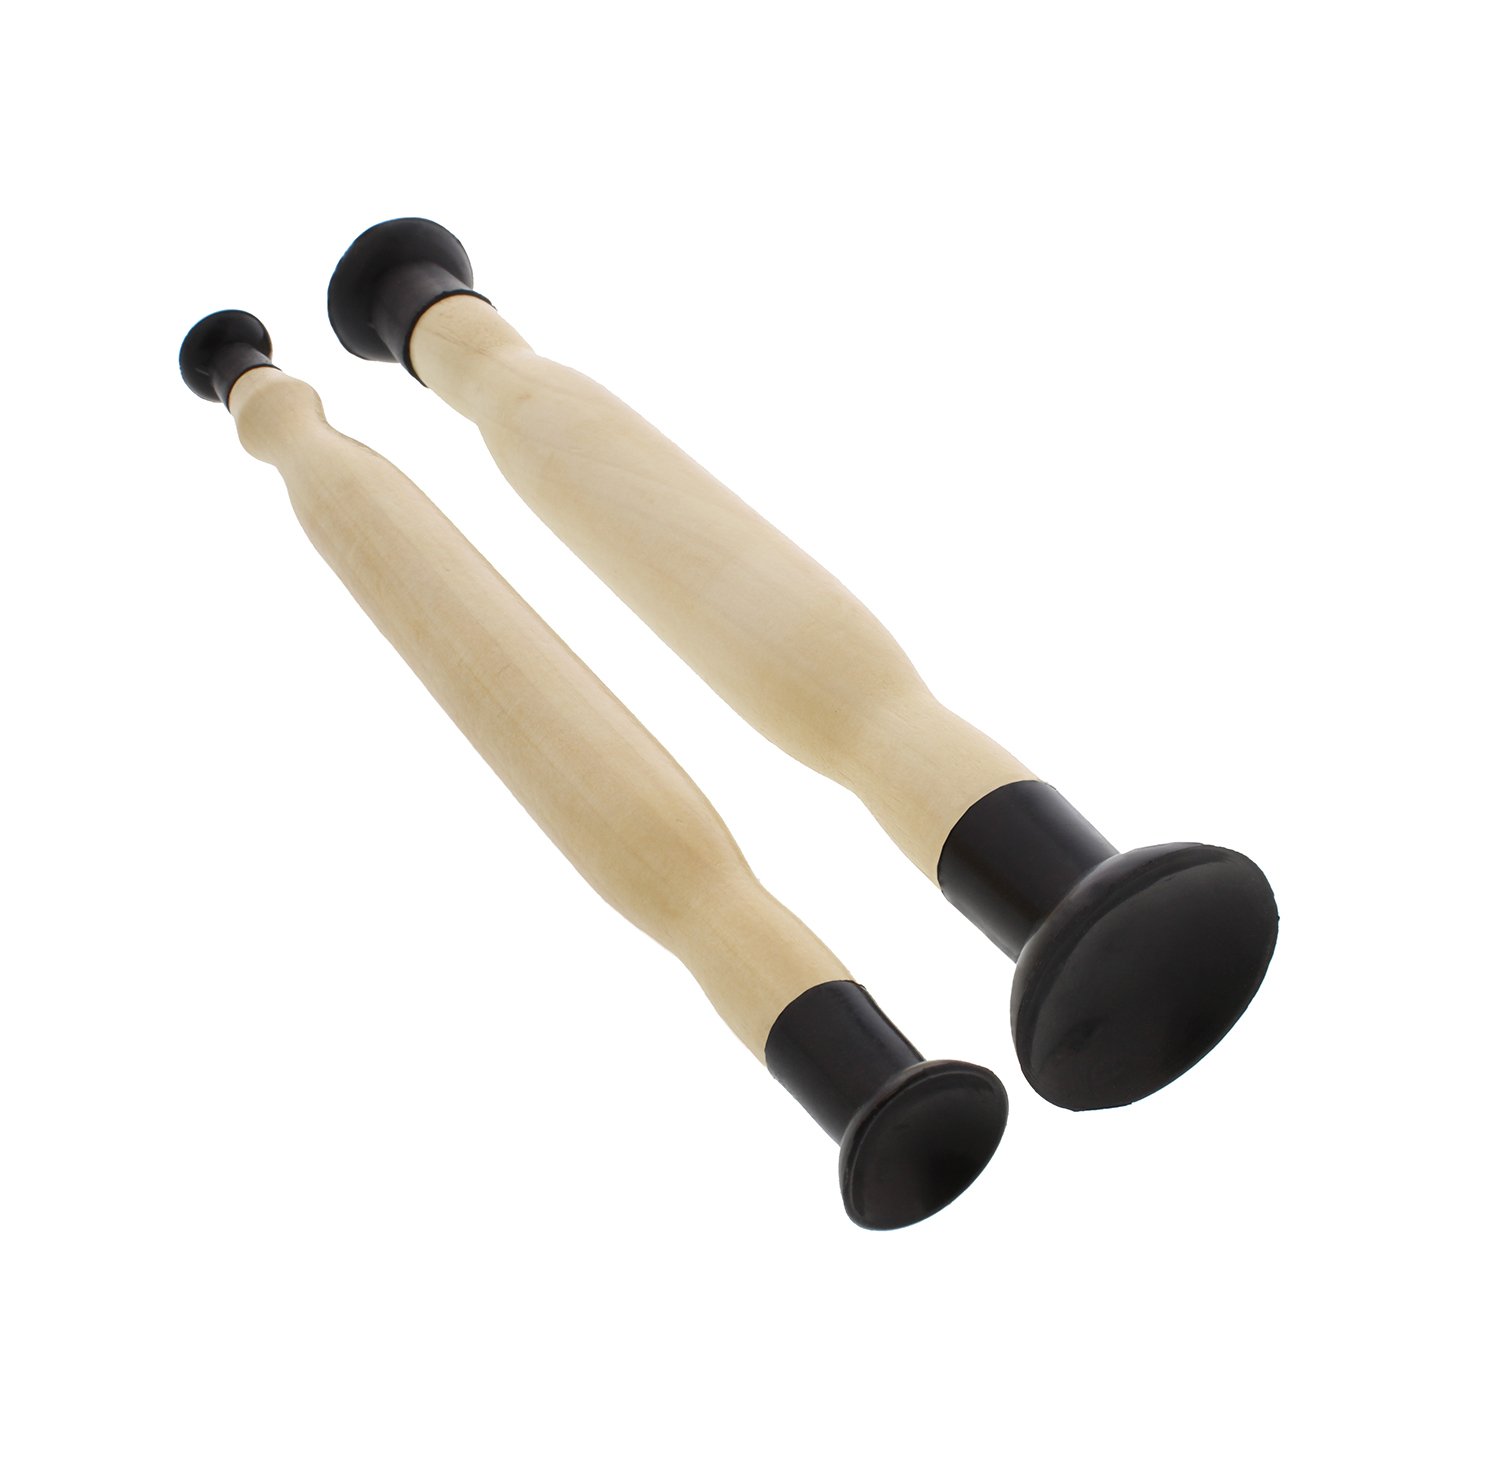
Shop: Valve Lapper Tool
Note: The suction lapping tool doesn't always stick on smaller valves. Those can be done slowly by hand.
Shop: Valve Grinding Compound
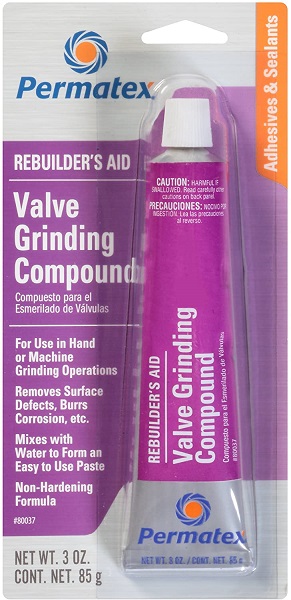
The three-ounce Permatex 80037 is a mixture of four grits; 120, 150, 180, and 220. The compound starts off as 120 grit and as you work it, ends up as 220 grit. Although some seats may need two or three times of lapping, it is not necessary or good to over-lap the valves.
If possible, place the cylinder so the head of the valve is facing up. A couple of pieces of wooden 2x4's usually works.
Oil the Valve Stem
Begin by coat the stem with a little engine oil before putting it in the guide. I use 5/30W, but it really shouldn't matter.
Next, spread a bit of grinding compound onto the edge of the valve with your finger.
Valve Lapping Procedure
Wet the suction cup of the lapping tool and stick it on the valve face. You can use oil or you can use water.
Once the lapping stick is grabbing the valve, you can begin the lapping process. Place the lapper between both hands, and using light pressure, rotate the tool back and forth at a moderate pace.
To ensure the grinding compound is being spread evenly, lift the valve up periodically and rotate it 180 degrees.
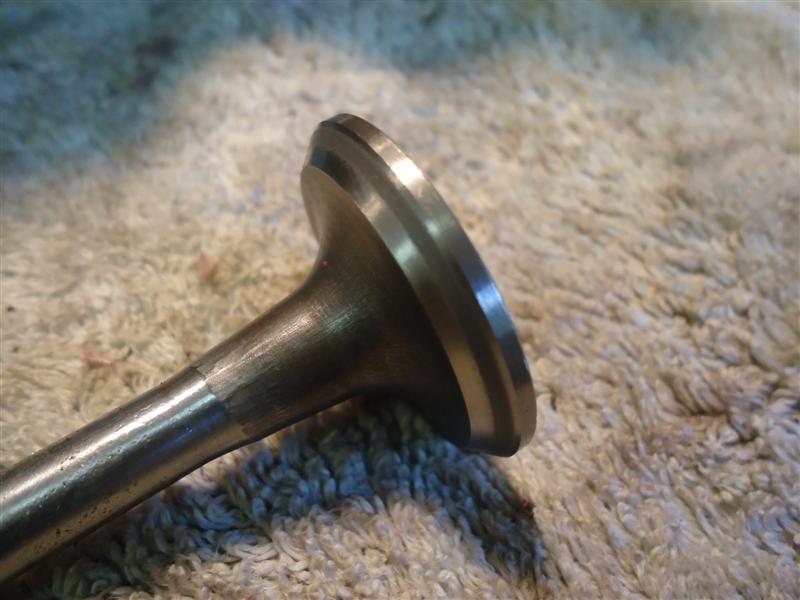
Look for progress - there should be a thin but even grey ring on the valve and seat, with no breaks or high spots.
Listen for progress - the sound will change from 'crunchy' to smooth.
When you can feel and hear the compound losing its cutting ability, wipe off and check. Both faces should be a dull grey when you're done, with an even width across both faces.
The ring doesn't have to be in the middle of the valve, just an even ring around the valve. Look for a consistent gray line on the seat as well.

Do not over-do lapping the valves. It is unlikely, but possible, to remove too much, and doing so will ruin the valve seat.
Caution: Make sure all of the valve grinding compound is cleaned off. The compound is like fine sand and will cause engine damage if not completely removed.
After several attempts, if you are unable to achieve a consistent grey ring, the seats are probably worn out and will require cutting. That is a job for a machine shop or an experienced DIYer.
*********************
Related Articles:
How To Measure Valve Guide Wear
How To Remove Valve Guides
Motorcycle Valve Job
