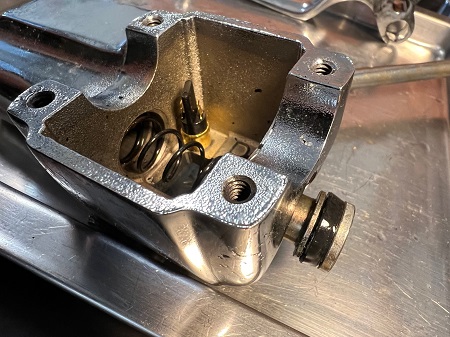
Harley Dual Disc Caliper Rebuild (1977-1983)
Article by Vintage Vinny
Rebuilding brake calipers is much less expensive than replacing them, plus it keeps your bike more original.
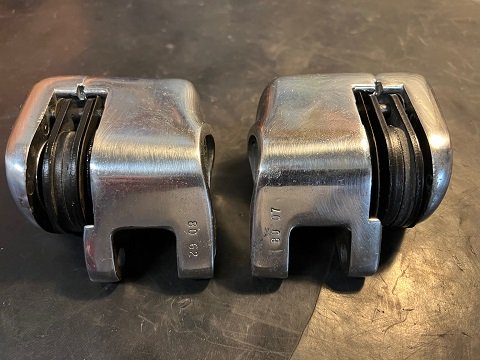
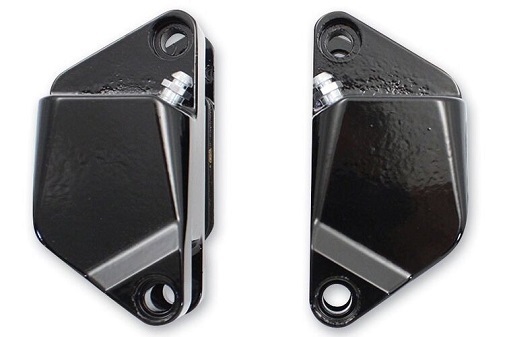
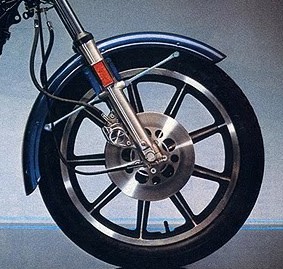
First seen on the 1977 XLCR Cafe Racer and FXS Low Rider, dual disc brakes were standard equipment on 1979 through 1983 Sportsters, 1980 through 1983 FLHT models, and several FX models (Wide Glide, Fat Bob, Low Rider). Although most were polished, some models had calipers finished in black.
This article is a step by step on how to rebuild 1977 through 1983 Harley dual disc calipers, plus what tools and parts are needed.
Looking through old Harley parts books, it appears that 1977 through 1983 Harley dual calipers are interchangeable year to year, but the right caliper only fits the right side, and the left caliper only fits the left side. Internal parts are the same for either side.
***************************
Rebuild or Replace Calipers?
Most, but not all, motorcycle brake calipers can be rebuilt. Here's three reasons why yours may not be rebuildable:
The caliper housing is cracked. This could happen if the bike was in an accident, or through damage.
Rebuild kits are not available. This is never a problem with classic Harley motorcycles. Rebuild kits are available from dozens of aftermarket suppliers.
The piston bores are too badly damaged. A badly pitted piston bore may cause a piston to stick, but corrosion is usually not an issue with aluminum-bodied calipers.
If you have a slight amount of pitting on the piston bore surface, it can often be sanded or honed out, but if there are any deep nicks or grooves, it's best to replace the caliper.
***************************
After sitting idle for several years, both front calipers on this 1981 Sportster had frozen up. There were two options; rebuild them or replace them.
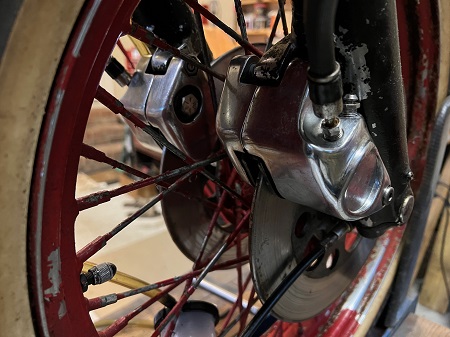
After checking to see what replacements would cost, the decision was made to rebuild the old ones.
NOTE: If only one caliper is frozen or leaking brake fluid, it's advisable to rebuild or replace both sides. If you find that only one is rebuildable, it's OK to rebuild that one and replace the other one.
***************************
What's Involved
A brake caliper rebuild will involve removing, disassembling, cleaning, and then reassembling the caliper with new seals. On older bikes that have sat for awhile, the piston may need to be polished, and the piston bore may have to be honed. You may also have trouble removing a stuck piston.
Parts Needed
If needed, caliper seal kits can be purchased online.
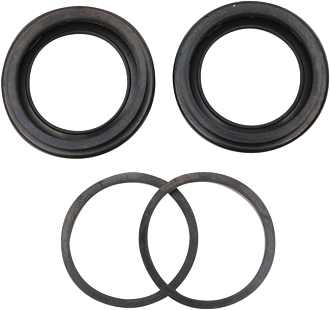
Shop: Harley Dual Disc Seal Kit
The original Harley caliper rebuild kits had part numbers 44151-77 and 44153-77. Each caliper requires one seal and one dust boot. Aftermarket kits usually service one caliper only.
If the brake pads were contaminated by leaking fork oil, or had brake fluid on them, or just worn out, replace them.
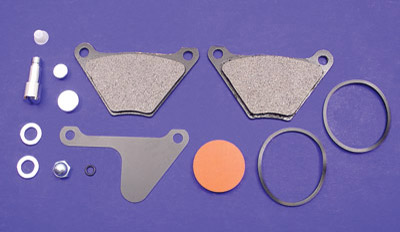
Shop: Harley Caliper Rebuild Kit with Brake Pads
***************************
Other Parts Needed
You won't know what else you'll need until the calipers are off and disassembled. On a 40+ year-old caliper, you'll often need to replace other parts, such as a caliper piston, caliper pins, or a stripped bleeder screw.
Tools and Supplies Needed
Tools needed include a 3/8" drive socket set, open and closed end wrenches, and Allen keys or sockets. You may also need a brake caliper honing tool if the piston bore is badly corroded.
Flare nut wrenches, also called line wrenches, are designed to remove steel brake lines and other hydraulic fittings without damaging the nut. A standard wrench will work, but you stand a chance of stripping the fitting.
NOTE: On this 1981 XLH, it was not necessary to remove the front wheel to remove calipers.
***************************
Before removing, spray mounting bolts, bleeder screws, and brake line fittings with WD-40 or similar penetrant. The longer you allow the penetrant to soak, the better it will work (overnight is best).
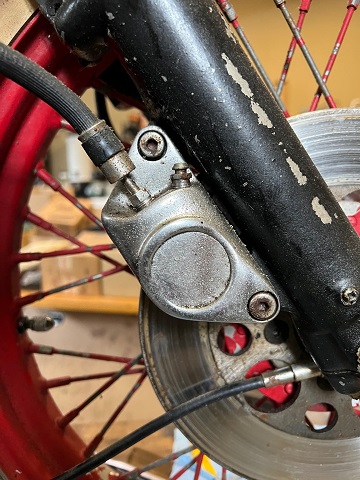
It's easier to loosen the bleeder valves while the caliper is still mounted to the fork. Once loosened, tighten them up by hand so they don't leak while taking the caliper off.
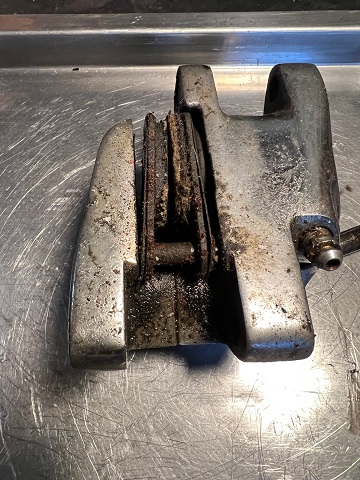
Some brake fluid may come out of the brake hoses after they're disconnected from the calipers. Have a piece of cardboard underneath to catch any overflow and brake fluid.
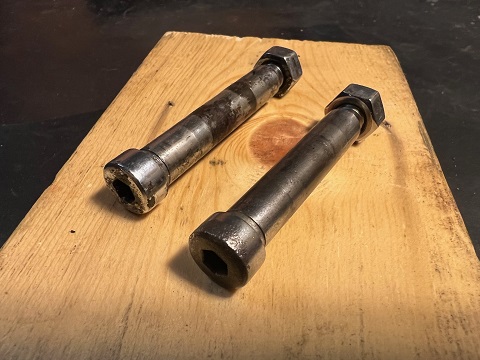
Remove the mounting bolts, washers, and locknuts (one long, one short per side).
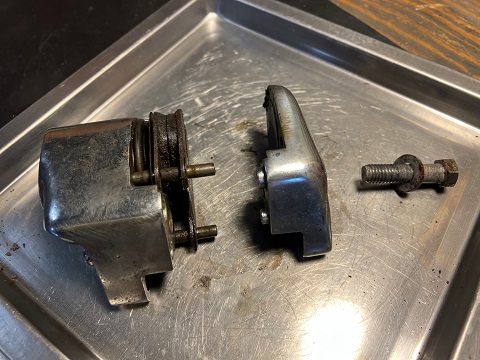
Once the center caliper bolt is loosened, the outer and inner halves should easily separate.
Spray/clean all parts with brake cleaner.
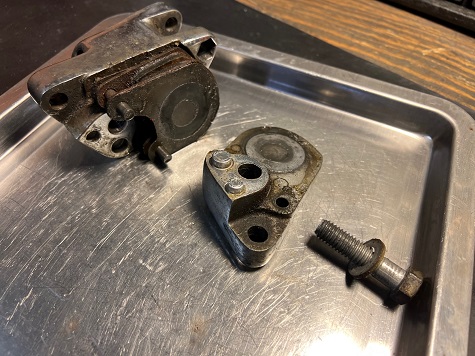
Remove all dirt, rust, abrasives and old brake fluid. Dry with compressed air.
***************************
Removing a Frozen Piston
Even with 100 psi of compressed air this piston would not budge!
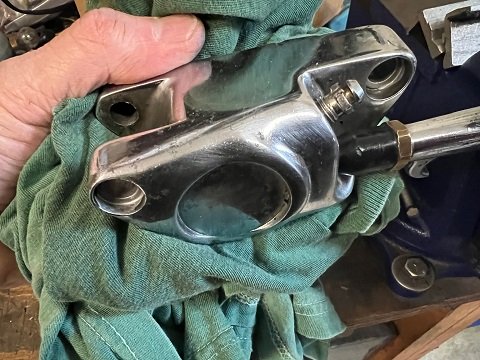
Read: Remove Stuck Brake Piston
***************************
Removing a Stuck Bleeder Screw
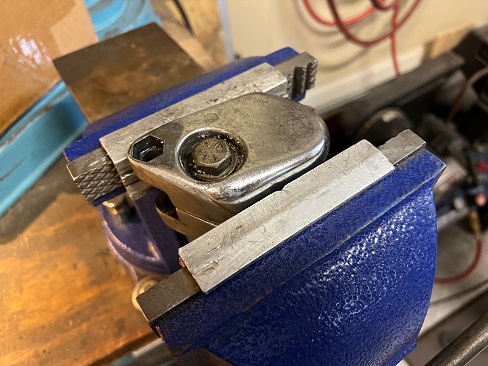
On one of the calipers, the bleeder screw head was stripped. To remove, the caliper was placed in a vice between two soft jaw pads. Once securely in place, penetrating fluid was sprayed on and left to soak for a few minutes.
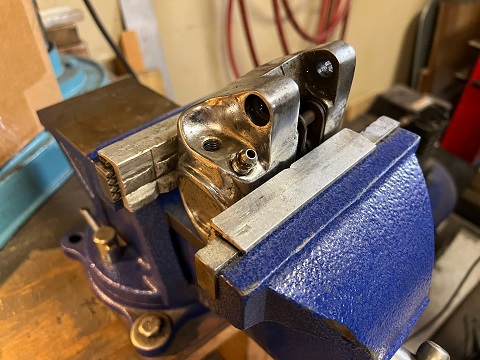
Bleeder screw removal was now easy with a 1/4" drive 6-point deep socket.
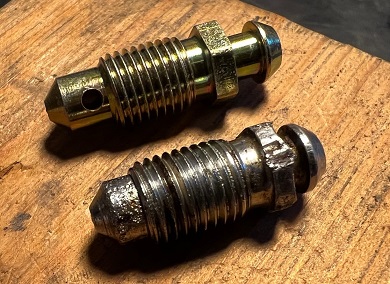
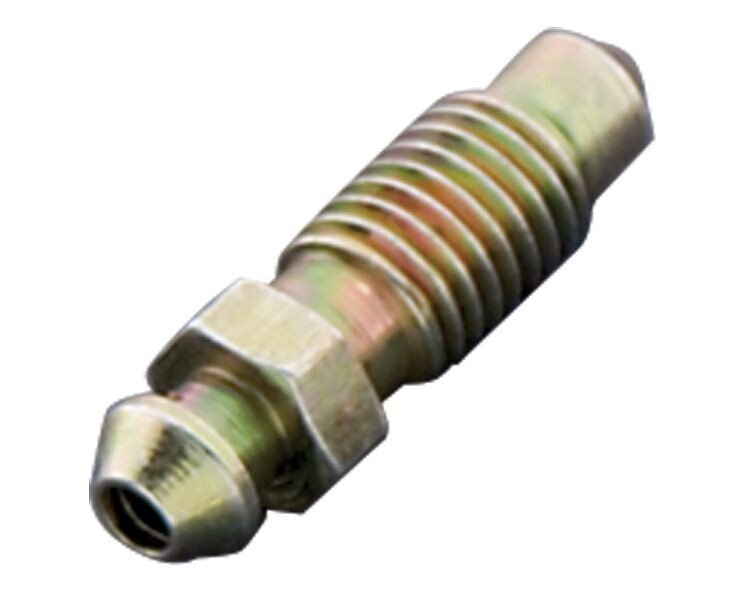
Above: old and new bleeder screw.
***************************
Brake Caliper Inspection
Once the piston was unstuck, all metal parts were cleaned with brake parts cleaner and shop towels, then blow-dried with compressed air.
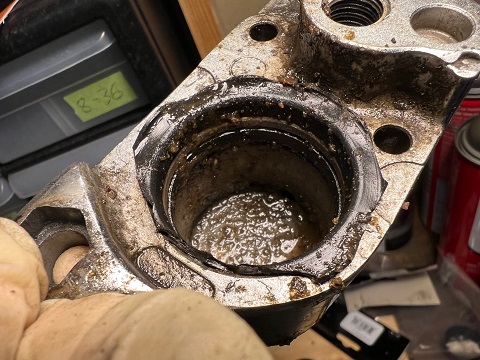
With a flat-blade screwdriver, lightly scrape out any corrosion out of the grooves where the caliper O-ring will seat.
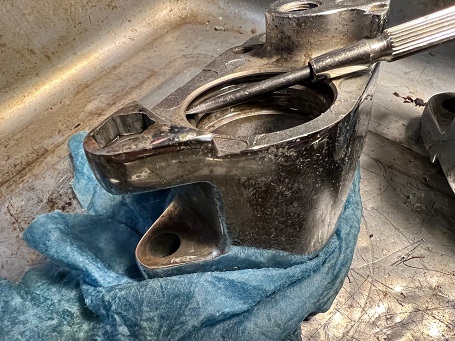
After cleaning, run a fingernail inside the bore and check for any nicks or grooves.
Brake Caliper Honing
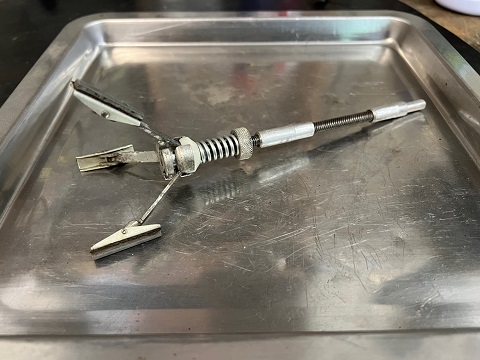
A rusty or pitted piston bore can often be renewed with a brake caliper honing tool and a hand-held electric drill.
***************************
After honing, wipe out the cylinder and clean off the stones. Look inside the cylinders and see if all pits and corrosion are gone.
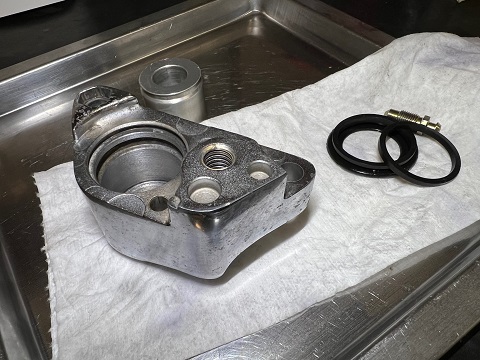
Repeat the honing process until the bore is smooth and free of scratches. When done, wash out the bore with soap and water to remove all traces of the hone grit, then blow dry with compressed air.
***************************
Brake Caliper Piston Polishing
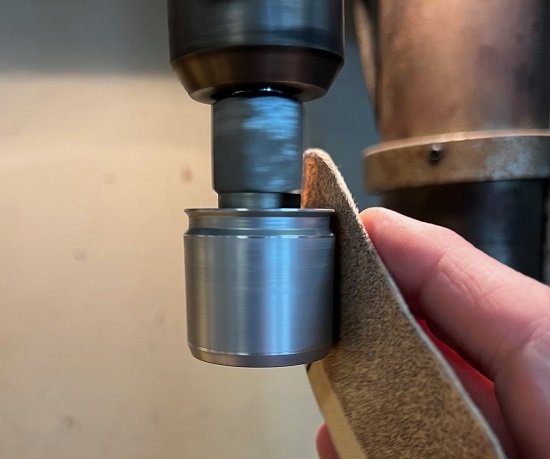
One of the easier ways to polish a brake caliper piston is to chuck it in a lathe or a drill press at low speed.
Read: 7 Drill Press Uses For Motorcycle Repair
After removing a few nicks with 100 grit sandpaper, I switched to medium and then fine Emory cloth, then finished with 1000 grit sandpaper. The piston was then cleaned with brake parts cleaner and blow-dried.
***************************
Reassembly
Coat the new O-ring seal, new piston boot, and piston in DOT 5 brake fluid. The O-ring gets installed first, then the dust boot.
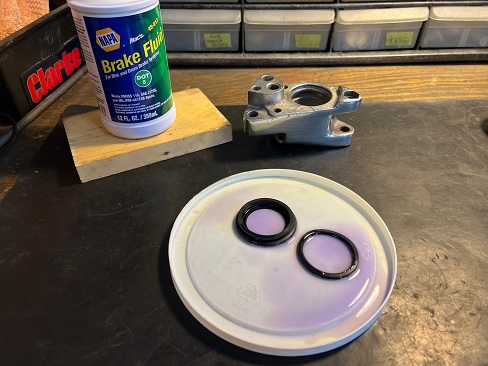
With everything still lubricated with brake fluid, push the piston though the dust boot and O-ring, and into the bore.
Caliper assembly procedure is: inner plate, brake pad inner, brake pad outer, and then outer plate.
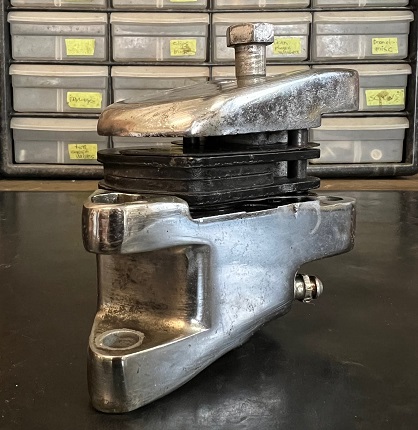
Left and right calipers have identical brake pads, assembly plates, and pins.
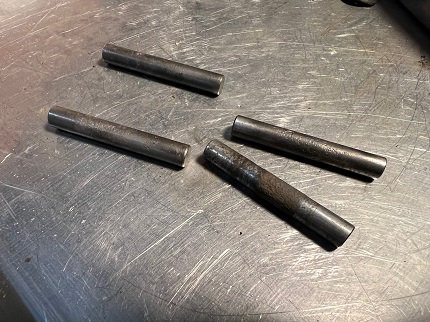
The old caliper pins had a little corrosion on them, and were sanded smooth with Emory cloth. If your pins need replacement, you can buy them here.
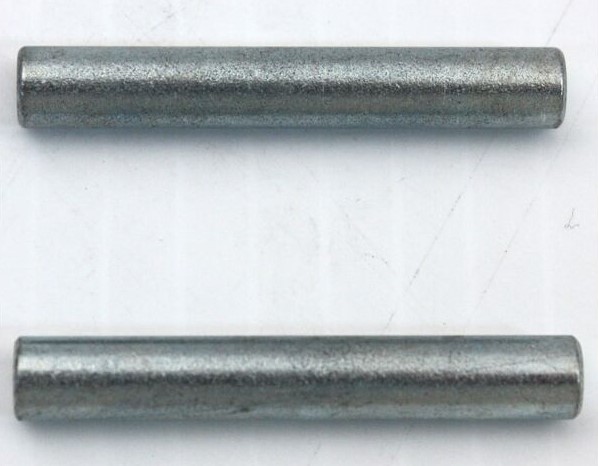
Shown above: FX/XL caliper pins 1977 through 1983 (#44162-77)
If your old caliper bolts need replacing, here's a chrome caliper sockethead kit that fits most 1971-1984 FX and XL models.
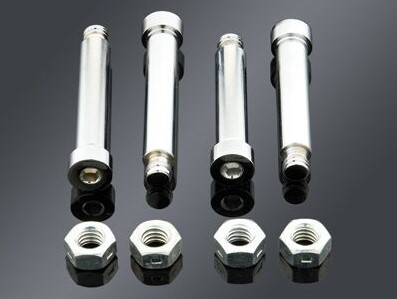
Lastly, torque the caliper bolt (with flat washer) to 60-65 foot/pounds.
***************************
Replacement Dual Calipers
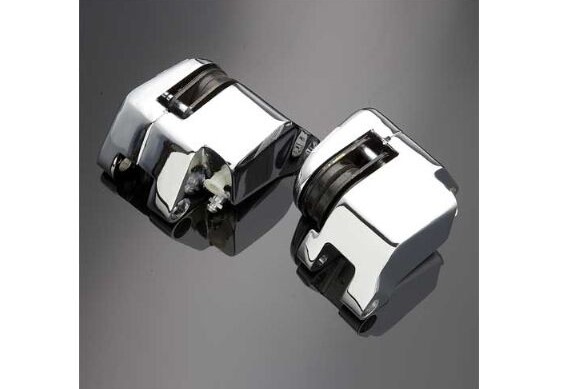
1977 through 1983 Harley dual calipers are not that common, and if you can't rebuild yours, finding good used ones won't be easy. And remember that the two sides don't interchange - right calipers fit right-side only and left calipers fit left-side only.
The last solution is also the most expensive. If your old calipers cannot be rebuilt, and you can't find a good used pair, you can buy replacement calipers.
***************************
Related Articles:
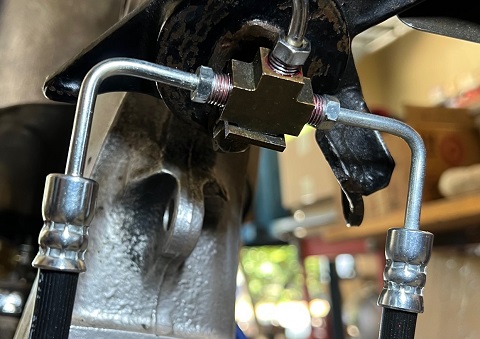
Read: Best Thread Sealant For Brake Fittings
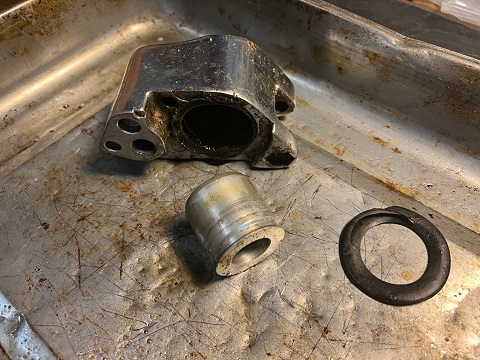
Read: Remove Stuck Brake Piston
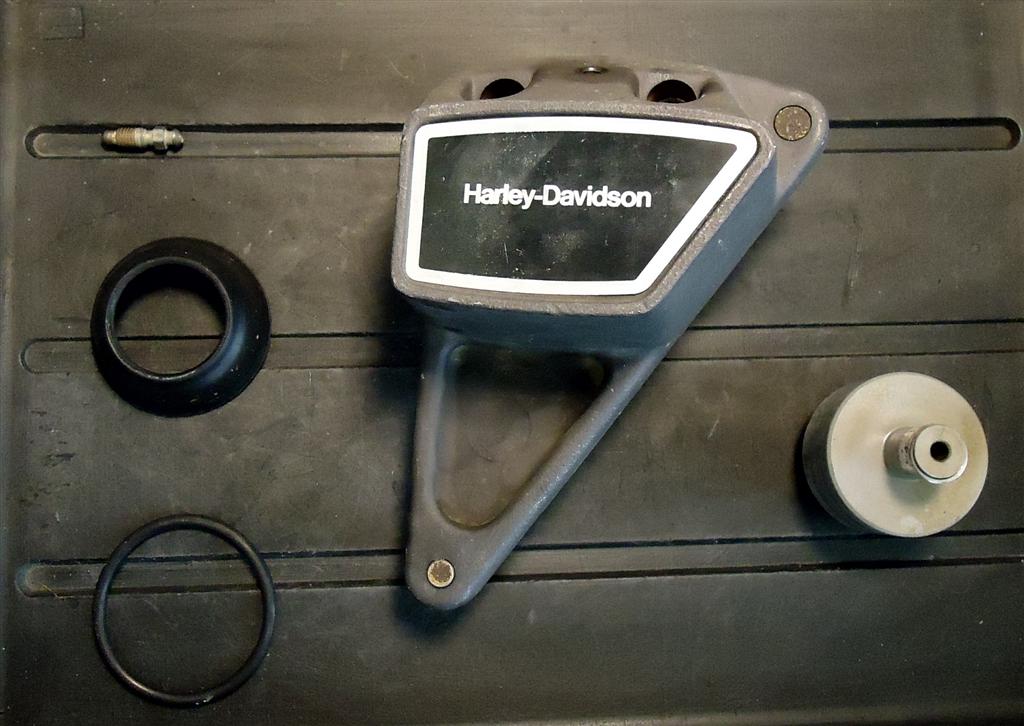
Read: 1973-1977 Harley Caliper Rebuild
