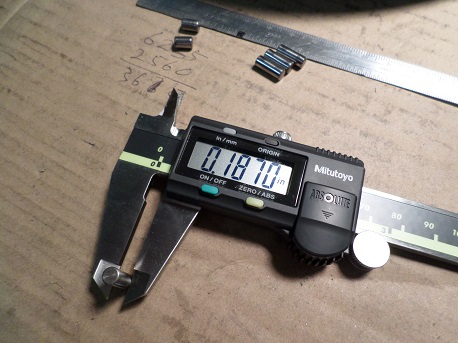
Harley 45 Engine Assembly
Text and Pictures by Mark Trotta
After the bottom end was together and scavenger oil pump in place, next on the Harley 45 build are idler and cam gears.
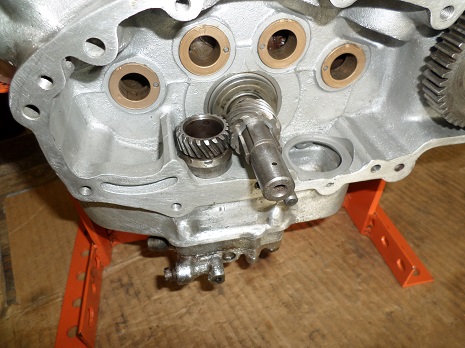
Read: Install and Time Cam Gears Harley 45 Flathead
*****************
Harley 45 flatheads have two separate oil pumps, and each has a different function.
Oil Feed Pump
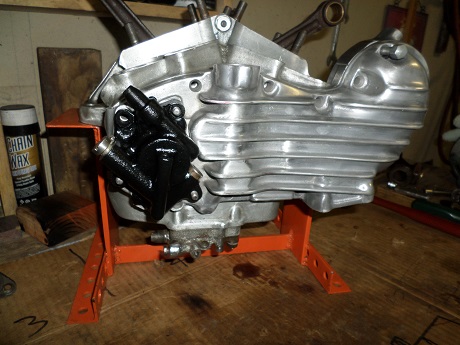
The "feed" pump (pictured below) is mounted to the right-side of the engine on the cam cover. It is a vane-style pump which is gravity-fed oil from the tank, then delivers it to the engine under pressure.
Oil Feed Pump Installation
After the cam cover and generator are back on, the oil feed pump can be mounted. First install the (new) gasket, slide the oil feed pump onto the three studs, then hand-tighten the three nuts and washers.
While turning the engine over slowly by hand, press lightly on the pump until you feel the drive cogs mesh and drop into place. Tighten the three nuts and washers.
Oil Scavenger Pump
The lubrication cycle is completed by the "scavenger" oil pump. This is a gear-type pump, and mounts to the bottom of the right-side engine case with four studs and nuts. It's job is to return engine oil back to the oil tank.
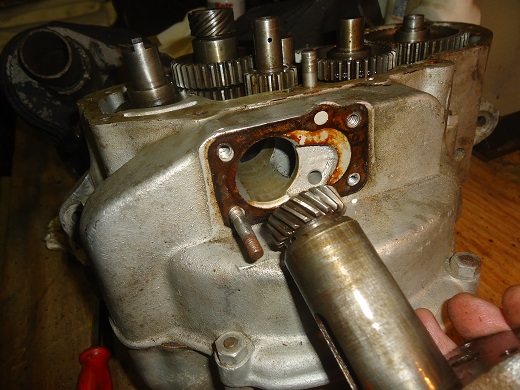
Read: Harley 45 Scavenger Oil Pump Repair
Next, the tappet blocks and tappets can be installed.
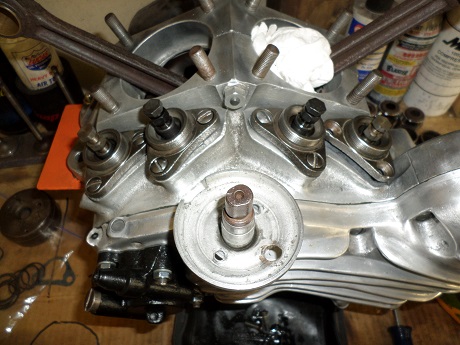
The ignition timer base can be installed now or later.
*****************
Install Generator
To prevent too much oil from getting on the generator ball bearings, Harley generators have an oil deflector, sometimes called a slinger. Two different kinds of oil slingers are found on the 45 flathead; one works with the two-brush generator and the other on the three-brush generator.
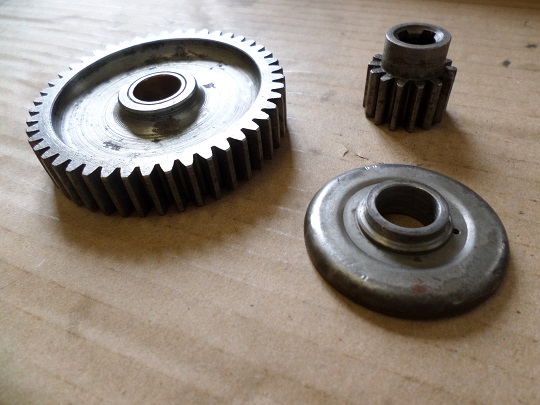
On a three-brush generator, the oil deflector requires a spring between it and the bearing to hold it up against the gear. There is a spring-loaded breather on the inside of the Harley 45 cam cover that rides on the end of the gear.
The oil deflector used on later two-brush generators has a built-in collar. The gear is drawn onto the shaft with a nut until it pinches the oil deflector tight against the inner race of the ball bearing. This sets the location of the gear and locks the armature in place. The oil deflector on two-brush generators also sets the location of the gear.
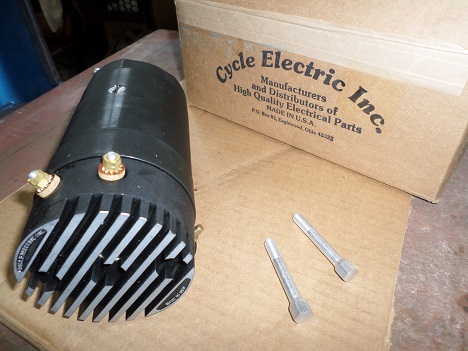
Three-Brush to Two-Brush Generator
When converting from a three-brush generator, you will need to enlarge the mounting holes on the early cam cover from 1/4" to 5/16". This is easily done with a 5/16" drill bit. You will also need a pair of 5/16" mounting bolts, and the correct generator gear and oil deflector.
If you don't want to drill out your cover, you can install a pair of Heli-coil inserts into the case threads. This allows you to re-use the smaller 1/4" bolts.
Read: Harley Generator Repair or Replace
*****************
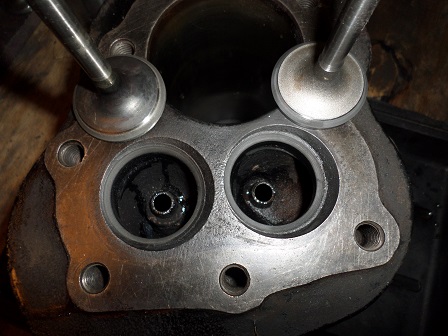
Read: Assemble Harley 45 Cylinders
*****************
Pistons And Pins
There are two styles of piston pins found on Harley 45 flatheads. The early-style pin used an L-clip and was seen until the mid 1950s. The later style was the more common E-clip seen from the mid 50's up until the end of flathead production in 1973.
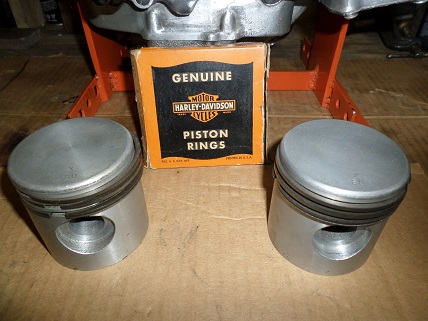
Pictured are the less common early-style piston pins.
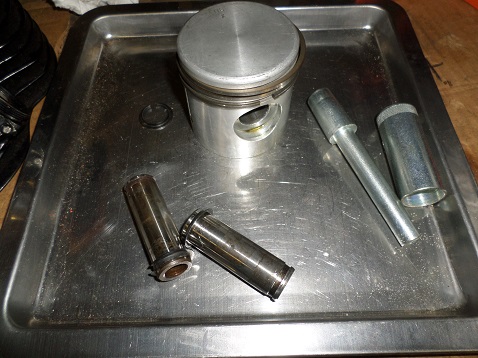
Piston pin in piston is a light press fit.
Piston Lock-Ring Tool
The factory part number for this lock-ring tool is 12052-32. It's primary use is 1932-1956 Harley-Davidson 45 models.
Ring gap is .010" to .020" and can be checked with a feeler gauge.
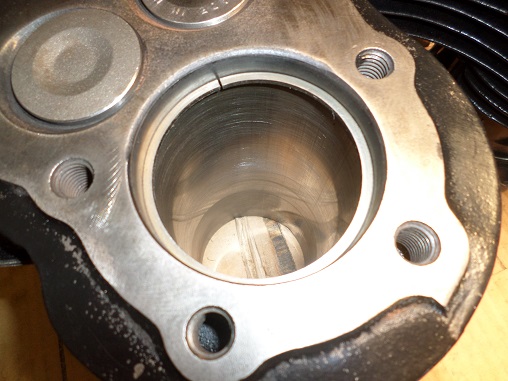
When installing, avoid having ring gaps near exhaust ports, as ring ends may overheat and burn.
*****************
Install Cylinder Assemblies
Lubricate cylinder walls, pistons, pins, and rod upper bushings generously with engine oil. Pour some oil onto the rod lower ends as well.
Install cylinder base gasket, and work cylinders carefully over pistons and rings.
Install rear cylinder first. As the cylinder seats, turn engine so that the tappets are at their lowest position.
You should now be able to thread on the base nuts, but don't tighten yet.
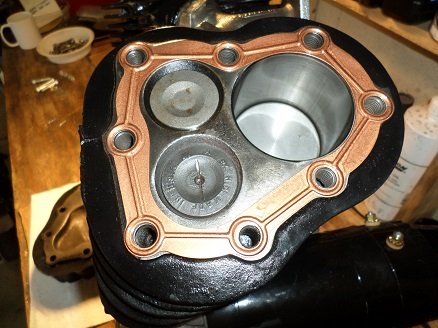
After the front cylinder is installed, both front and rear may need to be shifted slightly to fit the intake manifold.
*****************
Harley 45 Engine Specs
Cylinder standard bore: 2.7445" to 2.7455"
Piston clearance in cylinder, measuring piston at bottom of skirt front to rear: .001" to .002"
Piston pin in connecting rod upper bushing: .001" clearance
Piston ring side clearance in grooves: .004"
*****************
Engine Gaskets
James Gasket motor gasket set fits 45 Flatheads from 1936 through 1973. It replaces OEM 17026-40.
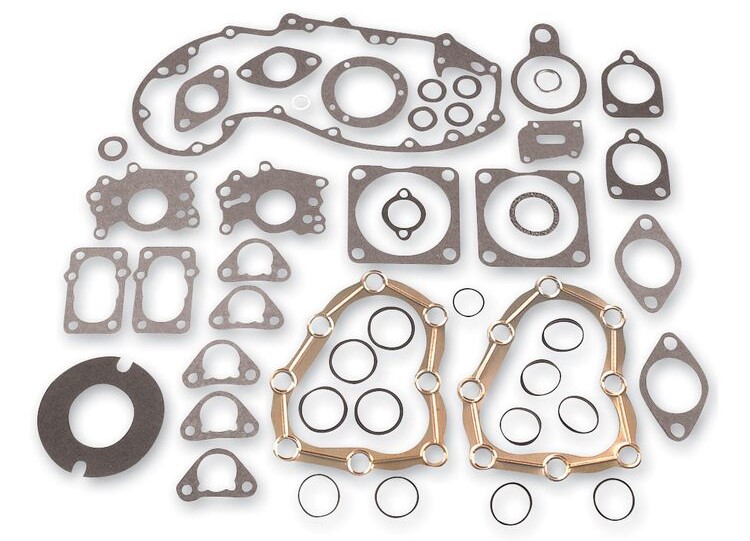
Shop: Harley 45 Engine Gasket Set
TIP: When installing copper head gaskets, spray with copper coat sealant, then torque to 65 foot/pounds.
*****************
Related Articles:
Harley 45 Engine Teardown and Inspection
Repair Stripped Threads In Aluminum
Harley 45 Timer And Ignition
Harley 45 Bottom End Assembly
Harley 45 Scavenger Oil Pump Repair
Harley 45 Cylinder Assembly
Best Engine Assembly Lube
