Harley 45 Cylinder Assembly
Text and Pictures by Mark Trotta
After the oil pumps were rebuilt and installed, cylinder assembly was up next on the Harley 45 engine build.
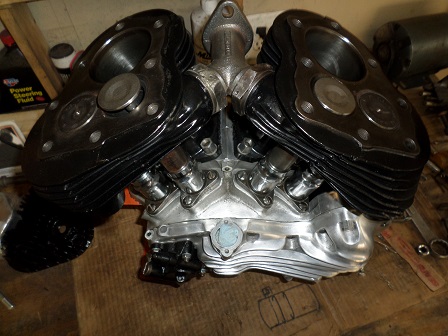
Valve Guide Inspection
Why is this important?
As guides slowly wear from mileage, valves gradually begin to get play as they open and close. This side to side movement causes valves to seat improperly, robbing the engine of power and making it harder to start. For this reason, valve guides must be checked, and replaced or repaired if beyond manufacturer's specifications.
Read: How To Measure Valve Guide Wear
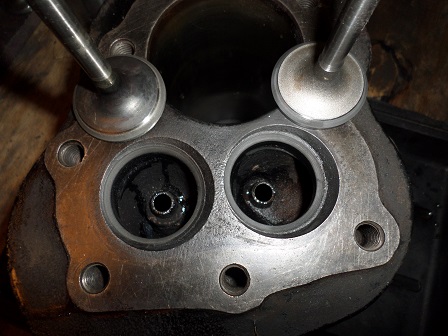
Checking Valve Seats
When closed, valves need to be air and liquid tight.
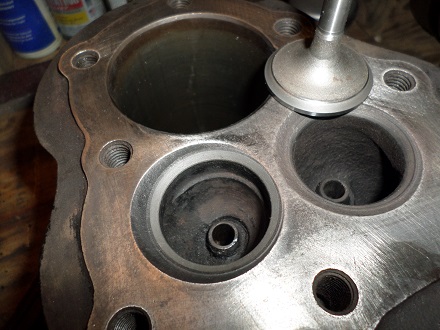
Valve Lapping
If the valve seat and face were ground correctly, the lapping process should take a minute or less for each valve. It actually takes longer to clean, prepare, and round up the supplies than to actually lap the valves.
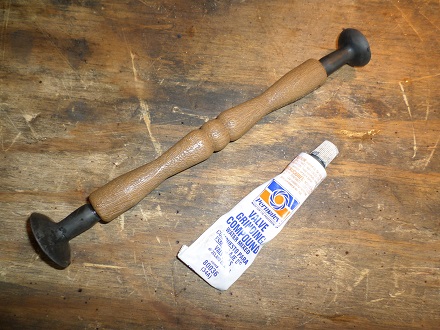
You'll need a tube of valve-grinding compound and a valve lapping tool, which is basically a wooden dowel with a suction-cup on the end.
Read: How To Lap Valves
The purpose of a valve job is to have the valve and seat make an air-tight fit.
The purpose of lapping is to verify that the grinding was done correctly.
*****************
Harley 45 Valves
The intake valves, exhaust valves, and valve guides for Harley 45 cylinders are same from 1930 through 1973, as are the retainers, keepers, and bases.
Valve size is 1.625" on both intake and exhaust, but they are not interchangeable. Exhaust valves are different in that they are heat-treated.
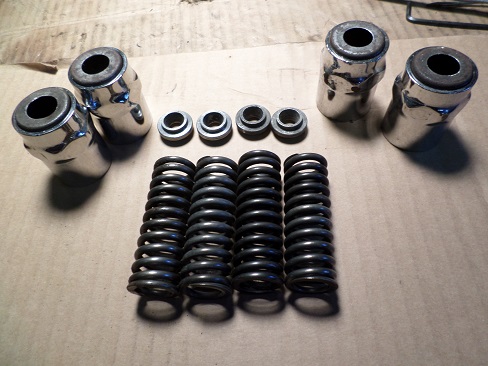
Shop: Valve Spring Kit For Harley WL/G 1941-1973
Reassembly
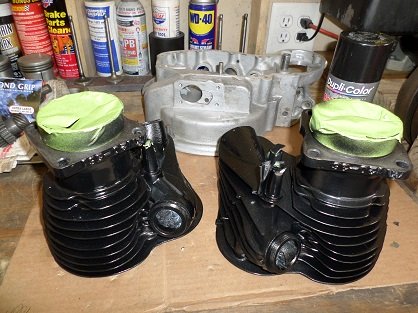
Prior to assembling, the outside of the cylinders were cleaned and scuffed with a Scotchbrite pad, then painted semi-gloss engine black.
Valve Installation
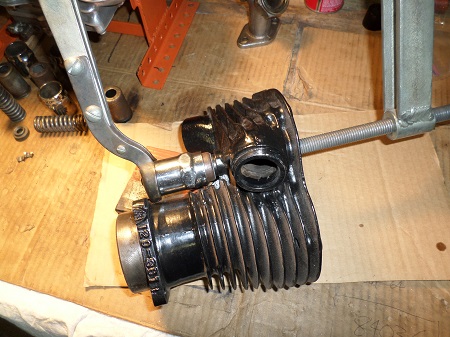
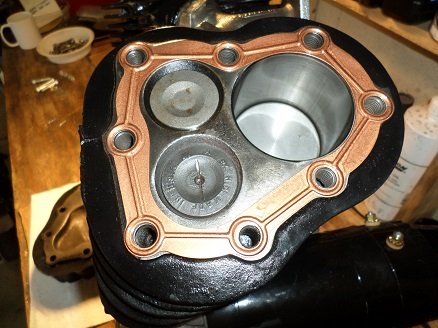
Here, I'm using an automotive valve spring compressor. It was a little awkward, but it worked!
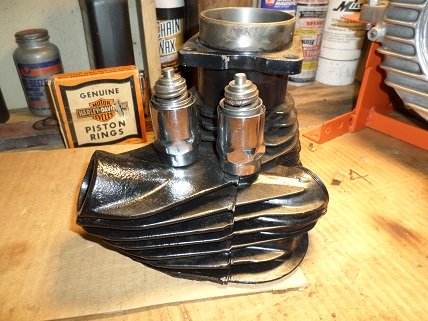
Before slipping valve stems into the guides, lubricate with a little engine oil.
*****************
Engine Gaskets
James Gasket offers a complete gasket set for 45 Harley Flatheads from 1936 through 1973. It replaces OEM 17026-40.
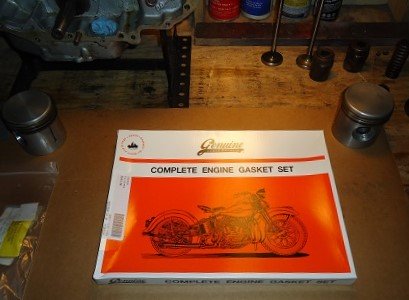
Shop: Harley 45 Engine Gasket Set
James Gasket products are made in USA, just like your Harley was.
*****************
Cast Iron vs Aluminum Heads
Most Harley flathead cylinder heads are cast-iron. If yours are cracked or have broken fins, finding good used replacements is easy.
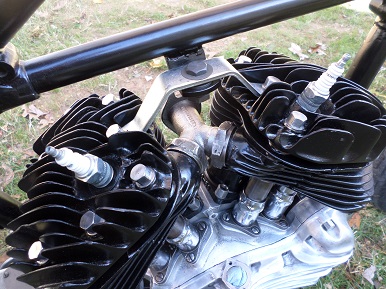
There are three different cast-iron heads, and there's several different compression ratios:
1st Version - 1937 to 1950 with 3/8" stud holes.
2nd Version - 1951/1952 WL and 1951 to 1955 Servi-cars with 7/16" bolt holes.
3rd Version - 1956 to 1973 have 14mm spark plugs holes instead of 18mm and have 7/16" bolt holes and larger fins.
Compression Ratio
There is usually a number stamp on the head to indicate compression ratio. Heads marked 5.0 are low compression (5.0:1). If it reads 6.0 it is considered high compression (6.0:1).
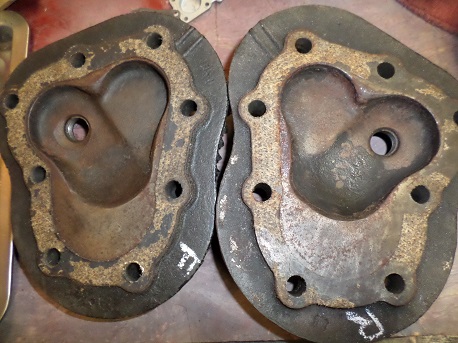
Here in the 21st century, it's hard to believe that 6.0:1 was once considered high compression, but the reader must remember that high-octane fuel and high compression engines came after (and were actually by-products) of World-War-Two.
Aluminum Heads
A set of aluminium heads not only bump up compression, they dissipate heat better and are lighter than cast-iron heads.
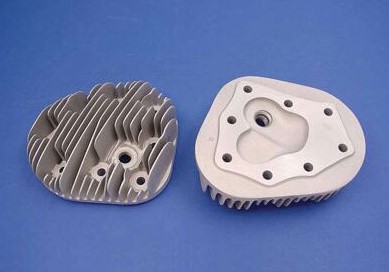
Finding a set of original Harley 45 aluminum heads is difficult. V-Twin Manufacturing now offers aftermarket replacements.
NOTE: Aluminum cylinder heads require head bolt washers.
****************
Replacement Cylinders
V-Twin Mfg. catalogs front and rear cylinders (11-1099), but the rear cylinder is not always available.
As of this writing, Harley 45 front cylinders are still available.
*****************
Related Articles: