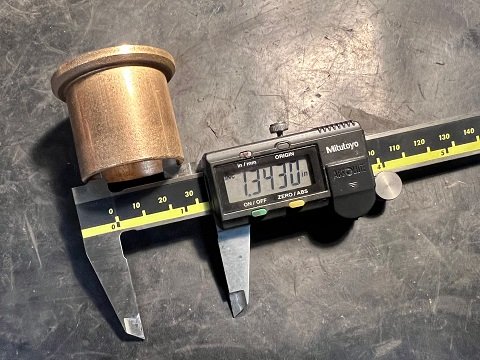
Front Fork Disassembly Norton Commando
This article shows how to disassemble front forks on 1972 and later Norton Commando models.
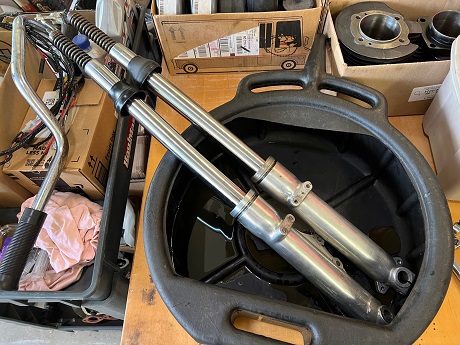
For article on front end removal click here.
For article on fork assembly and overhaul click here.
***********************
After removing the tubes and draining out the old oil, the fork assembly was placed upright in a workbench vice between two soft jaw pads.
Fork Seal Dust Covers
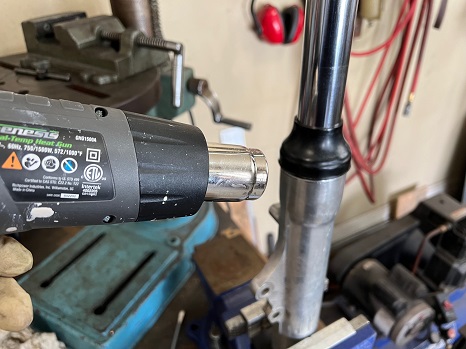
The old hardened dust covers slide off easily with the help of a heat gun.
***********************
Damper Assembly
Repositioning the lower fork horizontally, remove the 5/16 UNF x 5/8" bolt on the very bottom of the slider.
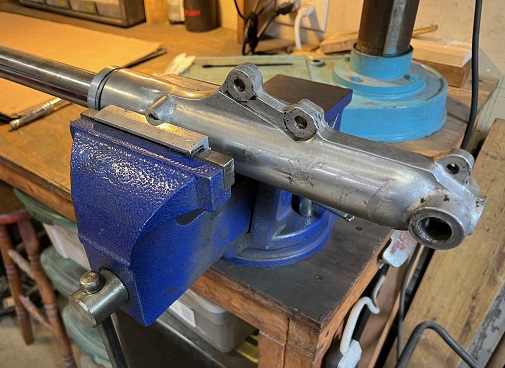
You'll need a deep-wall 1/2" socket to fit into the recess.
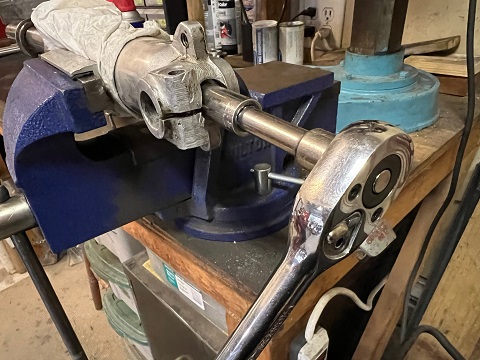
Did a flat metal washer come off with the bolt?
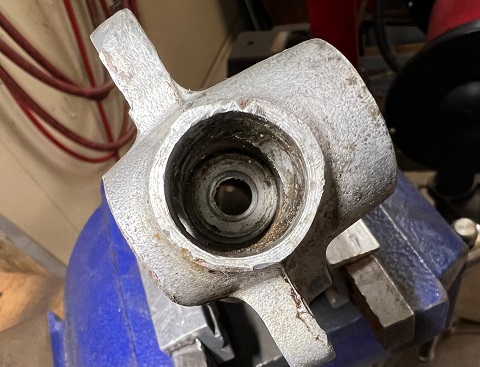
This washer often gets stuck and has to be fished out.
***********************
Fork Seal Collar Removal
All too often, fork seal collars are chewed-up and over-tightened.
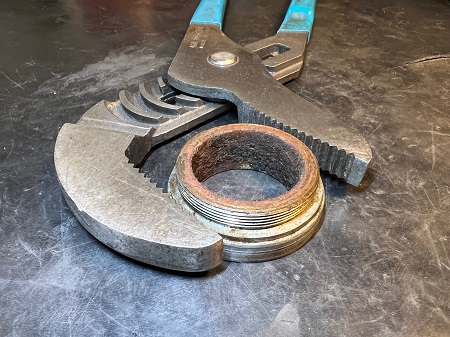
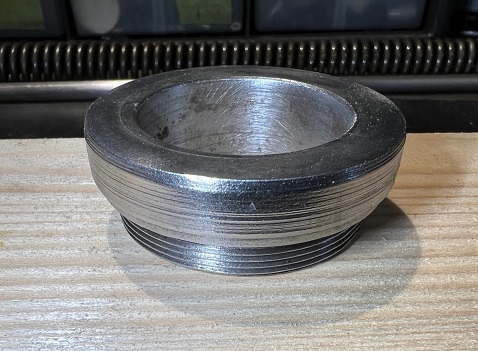
This is not the best way to remove them, but I used to a pair of Channellock pliers, which left 'tooth marks' in the collar. I was able to remove the marks with a file, and then a wire-wheel on a bench grinder.
***********************
Remove Fork Stanchion Assembly
The next step in disassembly is removing the stanchion from the lower fork.
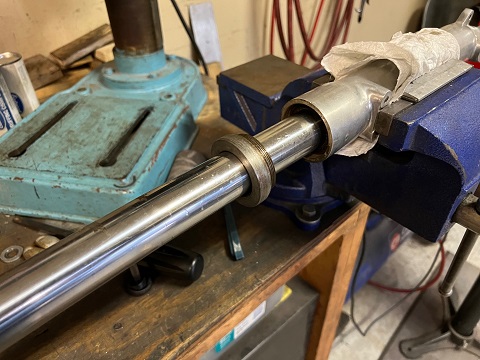
Using the stanchion as a slide hammer, a couple of swift pulls should separate it from the slider.
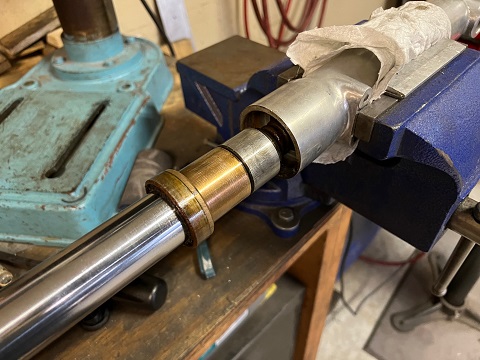
Along with the stanchion, the oil seal, paper washer, bronze bushing, and steel bushing will come out.
***********************
Fibre Washer
Look inside the bottom of the lower fork leg. There should be a fibre washer.
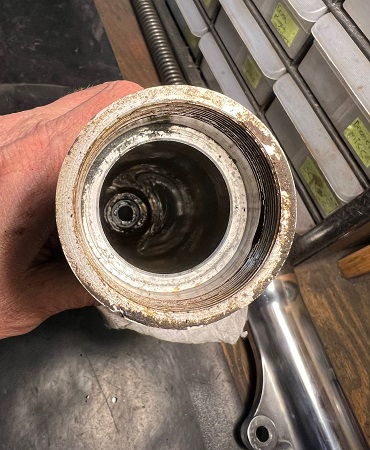
This often gets stuck, and can easily be overlooked. I used a picker-outer tool and pushed it out from the bottom.
***********************
Fork Damper Assembly
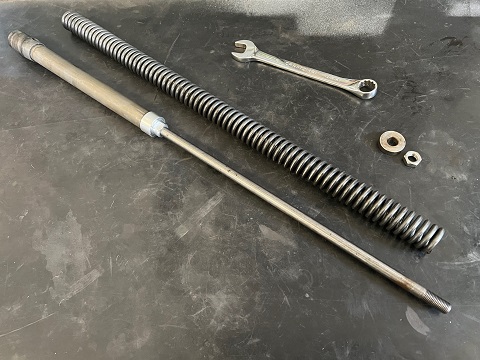
The fork spring is held in with a 5/16" UNF nut and thick washer on top of the fork damper rod.
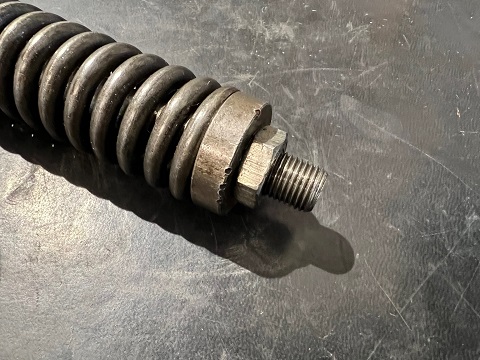
Removing the nut and washer removes the spring.
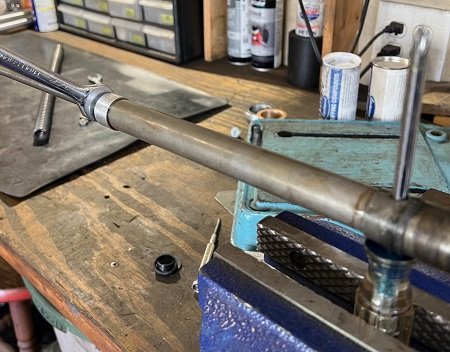
With a Phillips screwdriver in the vice holding the damper tube, the damper cap can be removed with a 1/2" wrench.
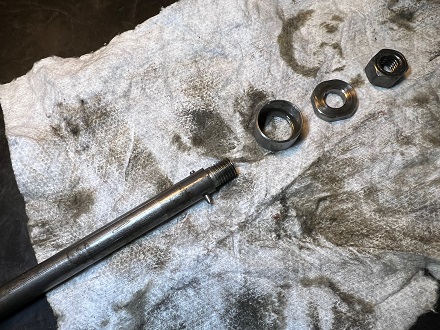
The bottom end of the damper rod has a roll pin, damper rod valve, valve seat, and 3/8" UNF nut.
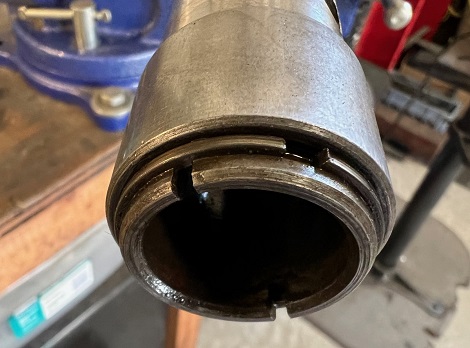
On the bottom of each stanchion is a steel bushing held on by a C-clip, which are best removed with snap-ring pliers. Having three hands here is helpful.
Parts Inspection
At this point, all parts should be cleaned and inspected for re-use. Brake parts cleaner works well, and leaves no residue.
Carefully check fork tubes for nicks or deep scratches, either will cause new seals to leak.
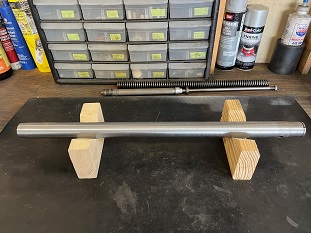
To help check fork tube straightness, I notched two 2x4's into V-blocks. Another way to check straightness is hold the two tubes up next to each other and slowly turn them.
***********************
Related Work
One of the two fender retaining studs was snapped off in the left slider.
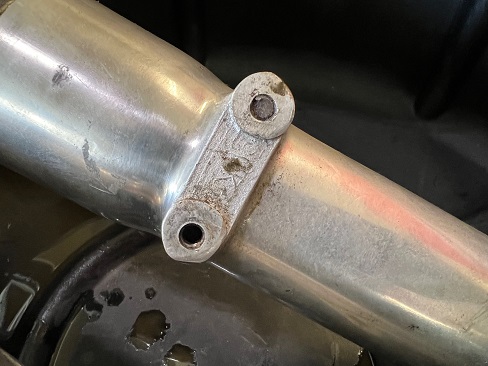
After center punching, the slider was fitted in the drill press vice.
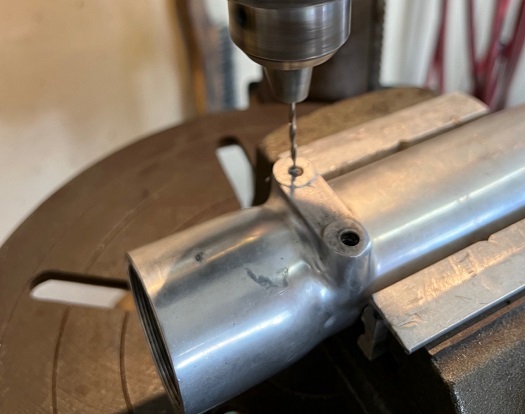
After drilling a small pilot hole, two progressively bigger holes were drilled, until a spiral extractor could be fitted.
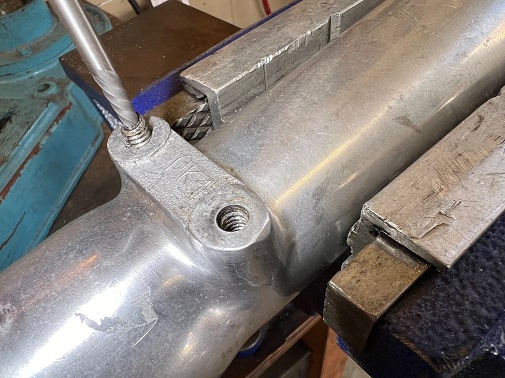
Read: 7 Drill Press Uses For Motorcycle Repair
***********************
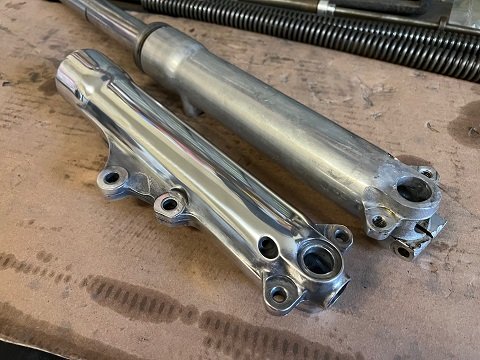
With the front forks completely disassembled, now is a good time to polish the lower legs.
***********************
Short vs Long Gaiters
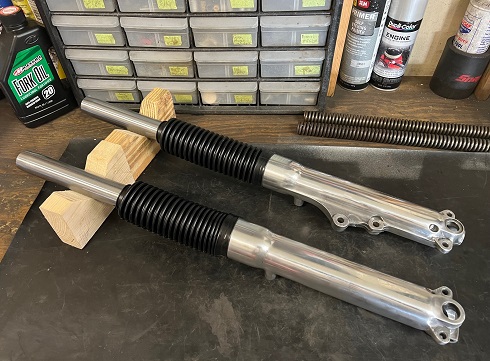
The purpose of 'accordion' rubber fork gaiters is to protect the bare stanchions from dirt, dust, rocks, and other harmful debris.
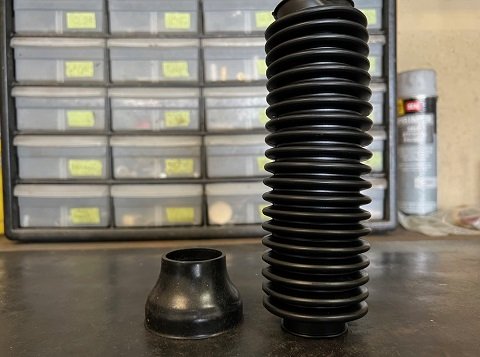
Most U.S. bound bikes received short stiff gaiters that offer little protection.
***********************
Read: Front Forks Overhaul
***********************
Parts Diagram
Andover Norton offers a large exploded view of Commando front forks on their website. To see it click here.
****************************
Norton Commando Articles:
Norton Commando Build - Homepage
Cylinder Head Removal
Timing Cover Removal and Installation
Remove Front End
How To Polish Motorcycle Forks
Norton Commando Upgrades
DIY Motorcycle Tools
