Engine Case Prep Ironhead Sportster
Article by Mark Trotta
Before final assembly, engine cases should be checked for cracks, stripped threads, and snapped or broken bolts. And of course, a thorough cleaning, including all bolt threads and oil passages.
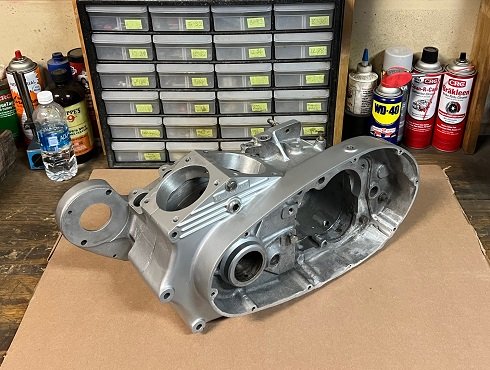
On Ironhead Sportster cases, you'll also want to check the pinion shaft race, cam bearings, and tappet bores.
******************
Cam Bearings Remove and Install
In the right-side case are four cam needle bearings. If the history of the motor is unknown, it's a good idea to press them out and replace them.
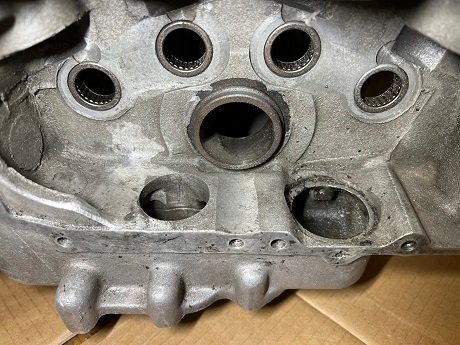
There is a specialty tool to remove them, but it the cases are already apart, they can be removed and installed in a shop press.
Installing cam needle bearings must be done very carefully, so as not to crush the thin outer shell.
******************
Oil Galleries
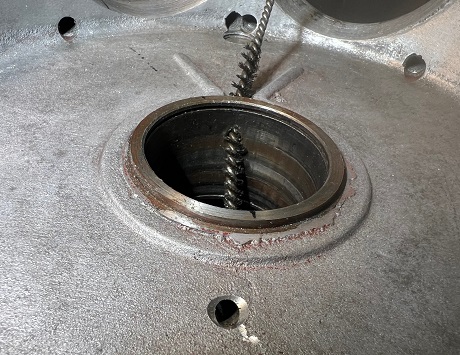
Oil passages can be cleaned with either a gun barrel brush or a small carb-cleaning brush.
******************
Valve Tappet Guides
There are four tappet bores that tappet guides slide into. Guides are .0005" to .001" press-fit into the case.
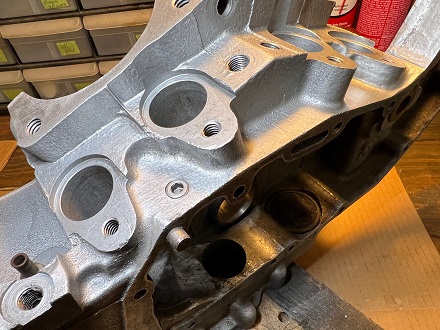
Install the guides, then lightly oil the tappets and slide them into the guide. Check for any slop or play.
Acceptable clearance for tappets in the guides is .0005" to .001". If any excessive play is found, a new tappet and/or guide should be fitted.
******************
Engine Case Cleaning
If it hasn't been done yet, the outside of the cases should be cleaned. This is to remove all the road grime, mud, and grease that has accumulated over the years.
Modern ways to clean aluminum engine cases include soda blasting, media blasting, vapor blasting, and walnut shell blasting. "Old School" cleaning methods include degreaser, brake parts cleaner, and scuffing/sanding.
******************
Cleaning Bolt Threads
There is a difference between a tap and a thread chaser.
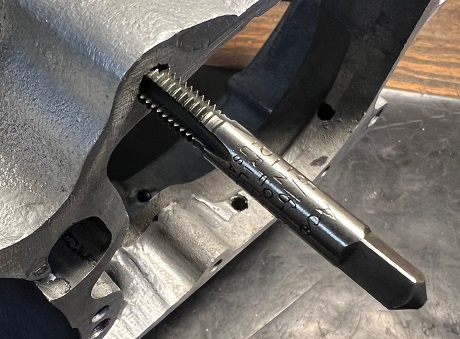
Although a threading tap is often used instead of a thread chaser, they can remove material and make old threads looser.
TIP: If you're using a tap to clean threads, use the tap by hand (fingers) only. This way you'll be making sure you don't remove any excess metal.
******************
Shifter Shaft Seal
Now's a good time to replace the oil seal for shifter shaft. One way to remove the old one is a picker-outer tool.
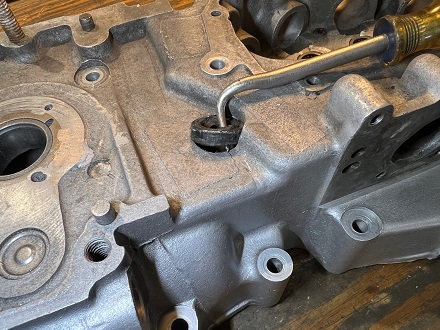
Shop: Sportster Shift Shaft Seal
The OEM part number is 34035-52 and it fits 1957 through 1985 Ironhead Sportsters.
NOTE: When Sportster engine cases were redesigned to accommodate left-side shift, the shifter shaft seal remained the same. It's just in a different location on later cases.
******************
Oil Strainer
A round screen oil strainer is found on 1957 through 1976 Sportster engine cases. It is a carryover and the same part as found on Harley 45 motors.
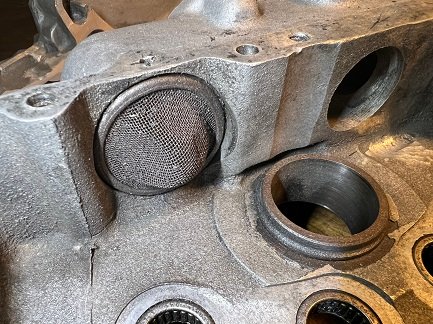
Shop: Early Ironhead Oil Strainer
Once it is removed for cleaning, it's often not reusable. Reproduction oil strainers carry either part number OEM 24975-37 or 24975-52 and usually include strainer, roll pin and gasket.
******************
Pinion Shaft Bearing Race
Early Sportsters (1957-1976) require the pinion shaft outer bearing race to be lapped in. Honing/lapping the two cases assures precision alignment of engine shafts.
Sprocket Shaft Bearings
Early Sportster engines (1957-1976) have a single bearing race with two bearings. Later models (1977-2003) have two separate races and two bearings.
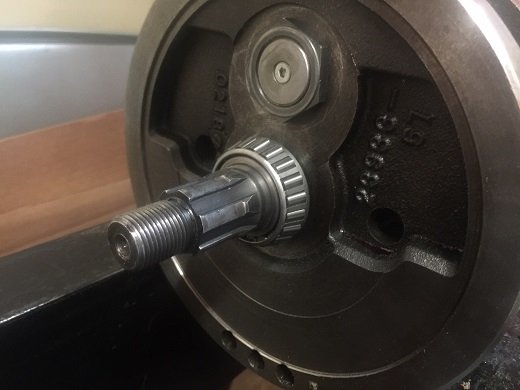
Sprocket shaft bearings are often called Timken bearings.
If needed, remove/replace the sprocket shaft race and bearings before further engine assembly. The bearing spacer (on early models) and the outer bearing get pressed on AFTER the cases are together.
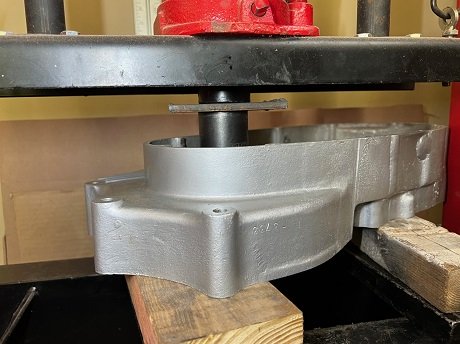
Old Ironhead sprocket shaft bearing being pressed out of case.
******************
Broken Bolts
On my 1962 Sportster, one of the four transmission shaft oil seal retainer bolts had snapped in the case. After being ground flat, it was drilled out and re-tapped.
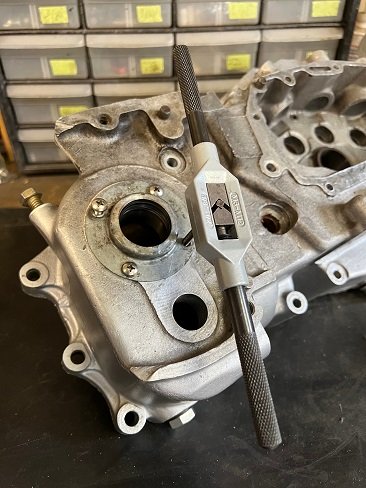
Since the left-side engine case is the "power" side, it is more commonly damaged. The '62 left-side case was cracked and needed welding.
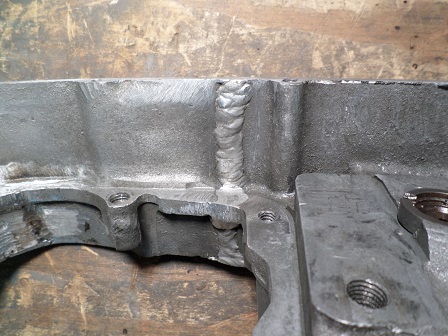
Read: Repair Cracked Cases
Two of the 5/16" bolt-holes were stripped. They were repaired with Helicoil inserts.
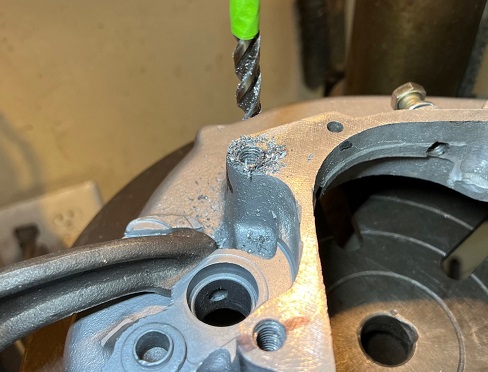
Read: Repair Stripped Threads In Aluminum
******************
Stuck Oil Drain Plug
The '62 also had a drain plug that spun, but would not come out. Removing it involved a bit of grinding and drilling.
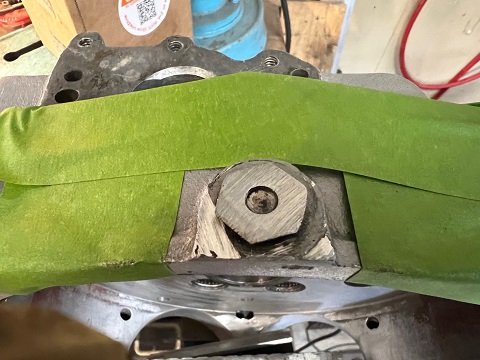
First was, grinding down the drain plug head with an electric grinder.
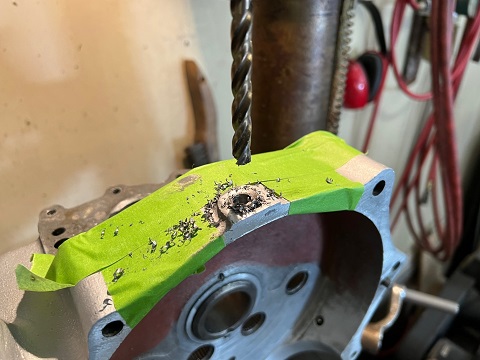
Next, drilling out the old drain plug with progressively larger drill bits on a drill press.
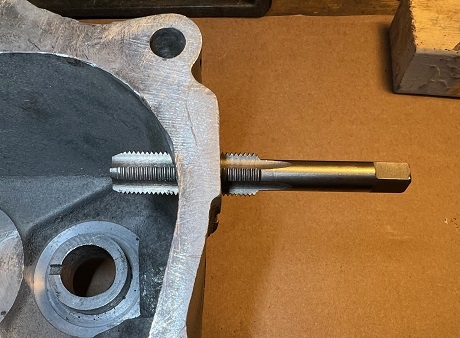
Finally, cleaning up the damaged threads with a tap
******************