DIY Motorcycle Tools
Article by Mark Trotta
Fabricating your own tools is not only fun, it saves you money. Besides, most of the stuff you see online is foreign-made and often inferior to what you can build yourself.
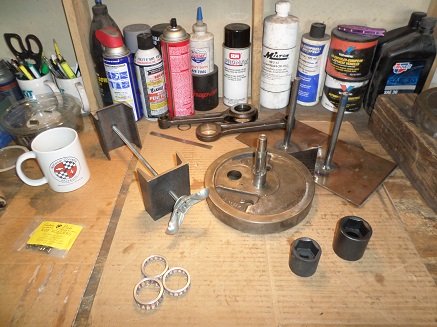
In no particular order, here's some motorcycle tools that I've fabricated as the need arose.
*********************
Neck Bearing Installation Tool
If your bike has sealed fork bearings, this simple DIY tool will allow for easy installation. Materials needed are length of threaded rod, two pieces of 3/16" steel, and nuts and washers.
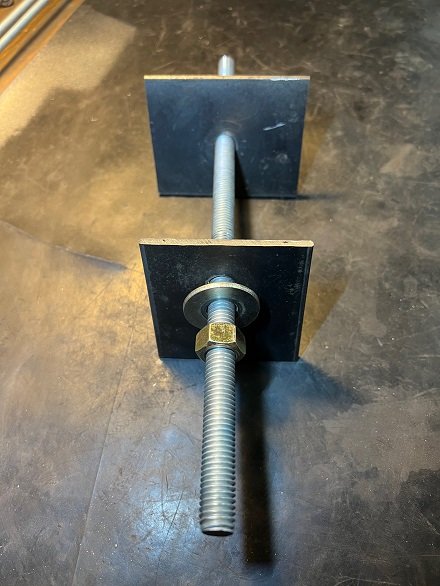
A drill press was used to drill the two holes in the steel plates.
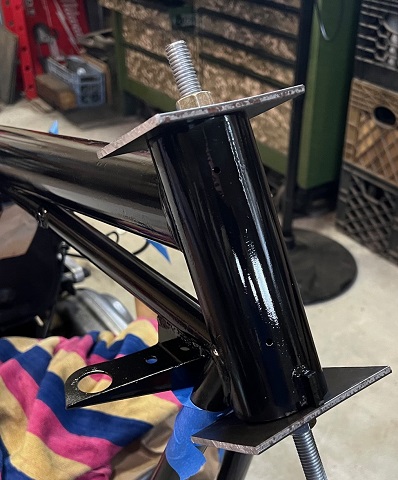
On the tool pictured, a 1/2" threaded rod was used. I first used a 3/8" rod, which snapped in half as I got near the end of the install.
TIP: Keeping the bearings in the freezer overnight will make installation a little easier.
*********************
Fork Tube V-Blocks
Notching a couple pieces of 2x4's into V-blocks will help check fork tube straightness.
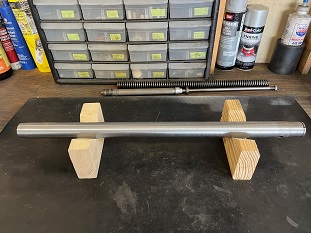
A compass saw allowed quick, easy cuts.
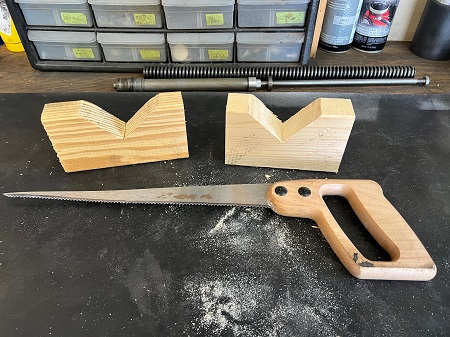
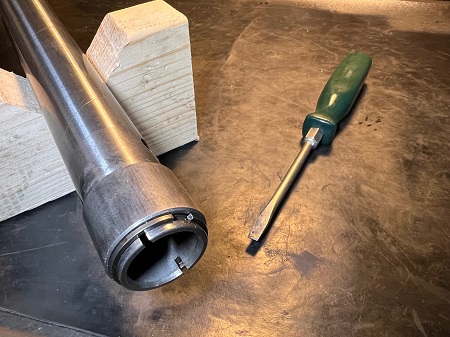
Wooden V-blocks also come in handy while overhauling front forks.
*********************
Fork Spring Retrieval Tool
On certain motorcycles, when it comes time refilling fork oil, the process is long and slow, because the fork springs are in the way. An alternative method is to leave the springs out until the oil is added, then retrieve the damper rod with a retrieval tool.
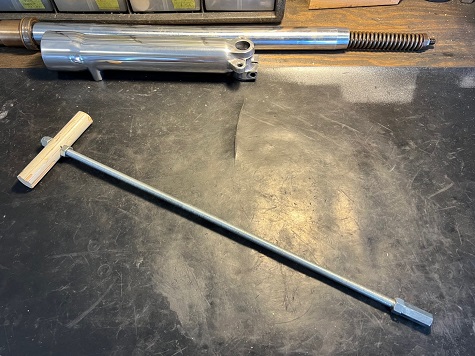
This T-handled retrieval tool was made with a length of 3/8 UNF threaded rod with a female coupler on the end. The handle was cut from a wooden broom handle.
*********************
Flywheel Centering Jig
The picture below shows a Harley flywheel centering jig, made out of pieces of C-channel stock. Each piece was cut four inches in length with a hole drilled in each. A length of threaded rod goes through them.
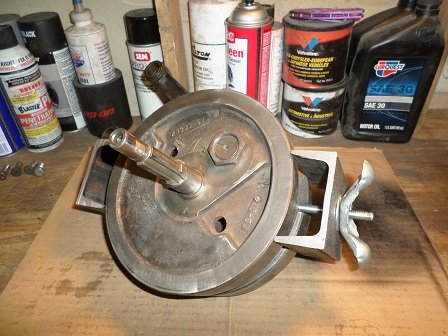
The wing nut on the end is from a spare tire holder.
*********************
Flywheel Holding Jig
On many old bike engines, crank-pin nuts must be accurately torqued to 150 ft-lbs. Classic Harley Big-Twin flywheel nuts are torqued to 175 ft-lbs. So you need to have a way to hold the round flywheels in place while you torque the nuts.
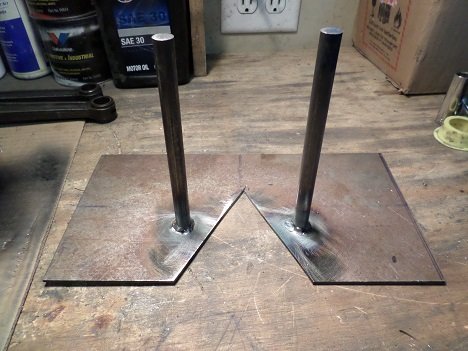
The "V" is needed to clear the crank pin.
The engineers who designed those old flywheels put holes in them for a reason, to allow you to slip them into a jig while tightening the nuts.
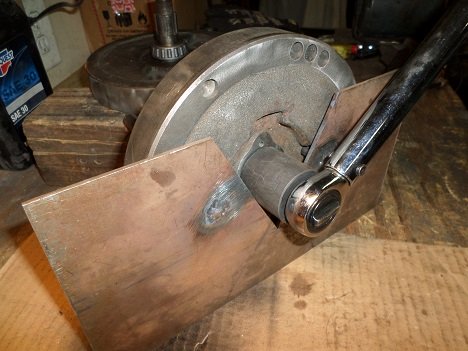
I fabricated this simple holding jig starting with a cardboard template. Then I took a piece of steel and cut it to the shape needed. You can find lengths of 1/2" round stock at hardware stores and home improvement stores.
*********************
Flywheel Truing Stand
A truing stand is a nice luxury, but homemade units work just as well.
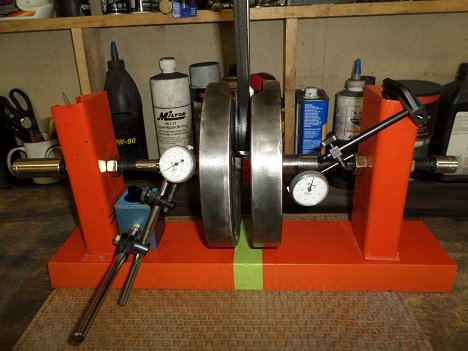
Read: DIY Flywheel Truing Stand
*********************
DIY Sander/Polisher
This bench sander is just an old electric motor fitted with an arbor purchased separately.
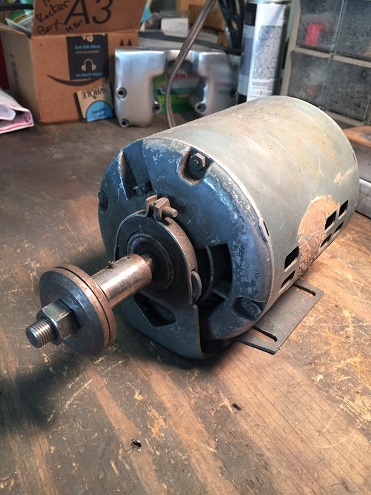
A bench sander has dozens of uses. I use it mostly with a buffing wheel to polish aluminum. When not in use, I store it in a plastic tote under my workbench.
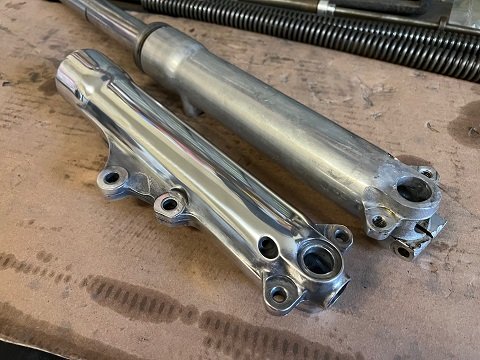
Read: How To Polish Aluminum Parts
*********************
For those of you who can weld, here's a few more DIY tools:
Bearing Puller
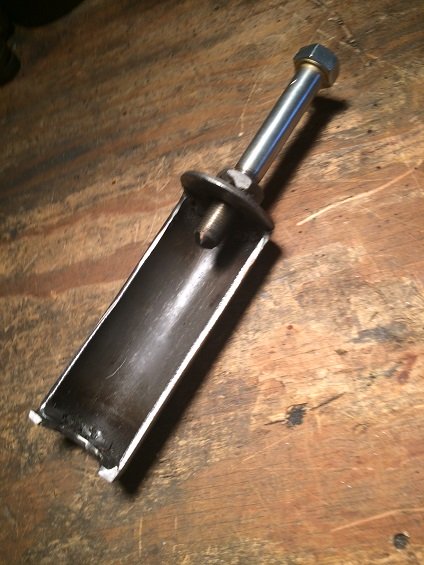
This is a tool I made to remove the inner sprocket shaft bearing on an Ironhead Sportster. Materials needed were a piece of 2" metal tubing, a 7/16" SAE nut and bolt, and two heavy washers.
*********************
Motorcycle Engine Stand
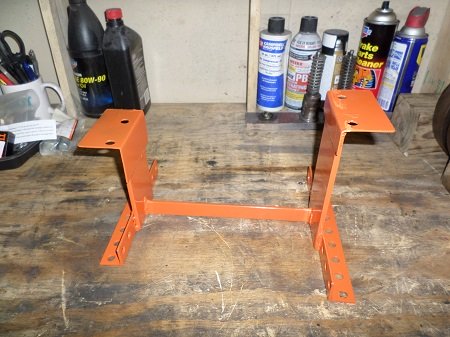
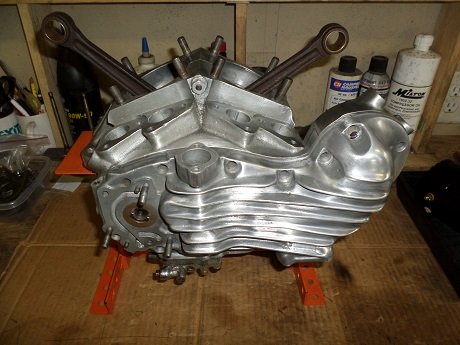
If you'll be working on your motor for a while, a motorcycle engine stand is invaluable. I built this stand for a Harley-Davidson Flathead, but it will also accept Harley Big-Twins 1936 to 1999 (Knucklehead, Panhead, Shovelhead, and aftermarket engines). Sportster engines are different and won't fit.
Read Complete Article: DIY Motorcycle Engine Stand
*********************
Engine Work Box
Here's a simple wooden engine stand for British Twins.
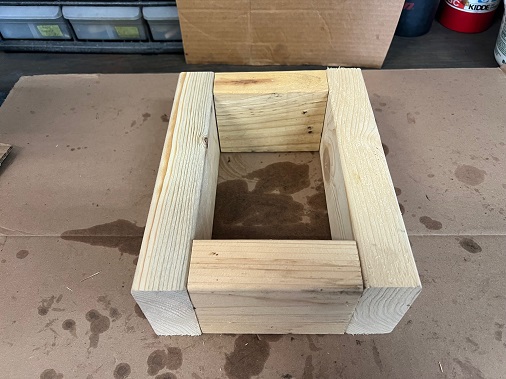
Materials needed are four pieces of 2x4 lumber and eight screws.
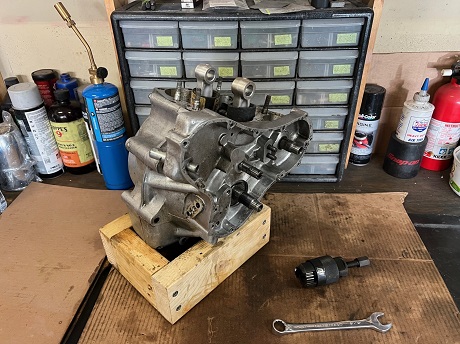
Total work box cost was about five dollars.
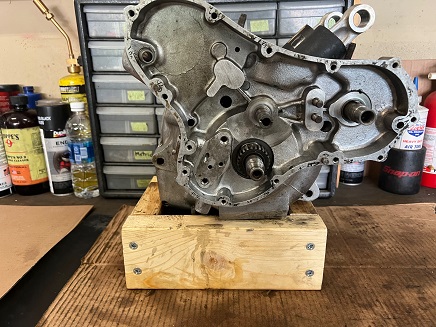
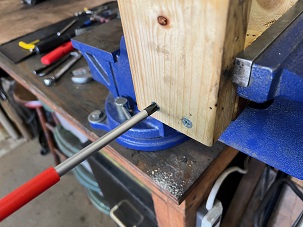
#10 drywall screws installed in 2x4 strips.
*********************
Related Articles: