Convert Harley To Points Ignition
Text and Pictures by Mark Trotta
There are two main reasons for converting a motorcycle from electronic to points ignition - cost and simplicity. Although there is no performance advantage, you'll be adding old school style and attitude.
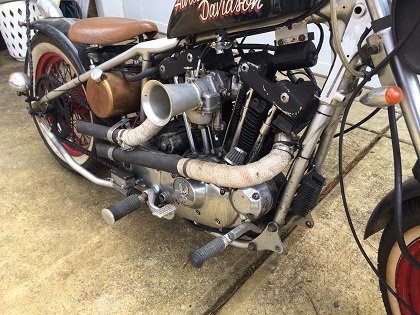
Has your electronic ignition stopped working? Unlike electronic modules, ignition points don't suddenly go bad, but they do wear out from use.
The following article shows how we retro-fitted points ignition onto a 1981 Harley Sportster. The procedure is basically the same for all 1978 through 1995 Sportsters and late-78 through 1995 Big-Twins.
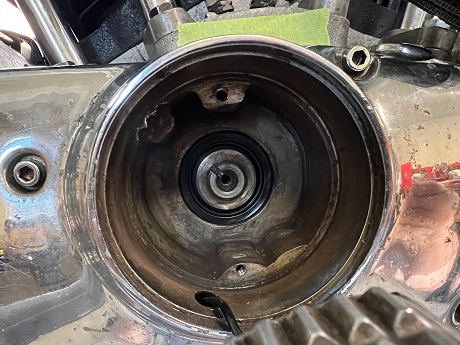
This bike showed up non-running with the sensor assembly and wiring already removed. If you're missing a points cover or mounting bolts, you can buy them here.
Mechanical Advance Assembly
Since the mid 1960's, Harley points ignition worked with a mechanical advance unit, which has spring-held weights that don't move until the motor is off idle. Above that, engine speed forces the weights outward, which causes the timing to advance.
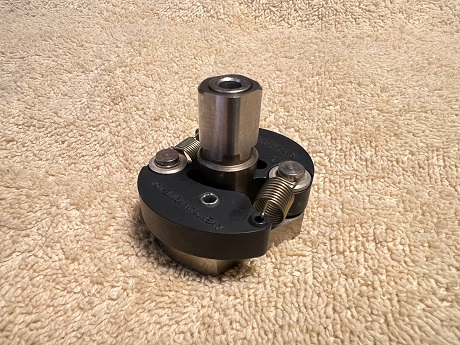
When the weights come back to rest, the ignition timer goes back to the retard position.
****************************
The first step of the conversion was to install the mechanical advance into the housing.
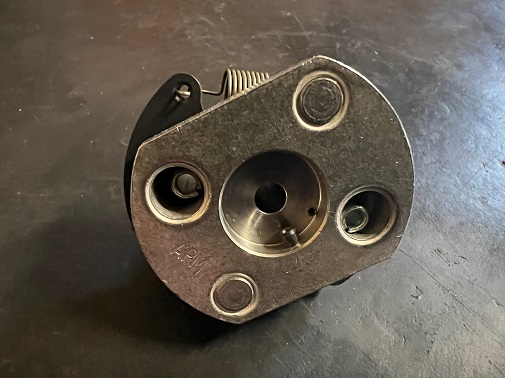
A small roll pin on the back fits into the engine cam slot.
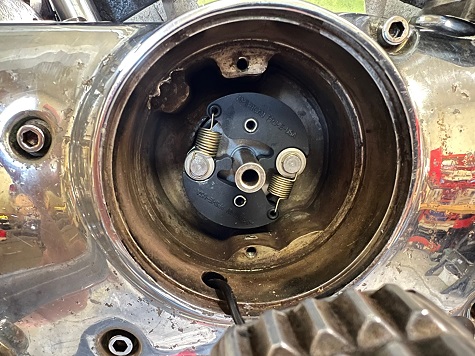
The 10-32 x 2" bolt with the 9/16" head goes through the circuit breaker cam and then threads into the rear intake cam.
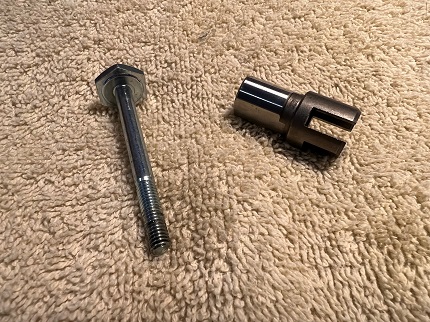
DO NOT OVER-TIGHTEN BOLT - torque to 12-15 inch/pounds only!
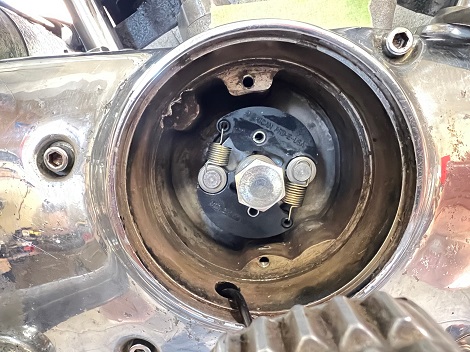
You can add a drop of blue (medium strength) Loctite to the threads.
****************************
The points plate, or ignition plate, was taken from an old parts bike. The factory service manual refers to the two threaded studs as "standoffs".
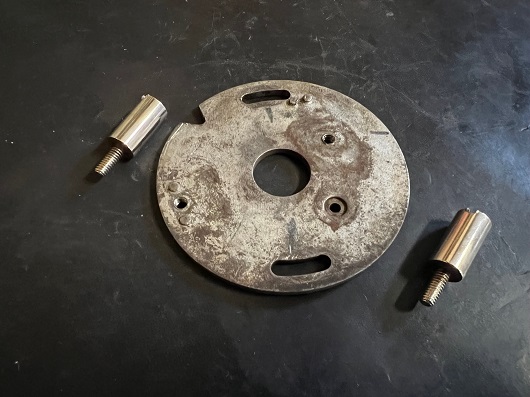
If you're missing one or both of the standoff studs you can buy them here.
****************************
Install points and condenser. Apply a very small amount of cam lube or something similar to the rubbing block.
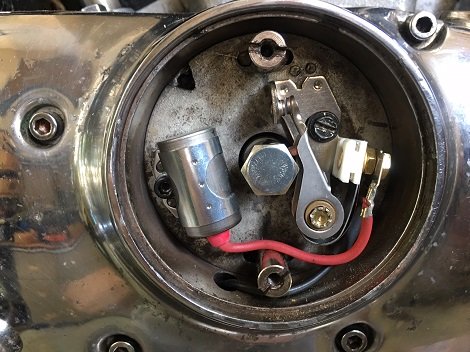
Note the "V" notching on the point plate at the 10:00 position. This will be used later (with a flat-blade screwdriver) when static-timing the engine.
Electrical Wiring
You can salvage a piece of wire from the old harness, or buy a roll of 14 gauge wire along with a pack of 14-16 eyelet terminals.
Run wire from points, through cam cover, and up to the negative side of the coil. The positive wire from the other side of the coil goes to your ignition switch.
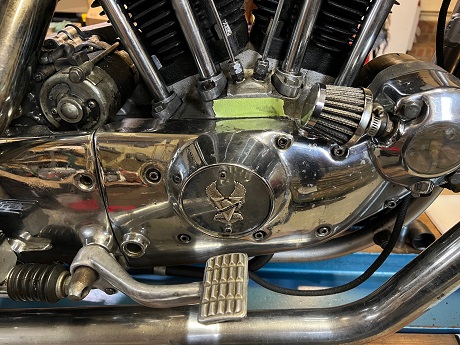
Points plate cover and gasket re-installed.
****************************
Points Conversion Kit for Harley V-Twins
Bikers Choice offers a points conversion kit for 1979 through 1995 Sportsters and late 1978 through 1995 Big-Twins. The kit includes points, condenser, bolt, plate, and advance weights.
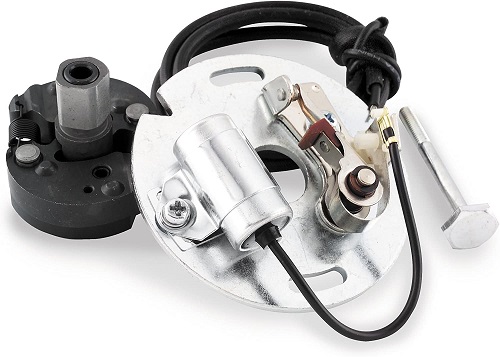
Shop: Points Conversion Kit
J & P Cycles offers a similar points conversion kit which includes a little more hardware.
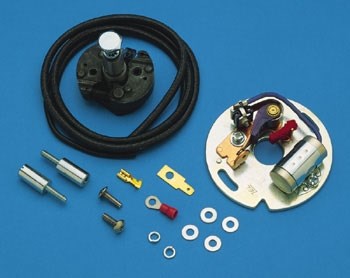
Shop: Points Conversion Kit with Hardware
****************************
Flywheel Timing Mark
Points should be set with the motor on the advance timing mark. For non kick start bikes, you can raise the rear wheel off the ground an inch or two, then with the bike in gear, turn the rear tire by hand. This will allow you to slowly move the flywheel assembly.
As the flywheels rotate counter-clockwise, the advance mark comes up before top dead center.
Timing is adjusted by loosening the two standoffs and moving the points plate to the left or right.
****************************
Ironhead Timing Marks
On 1971 to 1979 Ironheads, the advance timing mark is a straight vertical line. Do not confuse this mark with the single dot--that is top dead center (TDC) for the front cylinder.
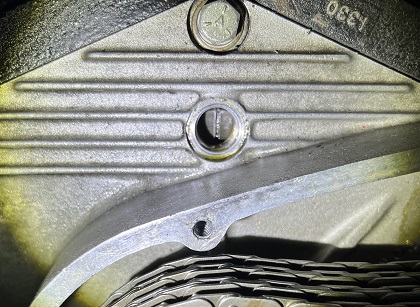
In 1980, the advance timing mark on Sportsters was changed to a single dot, and top dead center was changed to a "lazy eight".
****************************
Setting Points
NOTE: The circuit breaker cam has a wide side (front cylinder) and a thin side (rear cylinder). Points are easiest to set when on the wider cam.
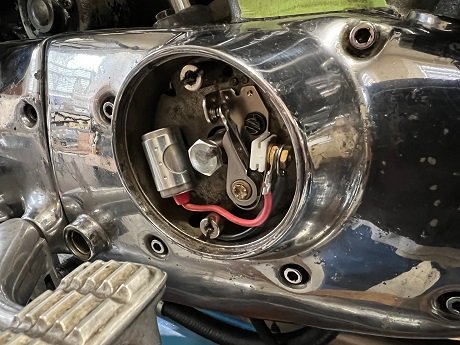
Recommended points gap is .018" (limit 016"- 020").
We've all heard stories of people setting points with a matchbook cover, but here in the 21st Century, a feeler gauge is a fairly common tool (and far more accurate).
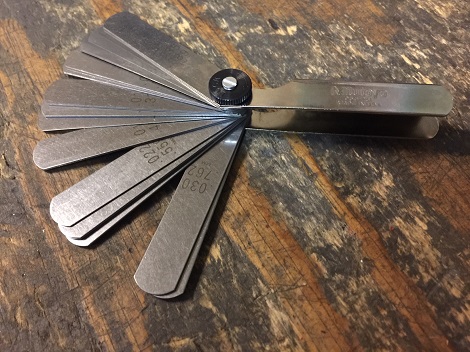
Sometimes you don't have to, but sometimes it will be necessary to lightly tap the points cam with a hammer to get both sides at the same gap. This is a scary thing to do, so use a small hammer!
When you think you have both gaps even, re-check them.
Replacement Points and Condenser
Blue Streak, made by Standard Motor Products, is an old established company that still produces quality ignition parts.
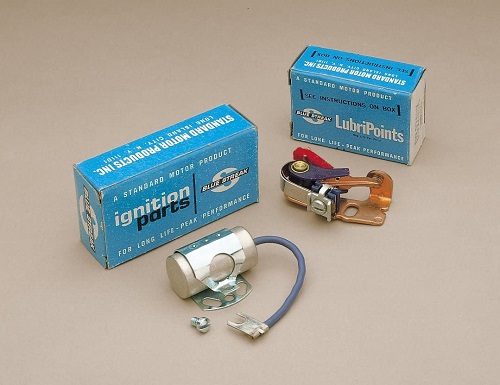
Shop: Points and Condenser Set for Harley
****************************
Spark Plug Gap
After converting from electronic to points ignition, you may want to re-gap your plugs to the factory suggested setting for pre-1978 models, which is 030" to 035".
****************************
Emissions Carburetors
To pass emissions requirements, several years of Harley Big-Twin and Sportster carburetors were factory-sealed to run lean. They cannot be adjusted.
If you are running a stock carburetor that has the mixture screws plugged, you may encounter a fuel/air issue after switching from electronic ignition to points. Re-timing the engine may help.
****************************
Conclusion
Once properly set, a points ignition system will run fine for 10,000 to 15,000 miles, without any adjustment.
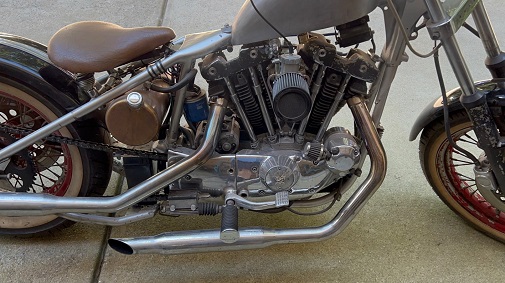
For a classic or custom motorcycle that gets ridden a couple thousand miles a year, that's a pretty trouble-free system!
****************************
Related Articles: