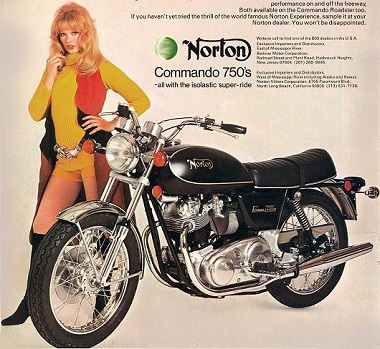
Brake Caliper Overhaul Norton Commando
Article by Mark Trotta
One of the several expensive-to-replace parts on old Commandos are the brake calipers. To ensure that the one on this '74 Roadster would be reusable, several precautions were taken during removal and disassembly.
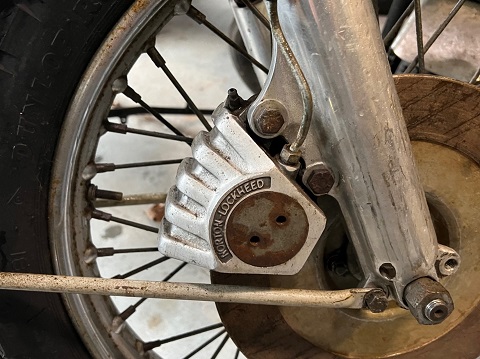
Note: On 1975 and later Commando models with front and rear disc brakes, both front and rear calipers are the same.
Removal
After disconnecting the steel brake line, any brake fluid left in the system will drain out. The caliper can then be removed from fork slider (two 3/8" bolts and washers).
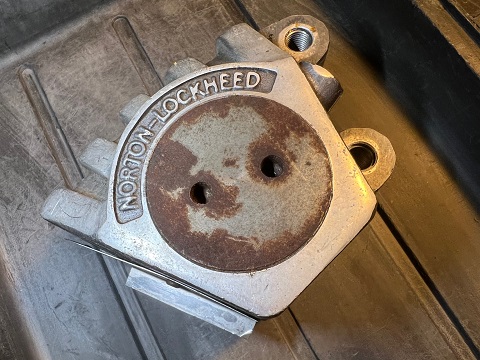
Once the caliper was off the bike, it was set it in a tray, first cleaned with brake cleaner, then sprayed down with WD-40 and allowed to soak.
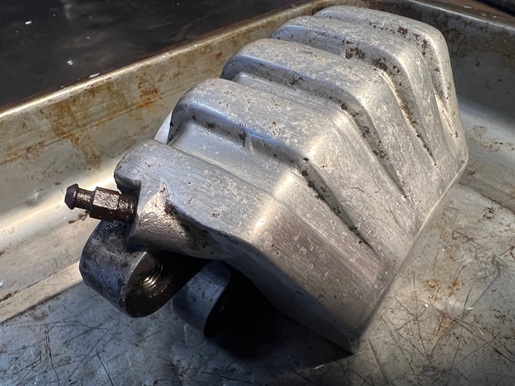
********************
Brake Pad Removal
The metal guide plate is removed with two flat-blade screws.
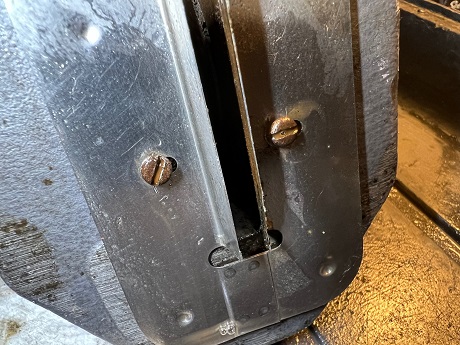
Front and rear brake pads are the same, but if they are to be re-used, mark them 'inner' and 'outer'.
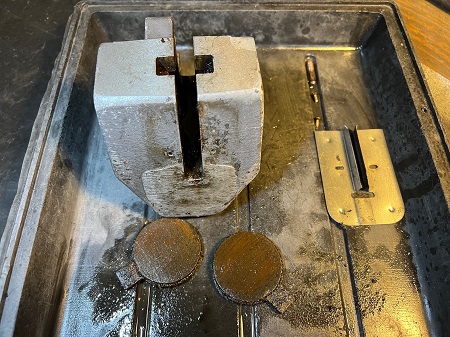
These pads are worn and contaminated and will not be re-used.
********************
Bleeder Screw Removal
Before trying to remove, penetrating fluid was sprayed on and around the bleeder screw several times, then allowed to soak for several days.
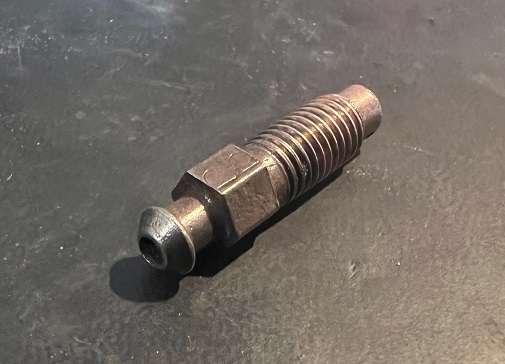
To help prevent snapping the bleeder with too much force, a small 1/4" drive ratchet and socket was used.
Once off, inspect the brake pipe to caliper seat and the brake bleeder inlet. Look carefully for cracks, distortion, or signs of over-tightening.
********************
Caliper End Plug Remove and Install
There is a multi-functional tool (Norton 06-3965) which removes and installs the caliper end plug.
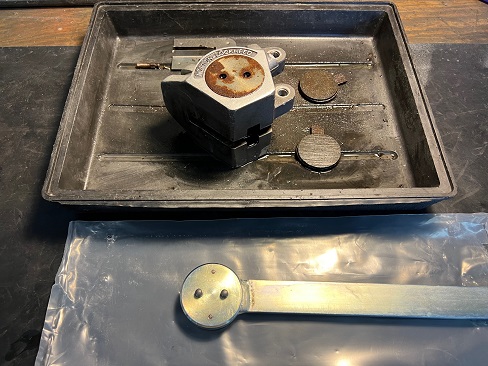
A punch and hammer will work, but will leave marks in the metal. Plus, it will be difficult to re-install without the proper tool.
If there's difficulty in removing the cap, the caliper body can be heated, but use care - it's aluminum.
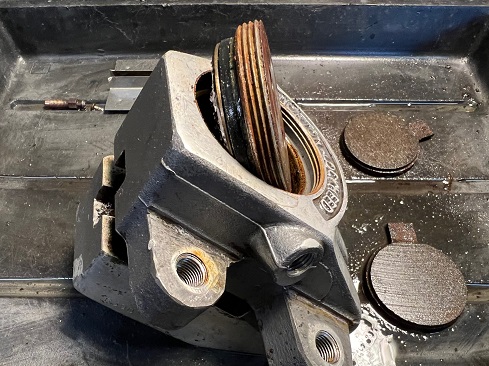
Note: Once the caliper plug is removed, residual brake fluid may leak out.
Piston Removal
Motorcycle brake calipers that have been sitting a long time do not come apart without a struggle. This bike had sat for over ten years, and there were concerns about one or both pistons being stuck and corroded.
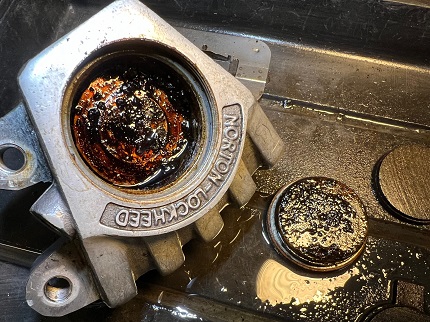
After the old brake pads and cap were out of the way, dirt and corrosion was removed before attempting to move the pistons. The bores were sprayed with brake parts cleaner and wiped with shop towels, then penetrating fluid was sprayed in the bore and allowed to soak overnight.
Brake caliper pistons can be stubborn to remove and there are several ways to go about this. The best and most reliable way is by using compressed air from a garage air compressor.
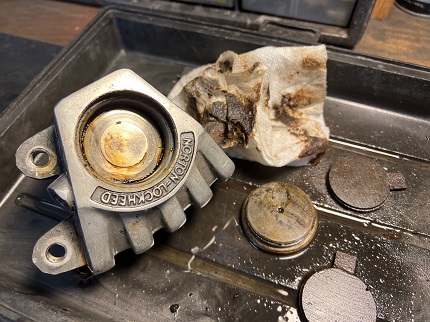
Alternative ways to remove pistons without air--before the caliper is off the bike--you can try pressing in the brake lever. I've also heard of techs pumping in grease from a grease gun, but I've never tried that method.
********************
CAUTION: The process of removing and replacing caliper pistons and seals greatly increases the chance of scratching the piston bores!
You will not forgive yourself easily if the bores are needlessly damaged.
CAUTION: Before blowing air into the brake hose inlet, wrap a towel around the caliper and point it away from you.
A blow gun with a rubber tip will give best results. They seal better, plus it'll prevent you from accidentally scratching something.
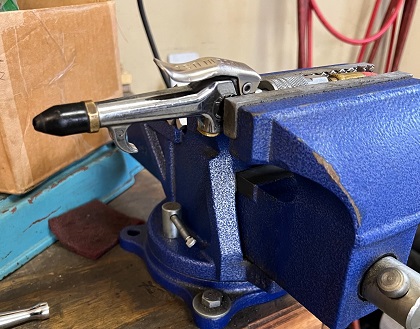
With the bleeder screw closed, shoot about 60 psi of compressed air into the brake hose hole. If needed, up to 100 psi can be used.
Hopefully the piston moves after a few short blasts. If not, soak with WD-40 and let sit overnight.
After a little movement, the blade of a feeler gauge was used to help push the piston out of the housing.
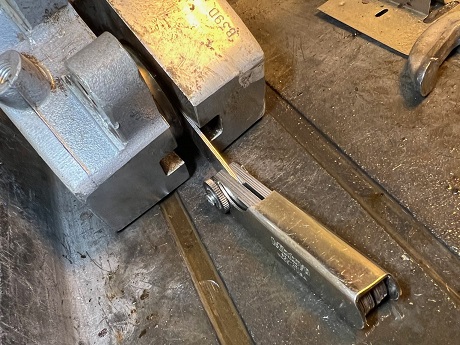
Patience and good luck pay off.
Once the front piston is freed, the O-ring seal that sits inside the bore can be removed.
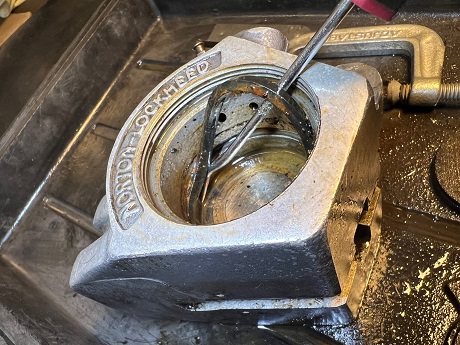
O-ring seal being removed with 'picker outer' tool.
Removing The Second Piston
While overhauling Norton brake calipers, of particular concern is the rear piston, which are known for sticking into the housing.
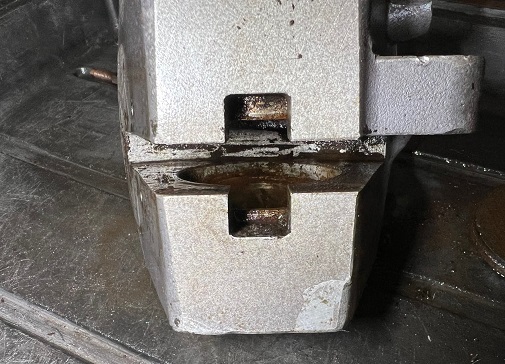
Once the front piston was out, the caliper was flipped over on it's other side and sprayed with WD40. Before attempting to remove, the rear piston bore was left to soak for three weeks.
TIP: You can re-install the old front piston and seal to help remove the rear piston. After it's back in, clamp the front piston so it can't move. So now, only the rear piston can move when you shoot compressed air into it.
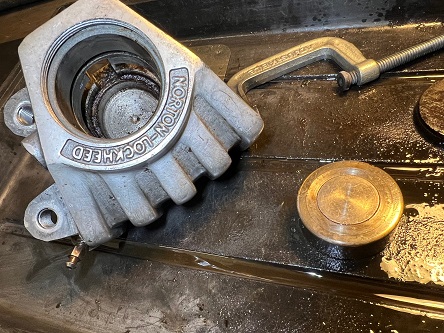
After a week of soaking and a few blasts of air, the rear caliper came out. The second O-ring seal may now be removed.
*******************
Cleaning and Inspection
Before inspecting for re-use, old parts were cleaned with brake parts cleaner and shop towels. Clean out all fluid passages as well, then dry with compressed air.
Examine piston bores for nicks or grooves. If needed, replacement caliper bodies are available from Andover Norton, but they are expensive.
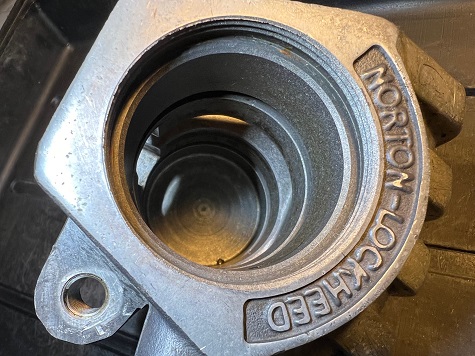
Both of the old pistons were corroded and being replaced.
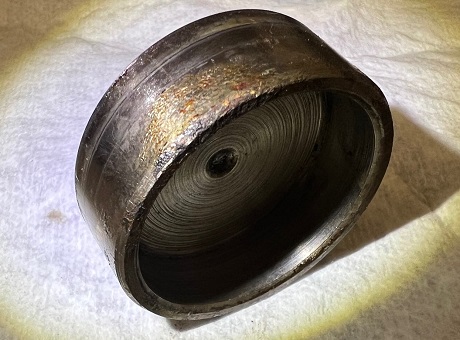
NOTE: Original Commando caliper pistons were chrome-plated steel, replacements (part # 06.1896) are stainless steel.
Seals are inexpensive and should be replaced regardless how they look.
********************
While it's disassembled, here's an ideal time to polish the caliper.
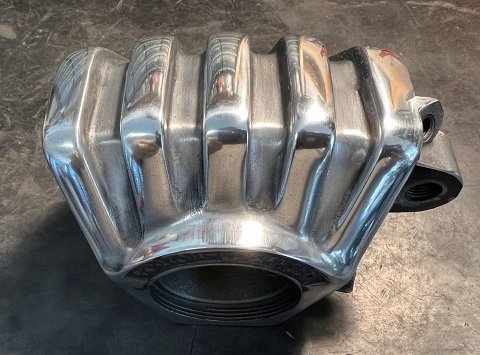
Read: How To Polish Aluminum
********************
Reassembly
Before reinstalling, soak seals and coat pistons with brake fluid.
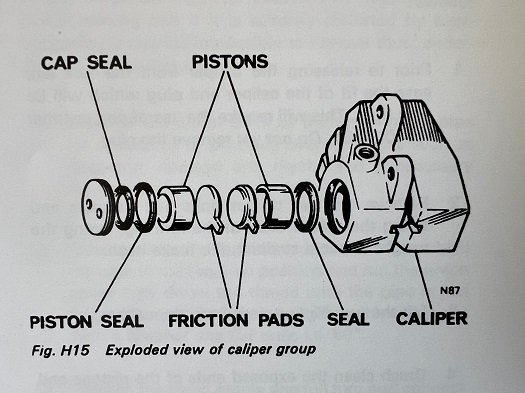
Assembly order is as follows:
Seal, piston, (pad, pad), seal, piston.
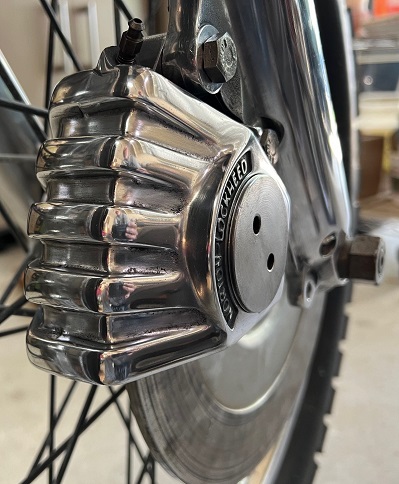
Replace the O-ring on the end plug and final-tighten once caliper is mounted to fork leg.
********************
Norton Commando Articles:
Norton Commando Build - Homepage
Swing Arm Removal
Swing Arm Overhaul
Remove Fork Tubes
Front Fork Disassembly
Front Fork Assembly
