Basic Motorcycle Wiring
Article by Mark Trotta
Engine vibration, exposure to the elements, and poor quality wiring all contribute to motorcycle electrical problems. Broken or melted wires are also common sources of electrical failure.
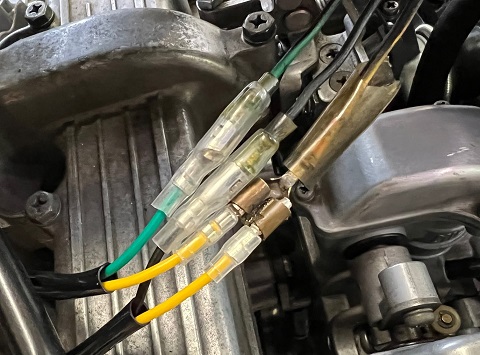
Finding Broken Wires
The first thing to do is visually inspect all wiring. Start at one side and do a full circle around the bike. If you're lucky, the problem may be obvious.
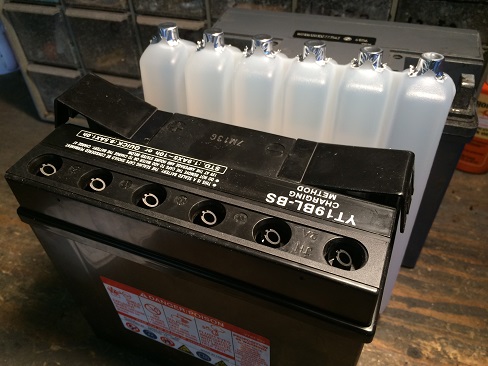
To check an old electrical system for shorts, start with a fully-charged battery.
Electrical Test Light
A 12 volt test light is essential for finding electrical shorts. Although there are some fancy ones out there, you can still buy a basic test light for under $10.
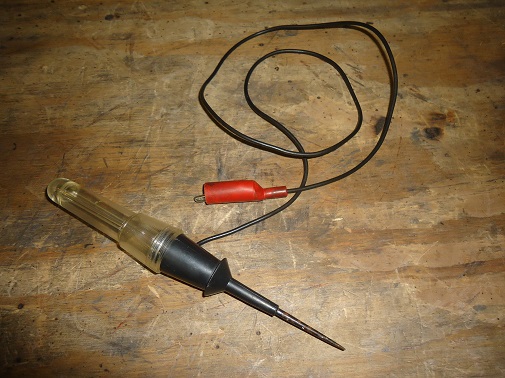
Test lights have a sharp pointed end. This is for piercing wire insulation, so you can test the circuit without disconnecting anything.
When diagnosing an electrical problem, always start by checking the test light on your bike's battery. And depending on what you testing for, you may have to turn the ignition switch on.
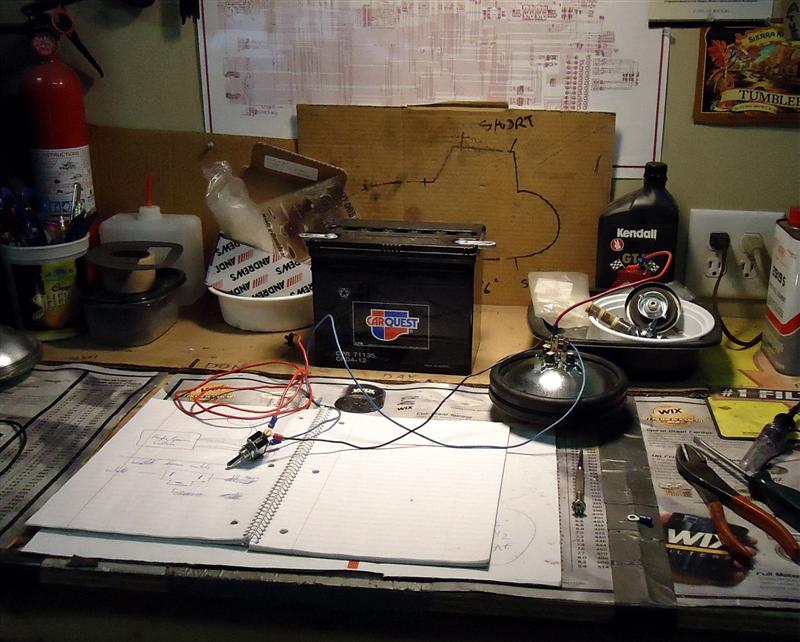
Having a workshop manual for your year, make, and model is also essential. More than likely, you can download one for free online.
*************************
Pinched Wire
After finishing the wiring on my 1961 Harley Servi-Car, I double-checked that all the lights and switches were working correctly. I then proceeded to wire-tie all the wires, and tighten all the components down.
The next day, I went out to the garage, turned the ignition switch on, and had no power.
My first thought was that the battery had gone dead, but here was the big clue. When I turned the ignition switch on, I heard an audible "click".
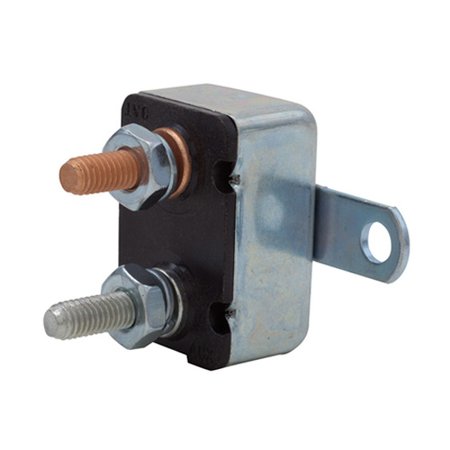
Something was tripping the circuit breaker every time the power was turned on.
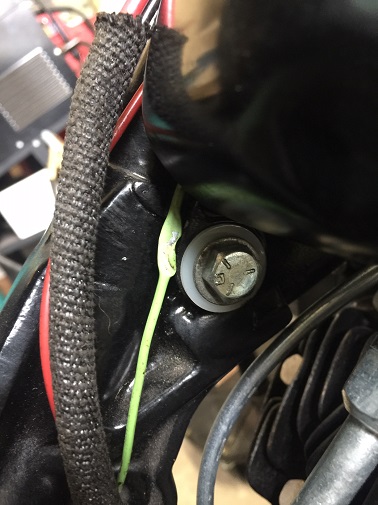
After a little head scratching and poking around, I found the problem. I had pinched a wire when tightening the gas tank to the frame, thus grounding out the system. Having a circuit breaker on the battery protected my bike from any damage.
*************************
Repairing A Broken Wire
Once a broken electrical wire is discovered, you have two options. The wire can be replaced, or the damaged part can often be cut out and the wire spliced and reconnected. This can be done by using either crimp connectors, or soldering the two wires together. Crimp connectors are much easier to use, but soldering is more vibration-proof.
Read: Solder or Crimp Wires
*************************
Crimp Connectors
If you choose crimp connectors, here's a tip to make it look a little neater.
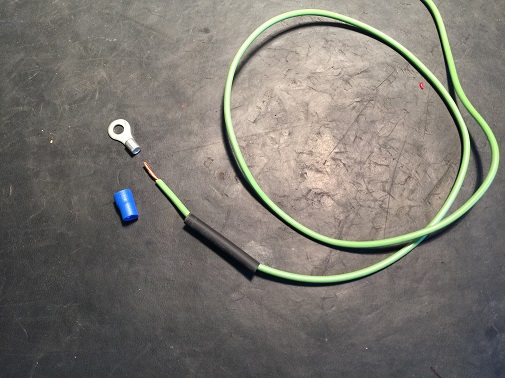
Take off the plastic sleeve from the connector. One or two inches of shrink tubing will look and work better.
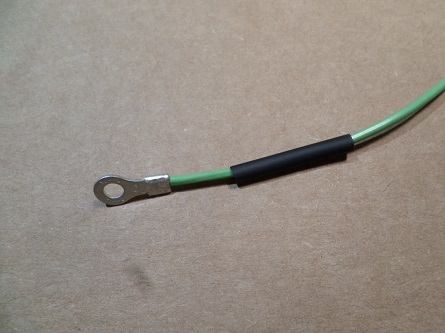
After crimping the terminal, check tightness by pulling on it with your fingers.
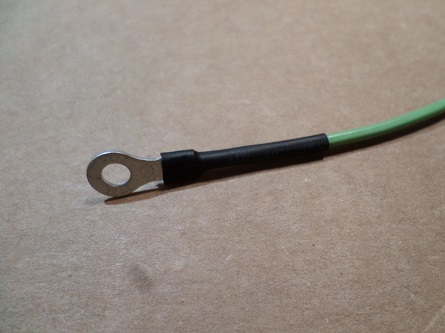
Heat the shrink tubing with a lighter. The wire and terminal connection is now sealed and protected from the elements.
*************************
Solder A Broken Wire
You'll need a soldering gun, some solder, and a bit of patience. Most soldering pencils don’t create enough heat, so a soldering gun is best.
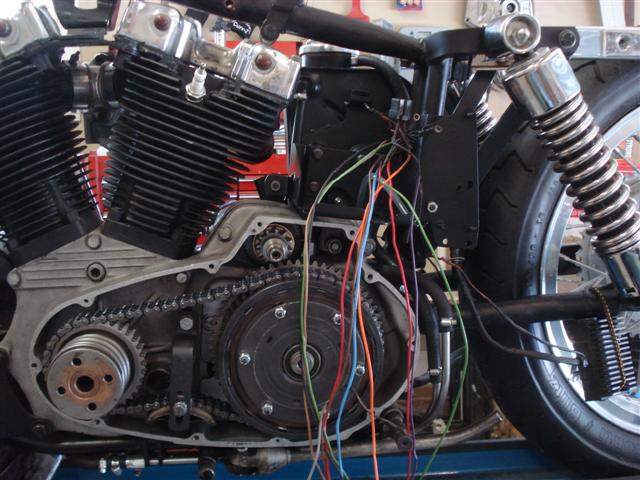
- Strip both ends of wire with a pair of wire strippers
- Cut a piece of heat-shrink tubing
- Slip it over one end of the broken wire, sliding it up and away from the repair area
- Solder the wires back together using resin-core solder
- After the repair has cooled to the touch, slip the shrink tubing back down over the repair
- Once the repair is covered evenly, heat the tubing and allow it to shrink over the soldered wire
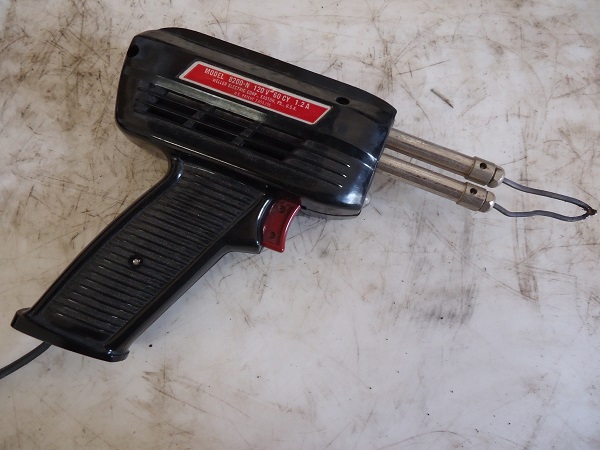
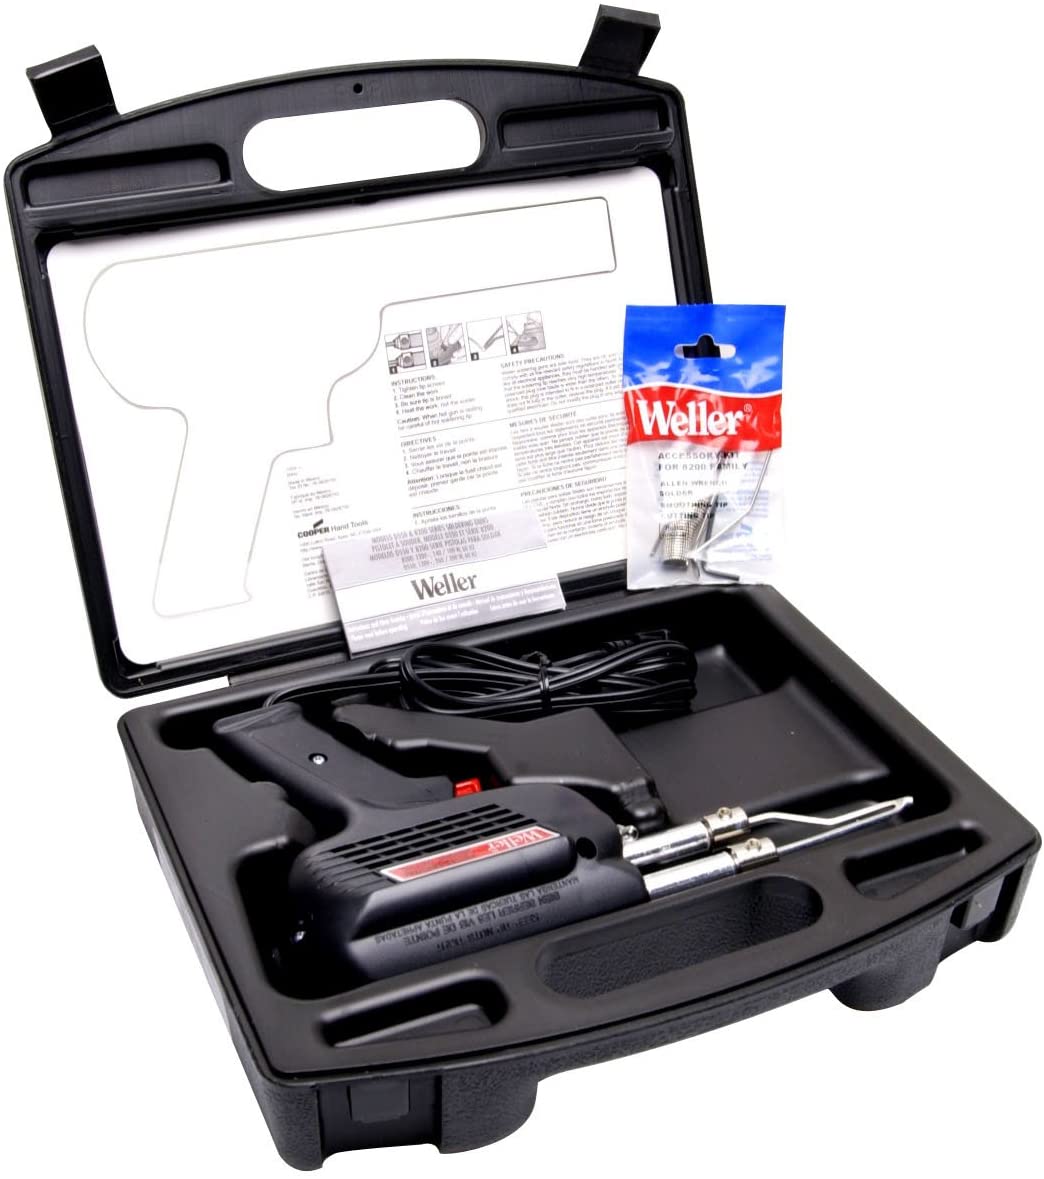
Shop: Weller Soldering Gun Kit
The Weller D550PK 260-Watt/200W soldering gun kit includes three tips, solder, and storage case.
Although soldering and shrink-tubing wires is the most permanent way to repair electrical wires, I don't always solder wires every time there's a repair needed. Time is often a factor, and when a repair needs to be done quickly, it just takes too long to solder. It's not that the actual soldering process is long, but the setting up process takes awhile.
*************************
Best Electrical Wire for Motorcycles
Most classic motorcycle wiring is 16-gauge or 18-gauge. For starter and generator wires, a heavier 14g or 12g is needed. Heavier 12-gauge wire is required when you need something that can handle a bit more load.
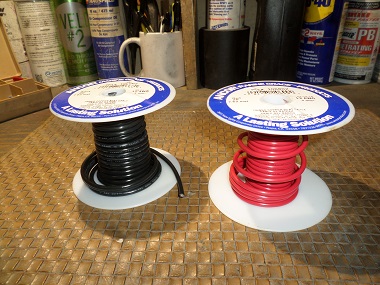
You can use standard automotive-type wire found in parts stores, but there is a difference between SAE-rated wire and AWG (American Wire Gauge) sizing.
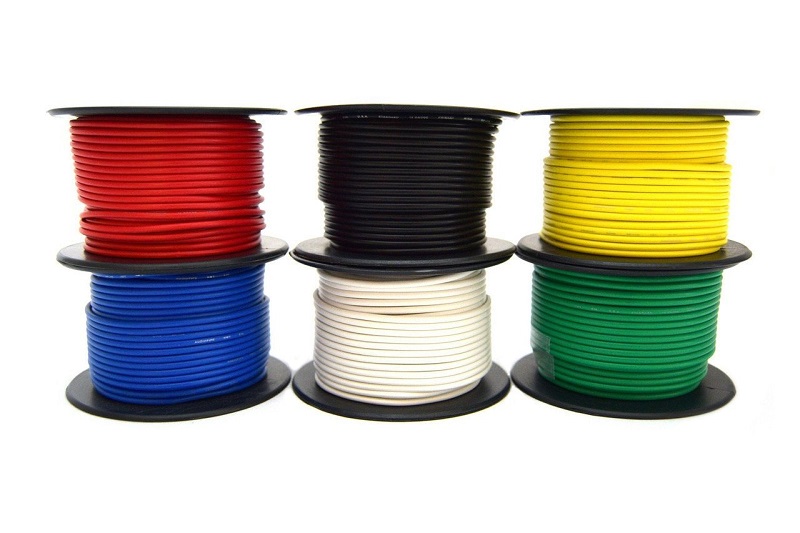
Shop: AWG Primary Wire
AWG sizing always has more copper for a given gauge size than SAE-rated wire does, and more copper is better. This variation is about 10-20%.
*************************
Heat shrink tubing is inexpensive and protects the wire terminals from the elements.
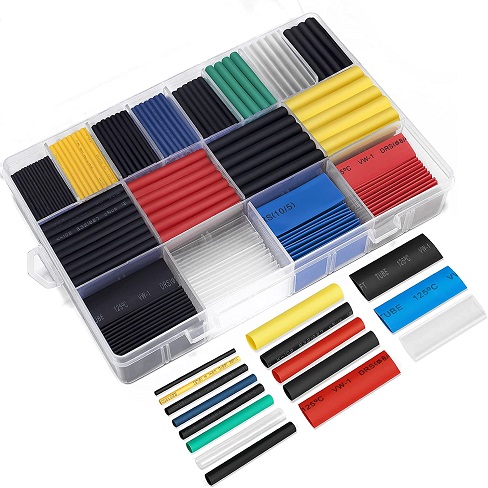
Shop: Heat Shrink Tubing Assortment
*************************
Digital Multimeter
A multimeter is an instrument designed to measure electrical values such as voltage (volts), current (amps), and resistance (ohms). There are two main types of multimeters, analog and digital.
A Digital Multimeter has an easy-to-read numeric display. Digital is by far more common, and even inexpensive are good, although they won't last as long as better quality units.
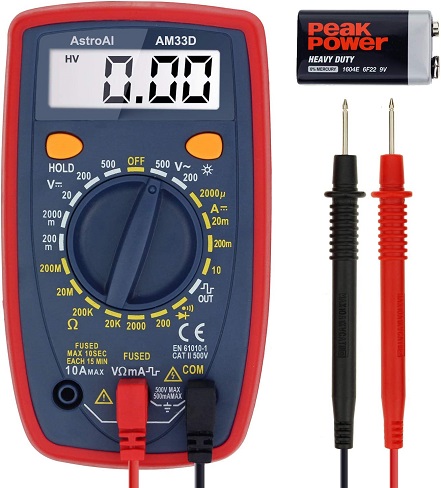
Shop: Digital Multimeter
Although you can run dozens of tests with a multimeter, I use mine for about three. I use it mostly to check if a certain wire is still getting power or if there's a problem with it.
Using A Multimeter To Test A Wire
Connect one test probe to one end of the wire, and the other test probe to the other end of the wire. With the multimeter on the low ohm setting, it should read .02 or less. Anything much higher than that tells you there is a blockage in the current. Replace the wire and/or the terminals.
*************************
Notes and Misc
Once everything is correct and working as it should, use plastic wire ties to secure wiring and harnesses.
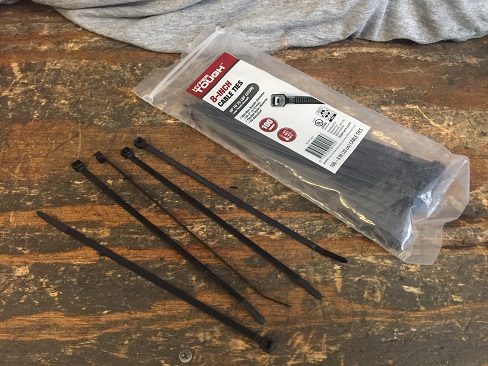
Regular inspection of your wiring and electrical components can keep you from breaking down on the roadside.
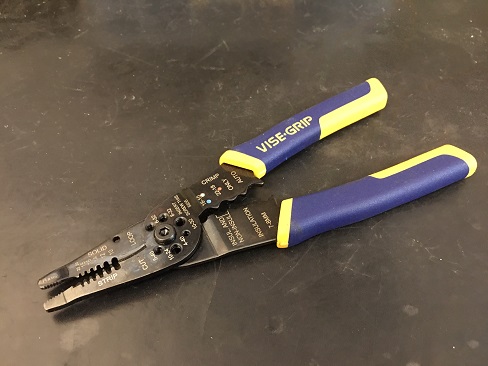
Shop: Wire Cutter/Stripper
*************************
Related Articles:
Wiring A Motorcycle From Scratch
How To Wire Handlebars Internally
Electrical Wiring For Motorcycles
